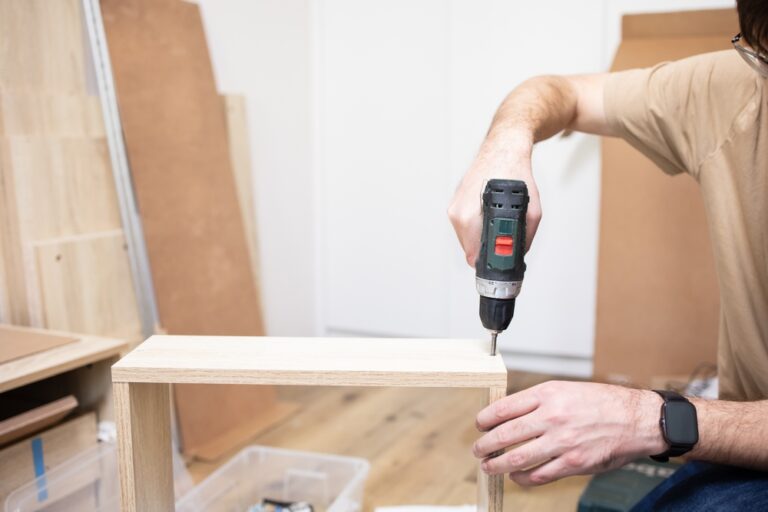
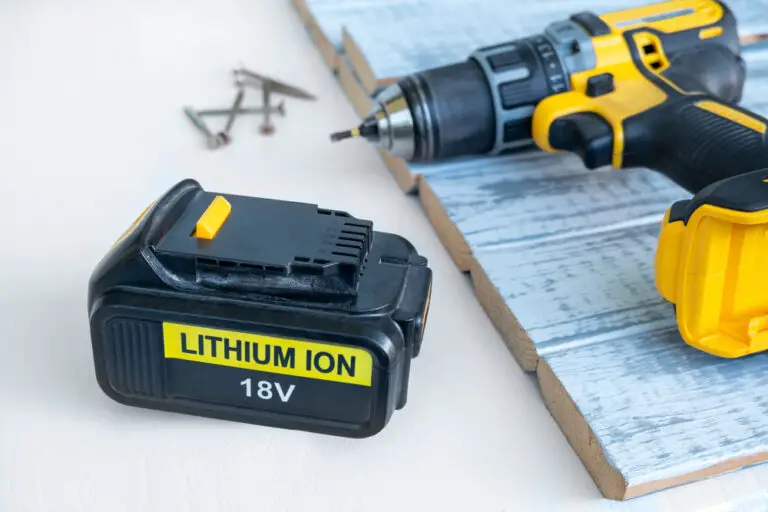
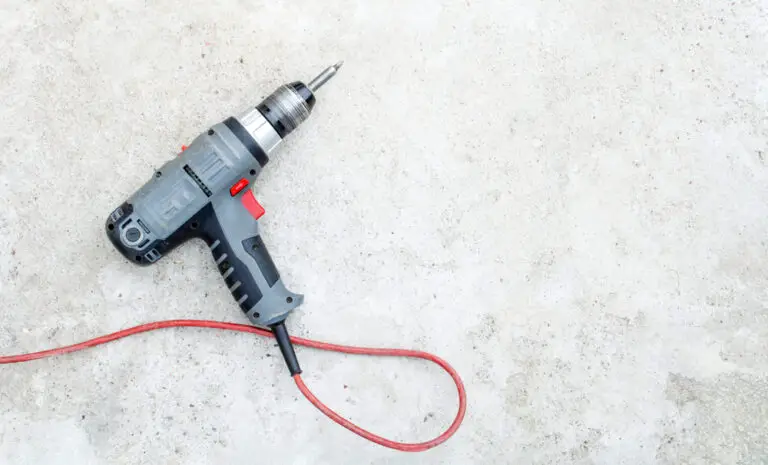
Whether you’re a seasoned DIYer or a beginner, a cordless drill is a must-have tool that can make your life much easier. In this article, I will share some exciting DIY projects that you can accomplish with a cordless drill. From replacing cabinet hardware to crafting a wood doormat, the possibilities are endless! So, let’s dive in and explore some fantastic cordless drill ideas.
Key Takeaways:
- A cordless drill is a versatile and useful tool for DIY enthusiasts.
- You don’t need advanced DIY skills to use a cordless drill effectively.
- Some easy DIY projects that you can complete with a cordless drill include replacing cabinet hardware, making a coat rack, crafting a wood doormat, and creating a DIY candle holder.
- Always prioritize safety when using a cordless drill by wearing protective gear and using the correct drill bits.
- Unlock the potential of your cordless drill and embark on exciting DIY adventures!
Replacing Cabinet Hardware
Whether you’re looking to update the style of your cabinets or simply replace worn-out hardware, this project allows you to give your cabinets a fresh new look without breaking the bank.
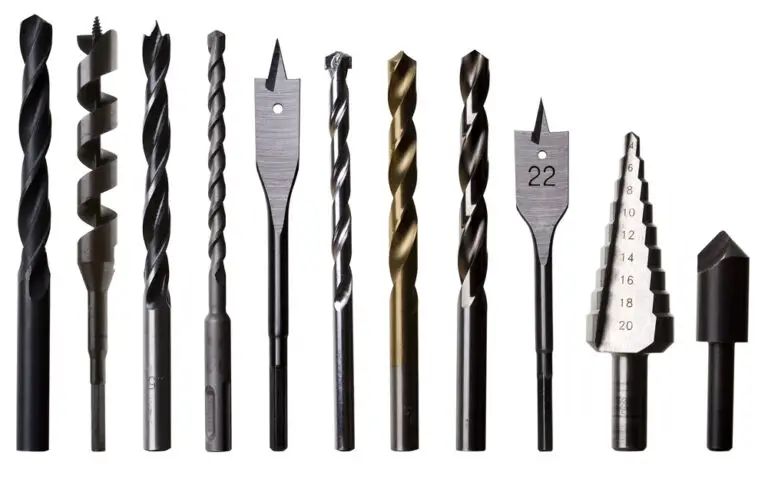
When starting the project, the first step is to gather the necessary tools. Ensure you have a cordless drill with a screwdriver bit, along with the new cabinet hardware that matches your desired style. Having the right tools and materials will make the task much easier and more efficient.
To begin, use the screwdriver bit in your cordless drill to remove the old hardware. This will typically involve unscrewing the screws that hold the hardware in place. Take care not to damage the surrounding cabinet surfaces during this process.
Once the old hardware is removed, assess the condition of the existing holes. If the holes are still in good shape and align with the placement of the new hardware, you’re in luck! Simply attach the new hardware using the existing holes, tightening the screws with your cordless drill until they are secure.
However, if the existing holes do not align with the new hardware or if they are damaged, you have a couple of options. One option is to fill the old holes with wood filler and let it dry. Afterwards, sand down the surface until it is smooth and even. This will provide a solid base for drilling new holes to accommodate the new hardware.
Another option is to use decorative backplates to cover the old holes. Backplates are available in various styles and sizes, and they can add an extra touch of elegance to your cabinets while concealing any imperfections.
To help you visualize the process, here is a table summarizing the steps involved in replacing cabinet hardware:
| Steps | Action |
|---|---|
| 1 | Gather the necessary tools and materials (cordless drill with screwdriver bit, new cabinet hardware) |
| 2 | Remove the old hardware using the screwdriver bit in the cordless drill |
| 3 | Assess the condition of the existing holes |
| 4 | If the existing holes align with the new hardware, attach the new hardware using the existing holes |
| 5 | If the existing holes do not align or are damaged, fill them with wood filler or use decorative backplates |
By following these simple steps, you can successfully replace your cabinet hardware and transform the look of your cabinets. Enjoy the satisfaction of a job well done and admire the updated aesthetic of your space, all thanks to your trusty cordless drill and a little DIY know-how.
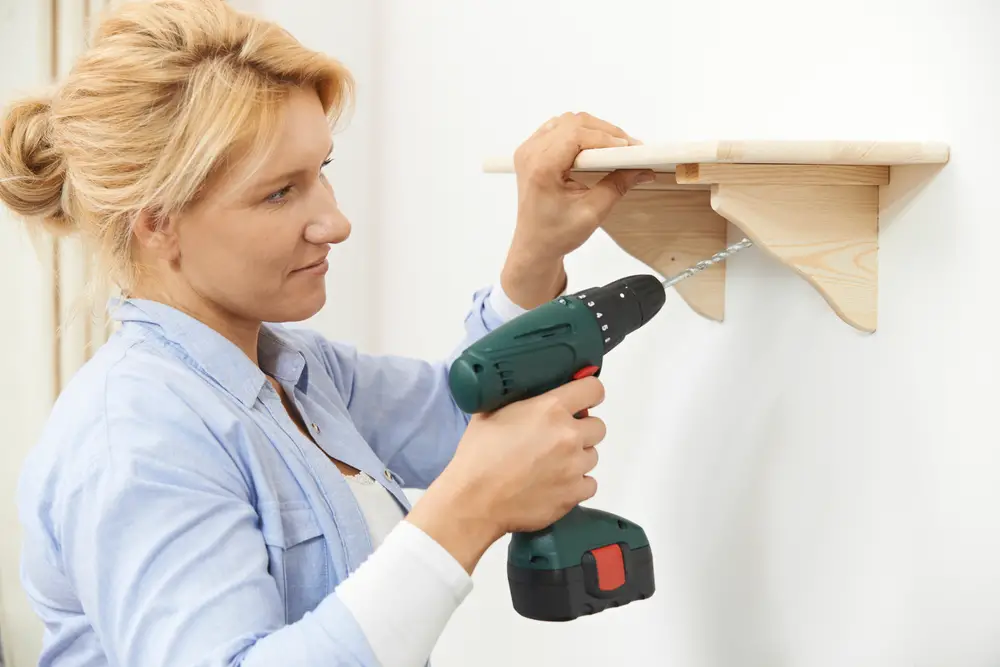
Making a Coat Rack
With a cordless drill, you can easily create a stylish DIY coat rack for your entryway. A coat rack is not only practical but also adds a touch of charm to your home decor. Here’s how you can make a coat rack using a handheld power drill:
- Cut a piece of wood to the desired size for your coat rack. Choose a sturdy and durable wood that can support the weight of coats and jackets.
- Use a handheld power drill with an appropriate drill bit to create holes in the wood for the hooks. Measure and mark the desired placement for the hooks, ensuring even spacing between them.
- Stain the wood using a wood stain of your choice. Apply the stain evenly, following the manufacturer’s instructions, and allow it to dry completely.
- Once the stain is dry, it’s time to install the hooks. Insert the hooks into the drilled holes and secure them firmly.
- To ensure the coat rack is securely mounted to the wall, you have two options: mounting to studs or using wall anchors. If you have access to studs, use a stud finder to locate them and attach the coat rack directly to the studs. If studs are not available in the desired location, use wall anchors to provide additional support.
Once the coat rack is mounted, step back and admire your creation. It’s now ready to hold coats, hats, bags, and other accessories, keeping your entryway organized and clutter-free.
Crafting a Wood Doormat and DIY Candle Holder
When it comes to DIY projects, a cordless drill is an invaluable tool. In this section, I’ll show you how to craft a beautiful wood doormat and a stylish DIY candle holder using a small drill for crafts. Let’s get started!
Crafting a Wood Doormat
A wood doormat is a fantastic way to add a touch of rustic charm to your entryway. With a cordless drill and some basic materials, you’ll have a unique and functional doormat in no time.
Here’s what you’ll need:
- 2×2 lumber
- A small drill for crafts
- Stain or paint
- Rope
Follow these steps to craft your wood doormat:
- Cut the 2×2 lumber into equal lengths, depending on the desired size of your doormat.
- Using the small drill for crafts, drill holes in each end of the lumber pieces.
- Apply your preferred stain or paint to protect and enhance the natural beauty of the wood. Let it dry completely.
- Thread the rope through the holes and tie knots at each end to connect the pieces of lumber together.
And voila! You now have a beautiful wood doormat that will impress all your guests.
DIY Candle Holder
A wooden candle holder adds warmth and elegance to any room. Using a spade bit with your small drill, you can create a unique candle holder that reflects your personal style.
Here’s what you’ll need:
- A piece of wood
- A small drill for crafts with a spade bit
- Candles
Follow these steps to make your DIY candle holder:
- Choose a piece of wood that suits your aesthetic preferences.
- Using the small drill for crafts with a spade bit, drill holes in the wood. The size of the holes should be slightly smaller than the candles you plan to use.
- Insert the candles into the holes and ensure they are secure.
Now you have a stunning DIY candle holder that will create a cozy ambiance in your home.
Materials and Tools
| Materials | Tools |
|---|---|
| 2×2 lumber | Small drill for crafts |
| Stain or paint | Spade bit |
| Rope |
Conclusion
A cordless drill is an incredibly versatile tool that opens up a world of possibilities for DIY enthusiasts. With this handy device, you can easily tackle a wide range of projects, from replacing cabinet hardware to creating unique home decor pieces.
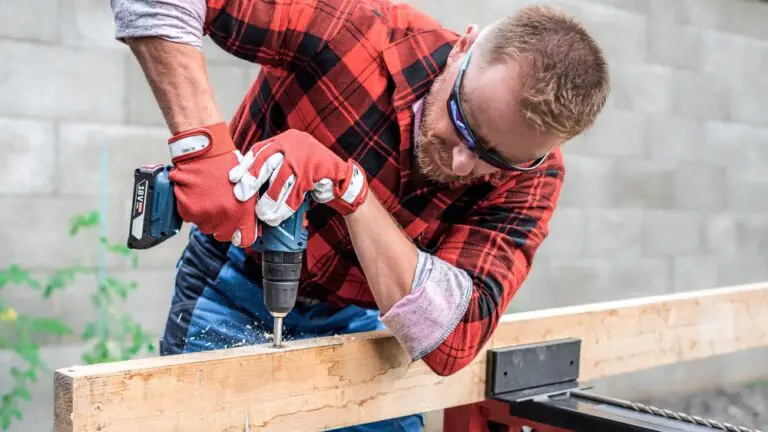
When using a cordless drill, it’s essential to prioritize safety. Always wear protective gear, such as safety glasses and gloves, to prevent accidents and injuries. Additionally, make sure to use the correct drill bits for your project to ensure precise and efficient results.
So, why wait? Unlock the full potential of your cordless drill and dive into the exciting realm of DIY. Get creative with cordless drill projects and take advantage of these valuable DIY tips to enhance your home and master new skills. Happy drilling!
FAQ
What are some DIY projects that can be done with a cordless drill?
Some easy DIY projects that can be completed with a cordless drill include replacing cabinet hardware, making a coat rack, crafting a wood doormat, and creating a DIY candle holder. The possibilities for DIY projects with a cordless drill are almost endless.
How can I replace cabinet hardware with a cordless drill?
To replace cabinet hardware, use a screwdriver bit in the drill to remove the old hardware. Try to use the existing holes to mount the new hardware. If necessary, patch the old holes or hide them with the new hardware.
How can I make a coat rack with a cordless drill?
With a cordless drill, you can make a DIY coat rack for your entryway. Cut a piece of wood to the desired size and drill holes for the hooks. Stain the wood and let it dry before installing the hooks. Mount the coat rack to studs if available, or use wall anchors for support.
How can I craft a wood doormat and a DIY candle holder with a cordless drill?
Use a cordless drill and a small drill for crafts to craft a wood doormat. Cut lengths of 2×2 lumber and drill holes in each end of the pieces. Stain the wood and string rope through the holes to connect the pieces. Use a spade bit with the small drill to make holes in a piece of wood for a DIY candle holder.
What are some safety tips for using a cordless drill?
Always follow safety tips when using a cordless drill, such as wearing protective gear and using the correct drill bits for your project.
- Drill Battery Maintenance: Essential Tips for Cordless Drill Battery Care - February 5, 2024
- Troubleshooting Drill Issues - February 5, 2024
- Quick Drilling Techniques - February 2, 2024