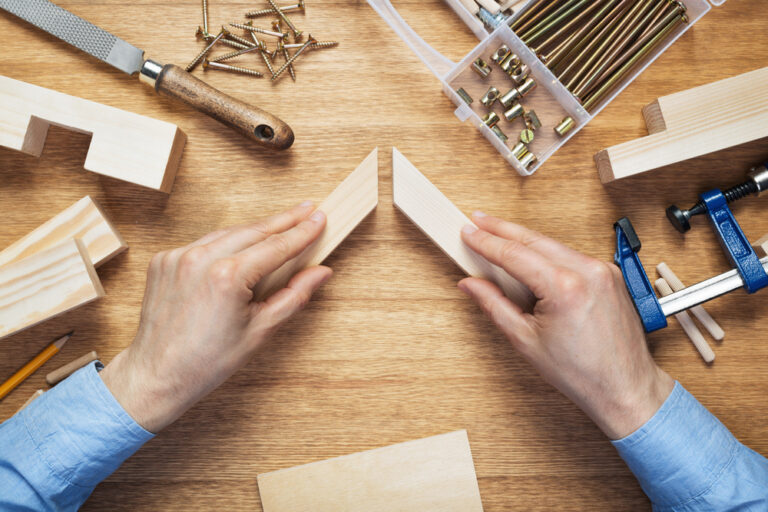
If you’re looking to add some functional and stylish storage to your home, building a simple wooden shelf is a great DIY project to tackle. With a few basic tools and materials, you can create a custom shelf that fits your space perfectly. In this guide, I’ll walk you through the step-by-step process of building a wooden shelf from scratch, providing tips and tricks along the way.
Key Takeaways
- Building a wooden shelf is an easy and rewarding woodworking project.
- With the right materials and planning, you can create a custom shelf that meets your specific needs.
- Consider the use of the shelf and the size of the space when designing and choosing materials.
- Proper bracket selection and installation are crucial for stability and support.
- Take the time to level and adjust the shelf during the installation process.
Choosing the Right Materials
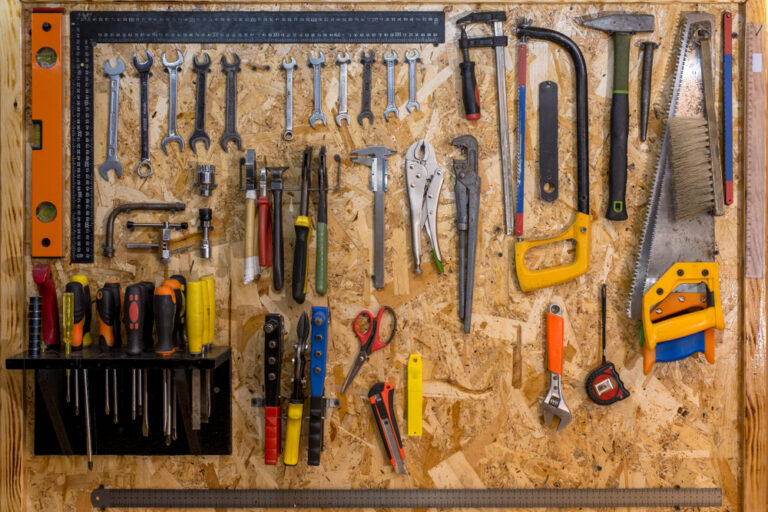
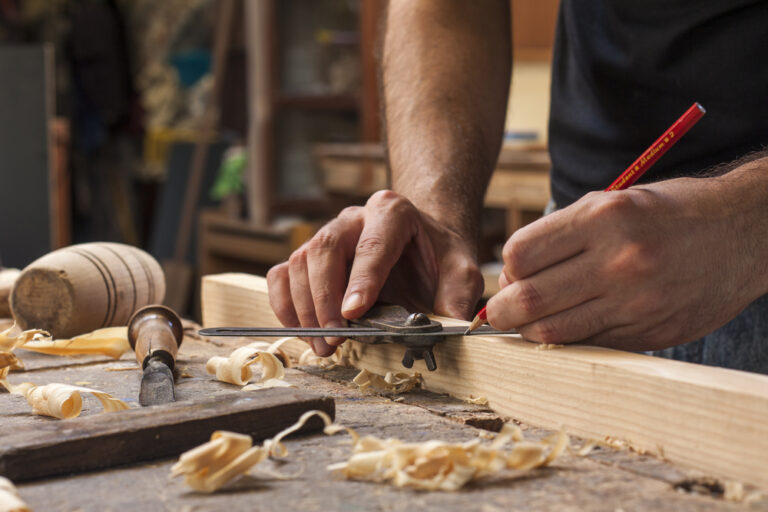
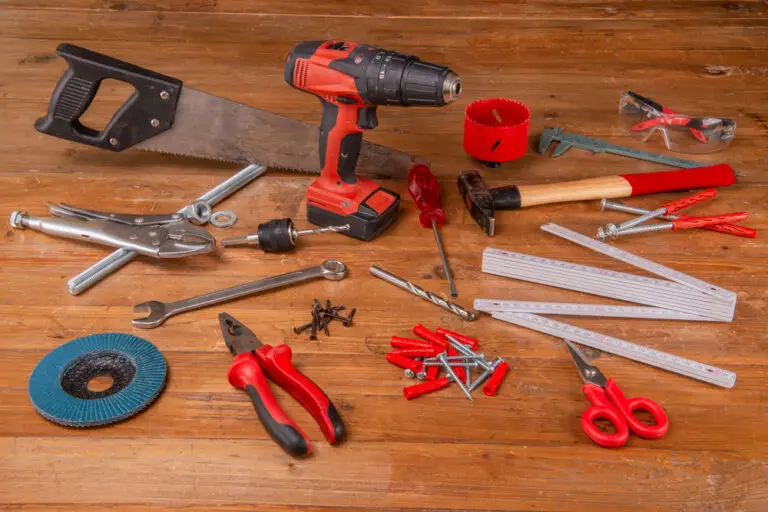
Once you’ve decided to build a wooden shelf, it’s important to choose the right materials. You’ll need wood shelves, metal shelf brackets, bolts or screws, a measuring tape, painter’s tape, a pencil or pen, a long level, and a cordless drill. Consider using common lumber from the hardware store or white oak for a unique look. Determine the dimensions of the shelves based on your space and requirements.
Planning and Designing
Prior to building your wooden shelf, take the time to plan and design it properly. Identify whether the shelf is for storage or decoration and consider any potential conflicts with doors or other hazards. Use painter’s tape to visualize the placement of the shelf and its length before installation. Bear in mind the standard sizes for kitchen, bathroom, living room, and pantry shelves. Treat the wood before installing it to protect and maintain its natural look.
Selecting the Right Brackets
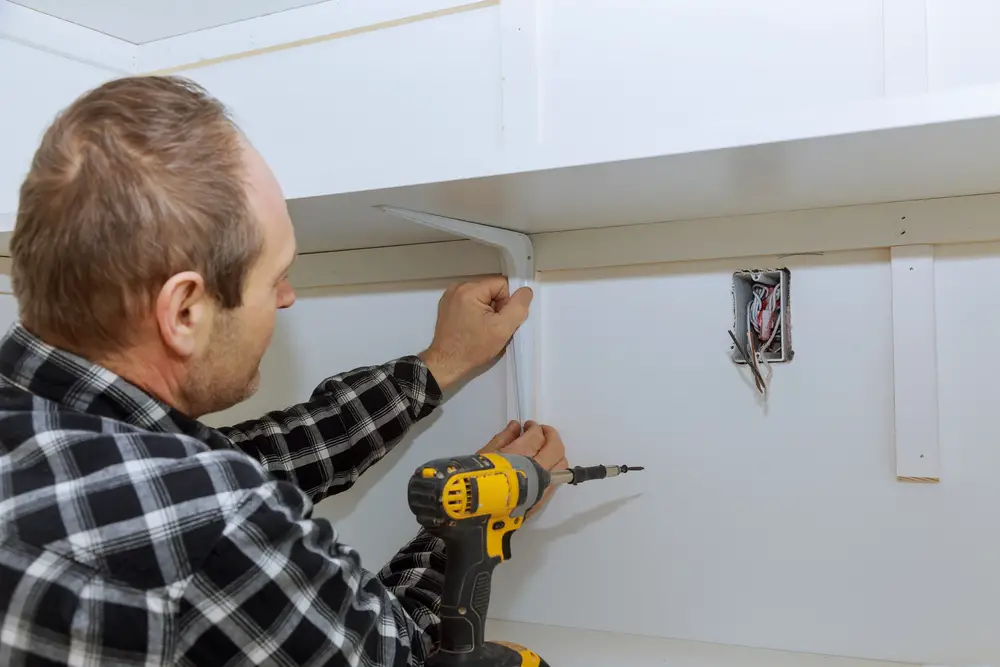
The right brackets are essential for the stability and support of your wooden shelf. Choose the appropriate bracket style, such as J brackets, and ensure the number of brackets matches the weight and length of the shelves. Avoid placing brackets too far in from each end and consider the standard cabinet height. Install the brackets securely into wall studs or use wall anchors for drywall. Pre-drill holes and use a long level to align the brackets properly. If drilling into tile, utilize a special diamond drill bit. Attach the brackets securely to the wall.
Installing the Shelf
Installing the wooden shelf requires precise measurements and attention to detail. Use a level tool to ensure the brackets are aligned correctly, avoiding using the ceiling as a guide. Pre-drill holes before attaching the shelf brackets to avoid splitting the wood. Once the brackets are securely attached, place the shelves on top and tighten any loose brackets. Choose the best side of the board to face out, taking into account the grain and markings. Finally, place your items on the shelf and enjoy your new wooden storage solution.
Alternative Shelf Building Methods
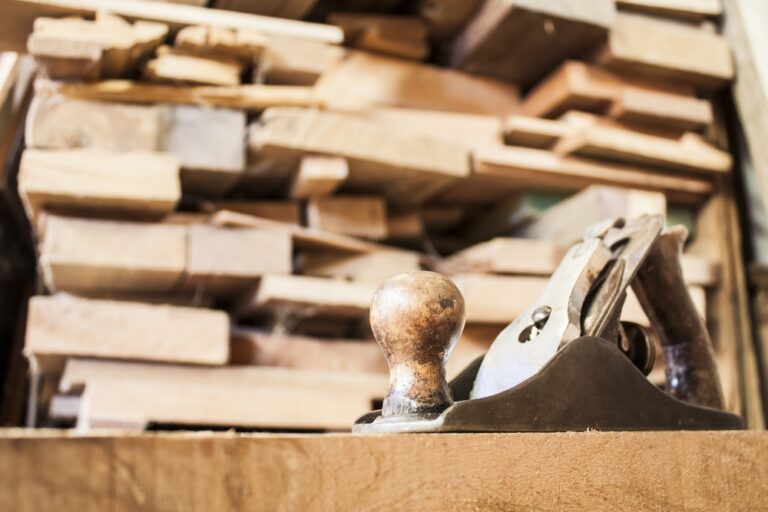
While this guide focuses on building a simple wooden shelf with brackets, there are alternative methods to explore. Use softwood boards, plywood boards, particleboard or chipboard shelves, or blockboard shelves for different looks and styles. Pre-made shelves are available for easier installation. For unique options, try brick and board shelves, floating shelves, invisible shelves, skateboard shelves, hidden door bookshelves, CD rack shelves, or even shelves designed for your cat. Get creative and find the perfect shelf design for your space.
Choosing the Right Materials
When it comes to building a wooden shelf, selecting the right materials is essential. Before you start, gather the following tools and supplies:
- Wood shelves
- Metal shelf brackets
- Bolts or screws
- Measuring tape
- Painter’s tape
- Pencil or pen
- Long level
- Cordless drill
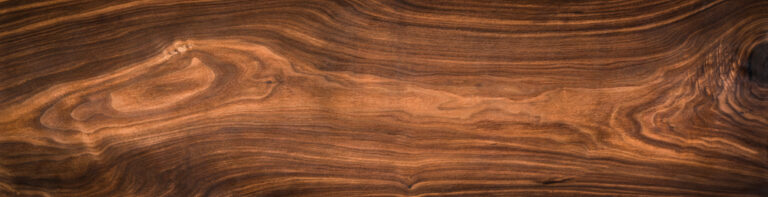
For the shelf boards, you have a few options. Common lumber from the hardware store is a reliable choice for its affordability and availability. However, if you’re looking for a more unique look, consider using white oak or other types of wood. Take into account the depth and length of the shelves based on your specific needs and the size of the space.
Having the right materials on hand ensures a smooth and successful shelf-building process. Now that you’re equipped with the necessary tools and supplies, let’s move on to the next step: planning and designing your wooden shelf.
Planning and Designing
Before starting your wooden shelf construction project, proper planning and designing are crucial. By taking the time to carefully consider various factors, you can ensure that your shelf not only serves its intended purpose but also enhances the overall aesthetics of your space.
Identifying Shelf Use: Storage or Decor?
The first step in planning your wooden shelf is identifying its primary use. Will it be primarily used for storage purposes or as a decorative display? This distinction will help determine the size, placement, and design of your shelf.
Considering Conflicts: Placement and Length
When planning the placement and length of your shelf, it’s important to consider any potential conflicts in your space. Take note of open doors, eye-level hazards, or other obstacles that may impact the optimal positioning of your shelf.
Using painter’s tape, you can create visual boundaries on the wall to help you visualize the shelf’s placement and length. This simple technique allows you to experiment with different options before making any permanent installations.
Standard Sizes for Different Areas
The size of your wooden shelf will depend on the specific area where it will be installed. Different areas of your home may have varying requirements:
- Kitchen: Consider standard kitchen shelf sizes to maximise storage efficiency.
- Bathroom: Choose bathroom shelf sizes that accommodate toiletries and other essentials.
- Living Room or Display: Opt for living room or display shelf sizes that complement your home decor and allow for the display of decorative items or books.
- Pantry: Select pantry shelf sizes that cater to your storage needs, such as canned goods, dry ingredients, and kitchen supplies.
When selecting the dimensions, it’s important to keep in mind that the common lumber nominal size may differ from its actual size. Be sure to check the actual size to ensure accurate measurements for your shelf construction project.
Treating the Wood for Protection
Before installing the wooden shelves, it’s important to treat the wood to protect it from moisture, insects, and other potential damage. Depending on your preference and the desired end result, you can choose from various wood treatments, such as staining, painting, varnishing, or applying a protective sealant.
By treating the wood, you not only enhance its durability but also maintain its natural look and extend its lifespan.
| Shelf Use | Considerations |
|---|---|
| Storage | – Maximise space efficiency – Optimize accessibility |
| Decor | – Complement overall aesthetics – Accentuate visual appeal |
Common Lumber Nominal Size vs. Actual Size
| Common Lumber Nominal Size | Actual Size |
|---|---|
| 1×4 | 0.75″ x 3.5″ |
| 2×6 | 1.5″ x 5.5″ |
| 4×4 | 3.5″ x 3.5″ |
Selecting the Right Brackets
When it comes to building a stable wooden shelf, selecting the right brackets is crucial. There are different bracket styles available, including J brackets, that can provide the necessary support for your shelves.
The number of brackets needed for your shelf depends on its length and weight. It’s important to avoid placing brackets too far in from each end of the shelf as it may compromise the stability. Proper bracket spacing is essential to ensure the even distribution of weight and prevent sagging.
Consider the standard cabinet height and the desired spacing between shelves to create a balanced and visually appealing look. Too high or too low shelves can disrupt the overall harmony of your shelf design.
Before installing the brackets, it’s recommended to attach them to wall studs for maximum stability. However, in cases where wall studs are not available, wall anchors can be used as an alternative.
To ensure a smooth installation process, it’s advisable to pre-drill holes before attaching the brackets. This helps to prevent the wood from splitting and ensures a secure fit.
If you’re drilling into tile, using a special diamond drill bit is essential to avoid damaging the tile surface. Take extra caution during the drilling process to ensure precision and accuracy.
Once the brackets are securely attached, use a long level tool to ensure they are properly aligned. This will help in achieving a level shelf surface and prevent any tilting or imbalance.
Finally, attach the brackets firmly to the wall, making sure they are tightly secured. This will ensure the stability and durability of your wooden shelf.
Bracket Styles Comparison
| Bracket Style | Pros | Cons |
|---|---|---|
| J brackets | Provides excellent support and stability | May not be aesthetically appealing for certain designs |
| Other bracket styles | Offers a variety of design options | Some styles may have weight limitations |
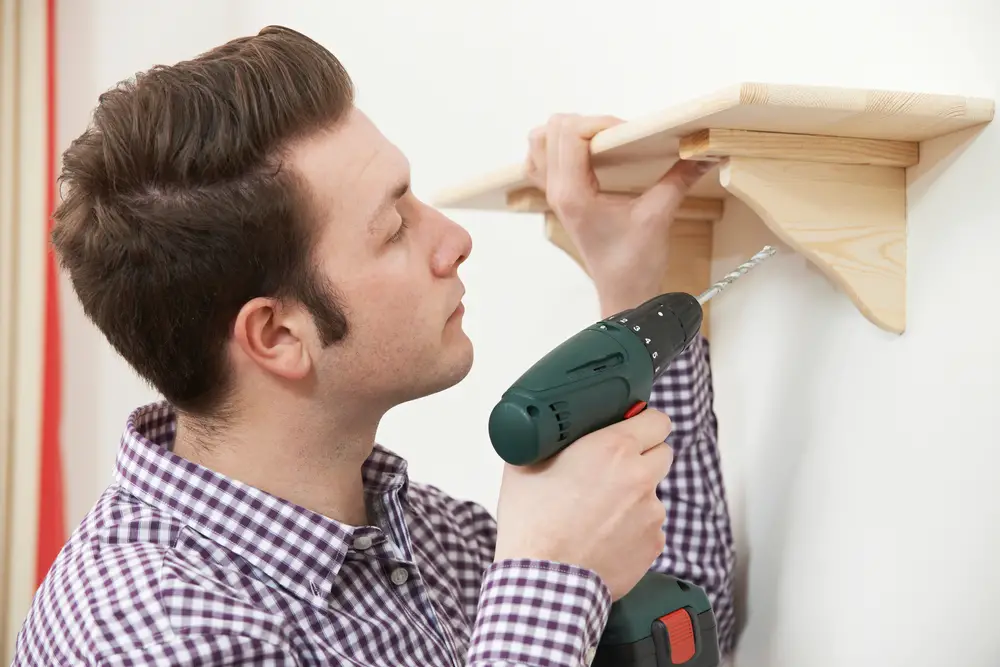
Installing the Shelf
Installing the wooden shelf requires careful measurements and attention to detail. To ensure proper alignment, I recommend using a level tool throughout the installation process. It will help you achieve a perfectly level shelf.
One important tip to keep in mind is to avoid using the ceiling as a level guide. Ceilings are not always perfectly level, so relying on them can result in a wonky shelf. Instead, trust your level tool to give you accurate measurements.
Before attaching the shelf brackets, it’s crucial to pre-drill holes in the wall. This step helps prevent the wood from splitting and provides a more secure installation. Choose a drill bit that matches the diameter of your screws or bolts.
Once the holes are drilled, it’s time to install the shelf brackets. Follow the manufacturer’s instructions and use the appropriate screws or bolts for your brackets. Make sure they are securely fastened to the wall.
After attaching the brackets, take a moment to tighten them and make any necessary adjustments. This will ensure that your shelves are sturdy and level.
When it comes to placing the shelves on the brackets, give some thought to the best side of the board. Consider the grain, markings, and overall appearance of the wood. Choose the side that will enhance the visual appeal of your shelf.
Finally, it’s time to place your items on the shelves and enjoy your new wooden shelf. Whether it’s displaying books, showcasing decor, or organizing essentials, your shelf will add both functionality and style to your space.
| Installation Steps | Benefits |
|---|---|
| Use a level tool to ensure proper alignment | Creates a level and visually appealing shelf |
| Avoid using the ceiling as a level guide | Prevents a wonky shelf due to uneven ceilings |
| Pre-drill holes before attaching the shelf brackets | Prevents wood from splitting and provides a more secure installation |
| Tighten and adjust the brackets as needed | Maintains sturdiness and ensures a level shelf |
| Select the best side of the board for aesthetic appeal | Enhances the overall look of the shelf |
Alternative Shelf Building Methods
In addition to building a simple wooden shelf with brackets, there are a variety of alternative methods you can explore to create unique and functional shelves for your space. Let’s take a look at some of these alternative shelf building options:
Softwood Boards
Softwood boards are a popular choice for building shelves due to their affordability and versatility. They are available in various sizes and can be easily cut and shaped to fit your desired shelf dimensions. Softwood boards, such as pine or cedar, can add a natural and rustic touch to your space.
Plywood Boards
Plywood boards are another cost-effective option for shelf construction. They are made by layering thin sheets of wood veneer and are known for their strength and durability. Plywood boards come in different grades and thicknesses, allowing you to select the right one for your specific shelf needs.
Particleboard or Chipboard Shelves
Particleboard or chipboard shelves are made from compressed wood particles or chips mixed with a resin binder. They are an affordable choice and can be found in pre-cut sizes at most hardware stores. While they may not be as strong as solid wood, they can still provide sufficient support for lightweight items.
Blockboard Shelves
Blockboard shelves are made by sandwiching a solid wood core between two layers of plywood or veneer. This construction gives them added strength and stability. Blockboard shelves are ideal for heavier items or for creating larger shelves that require extra support.
Pre-made and Pre-sized Shelves
If you prefer a convenient and hassle-free option, pre-made and pre-sized shelves are readily available in the market. These shelves come in various designs, materials, and finishes, allowing you to choose the one that matches your style and space requirements. Simply install them according to the manufacturer’s instructions for a quick and easy solution.
Brick and Board Shelves
For a unique and industrial look, you can consider building brick and board shelves. This method involves using bricks as the supporting structure and placing wooden boards on top of them. Brick and board shelves offer a sturdy and eye-catching design, perfect for urban or modern-inspired interiors.
Floating Shelves
If you want to achieve a sleek and minimalist look, floating shelves are an excellent choice. These shelves are mounted directly onto the wall with hidden brackets or support structures, giving them a “floating” appearance. Floating shelves are versatile and can be customized to fit any space.
Invisible Shelves
If you’re looking for a truly unique and unconventional shelf design, invisible shelves might be the perfect option. These shelves use hidden brackets or mounting systems to create the illusion of shelves floating in mid-air. Invisible shelves can be a captivating addition to any room and can be made using various materials.
Skateboard Shelves
Skateboard shelves offer a fun and creative way to display your belongings. With some skateboards and brackets, you can transform them into functional shelves that show off your passion for skateboarding. These shelves work well in bedrooms, playrooms, or any space with a youthful and sporty vibe.
Hidden Door Bookshelf
If you’re looking for a secret storage solution, a hidden door bookshelf might be just what you need. This ingenious design incorporates a bookshelf into a door frame, creating a hidden compartment behind it. Hidden door bookshelves can add a touch of mystery and intrigue to your home.
CD Rack Shelf
If you’re a music enthusiast with a large CD collection, a dedicated CD rack shelf can help you keep your CDs organized and easily accessible. CD rack shelves can be made from various materials, such as wood or metal, and can be customized to fit the size of your collection.
Cat Shelf
For pet lovers, a cat shelf can be a great addition to your home. These shelves are specifically designed to provide a comfortable perch for your feline friend. Cat shelves can be mounted on walls or incorporated into existing furniture, giving your cat a cozy spot to relax and observe their surroundings.
By exploring these alternative shelf building methods, you can find the perfect design and material that suits your space and fulfills your individual needs. Whether you opt for softwood boards, pre-made shelves, or get creative with invisible shelves or skateboard shelving, the possibilities for unique and functional storage solutions are endless.
Conclusion
Building a simple wooden shelf is a satisfying DIY woodworking project that allows you to create a functional and visually appealing storage solution for your home. By following the step-by-step process outlined in this guide, you can easily build your own custom-made shelf that perfectly suits your needs.
Whether you’re a beginner or have experience in woodworking, constructing a wooden shelf is a great way to organize your space and showcase your personal style. The beauty of this project lies in its simplicity, as it requires basic tools and materials that are readily available.
With your newfound knowledge, it’s time to embark on your DIY journey. Gather your tools, select your materials, and get ready to bring your vision to life. Building a simple wooden shelf will not only provide you with a practical storage solution but also a sense of accomplishment and pride in your craftsmanship.
FAQ
What materials do I need to build a simple wooden shelf?
You will need wood shelves, metal shelf brackets, bolts or screws, a measuring tape, painter’s tape, a pencil or pen, a long level, and a cordless drill.
What type of wood should I use for the shelf boards?
Common lumber from the hardware store is a good option, but you can also use white oak or other types of wood for a more unique look.
How should I plan and design my wooden shelf?
Consider how you will be using the shelf, visualize the placement and length using painter’s tape, and take into account standard sizes for different types of shelves. Treat the wood before installing it for protection and a natural look.
What type of brackets should I use for the shelf?
There are different bracket styles available, including J brackets. The number of brackets needed depends on the length and weight of the shelves. Install them securely and ensure they are properly aligned using a long level.
How do I install the wooden shelf?
Use a level tool to align the brackets properly. Pre-drill holes before installing the shelf brackets to avoid splitting the wood. Once the brackets are securely attached to the wall, place the shelves on top of them and make necessary adjustments.
Are there any alternative methods for shelf building?
Yes, you can use different types of boards like softwood, plywood, particleboard, or blockboard shelves. There are also pre-made shelves available for easier installation. Additionally, you can explore creative options like brick and board shelves, floating shelves, invisible shelves, and more.
What are the benefits of building a simple wooden shelf?
Building a wooden shelf allows you to customize it to fit your exact needs and complement your decor. It is a rewarding DIY project that adds both functionality and aesthetic appeal to your space.
- Drill Battery Maintenance: Essential Tips for Cordless Drill Battery Care - February 5, 2024
- Troubleshooting Drill Issues - February 5, 2024
- Quick Drilling Techniques - February 2, 2024