In this article, I will share my expert tips for building a custom tool cabinet. Whether you’re a DIY enthusiast or a professional woodworker, these tips will help you create a functional and organised cabinet to store your tools.
Key Takeaways
- Building a custom tool cabinet allows for personalised storage solutions.
- Consider the size and shape of your tools when designing the cabinet.
- Choose durable materials like solid wood or plywood for a long-lasting cabinet.
- Proper organisation is essential for an efficient tool cabinet.
- Maximise storage in a small space by using clever design techniques.
Designing a Custom Tool Cabinet
When it comes to designing a custom tool cabinet, there are a few key factors to consider. First and foremost, you’ll want to think about the specific tools you own and the ones you plan on adding to your collection in the future. Assess the sizes and shapes of your tools to determine the amount of storage space required.
In addition to considering the tools themselves, it’s crucial to choose the right materials for your cabinet. Opt for durable and high-quality options like solid wood or plywood. These materials not only provide strength and stability to your cabinet, but they also lend a professional and aesthetically pleasing look to your workshop.
When designing your custom tool cabinet, keep in mind the importance of organisation and accessibility. Consider incorporating features such as adjustable shelves, drawers, and hinged doors to maximise the functionality of your cabinet. By carefully planning the design and materials of your tool cabinet, you can create a space that is not only practical but also visually appealing.
Table: Tool Cabinet Design Considerations
| Consideration | Description |
|---|---|
| Tool Storage Needs | Assess the sizes and shapes of your tools to determine the required storage space. |
| Materials | Choose durable and high-quality materials like solid wood or plywood for your cabinet construction. |
| Organisation and Accessibility | Incorporate features like adjustable shelves, drawers, and hinged doors to maximise the functionality of your cabinet. |
Designing a custom tool cabinet is an exciting opportunity to create a storage solution tailored to your specific needs. By carefully assessing your tool collection, choosing the right materials, and incorporating smart design features, you can build a functional and visually appealing cabinet that enhances your workshop’s efficiency and organisation.
Tool Cabinet Construction Process
Building a custom tool cabinet requires careful planning and execution. In this section, I will guide you through the step-by-step process of constructing a tool cabinet that is both sturdy and functional. By following these assembly tips, you’ll be able to create a custom cabinet that meets your specific needs.
Step 1: Building the Main Case and Door Boxes
The first step in constructing your tool cabinet is to build the main case and door boxes. This is where your tools will be stored, so it’s important to ensure that these components are well-built and secure. Use sturdy joinery methods such as dovetailing or mortise and tenon joints to create strong connections. Pay attention to the accuracy of your measurements and cuts to ensure a precise fit.
Step 2: Gluing up the Case and Door Panels
Once the main case and door boxes are built, the next step is to glue up the case and door panels. This is an essential step in ensuring the sturdiness and squareness of the cabinet assembly. Apply quality wood glue to the joints, making sure to spread it evenly. Use clamps to hold the panels together firmly while the glue dries. Take your time during this step to ensure a solid and stable cabinet structure.
Step 3: Constructing Frame-and-Panel Doors
To add an attractive and functional element to your tool cabinet, consider constructing frame-and-panel cabinet doors. This type of door provides stability and durability while allowing for expansion and contraction of the wood. Use stub-tenon joinery to create strong connections between the door frames and panels. Pay attention to the fit of the panels within the frames, ensuring they slide smoothly and securely.
Step 4: Building Shelves and Swing-Out Panels
The final step in the tool cabinet construction process is to build shelves and swing-out panels to maximise storage space. Consider the types of tools you plan to store in the cabinet and design the shelves accordingly. Optimise the use of space by incorporating swing-out panels that provide easy access to your tools. Take into account the weight-bearing capacity of the shelves and panels, using sturdy materials and appropriate hardware to ensure their strength and stability.
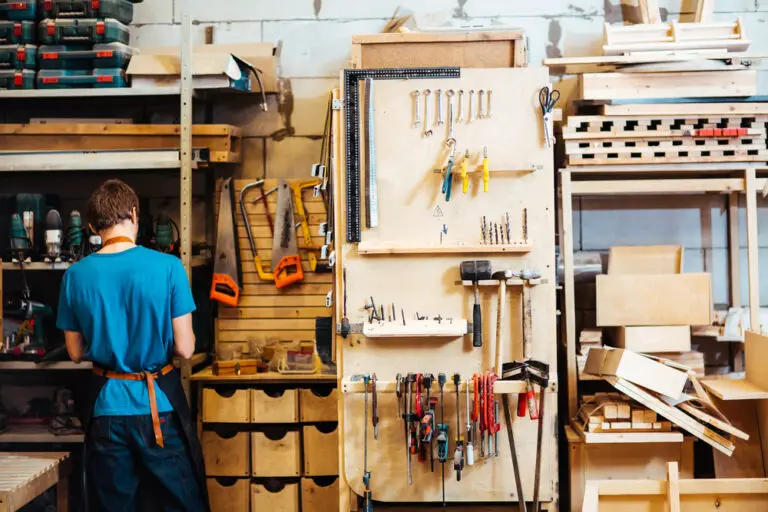
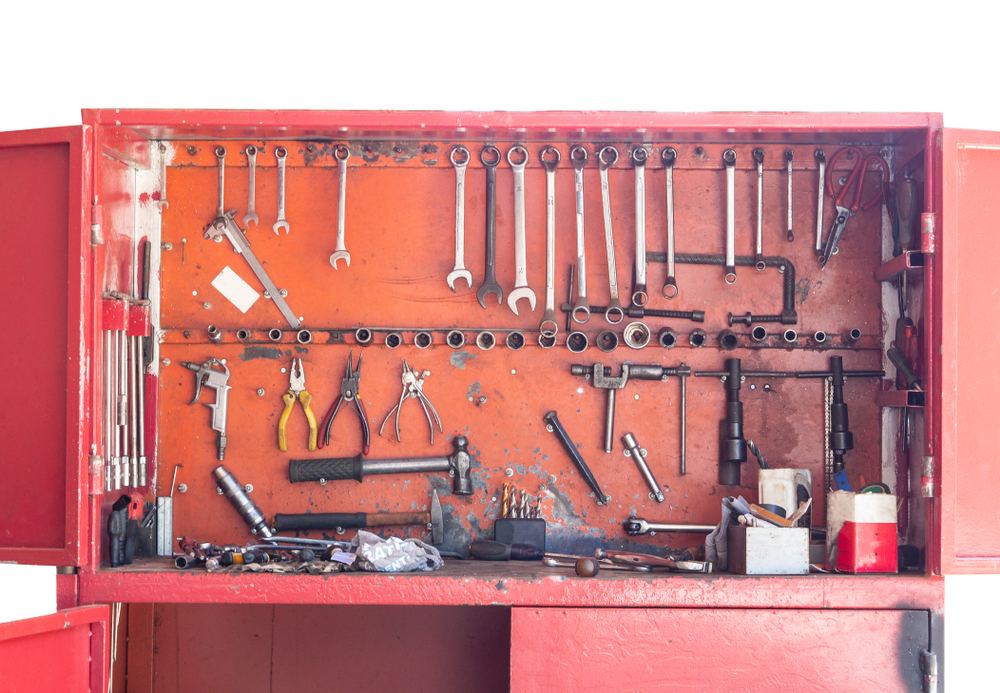
Organising Your Tool Cabinet
When it comes to a custom tool cabinet, proper organisation is essential for maximising functionality and efficiency. Whether you’re a DIY enthusiast or a professional woodworker, having a well-organised tool cabinet can save you time and frustration in your workshop. Here are some tips to help you effectively organise your custom tool cabinet:
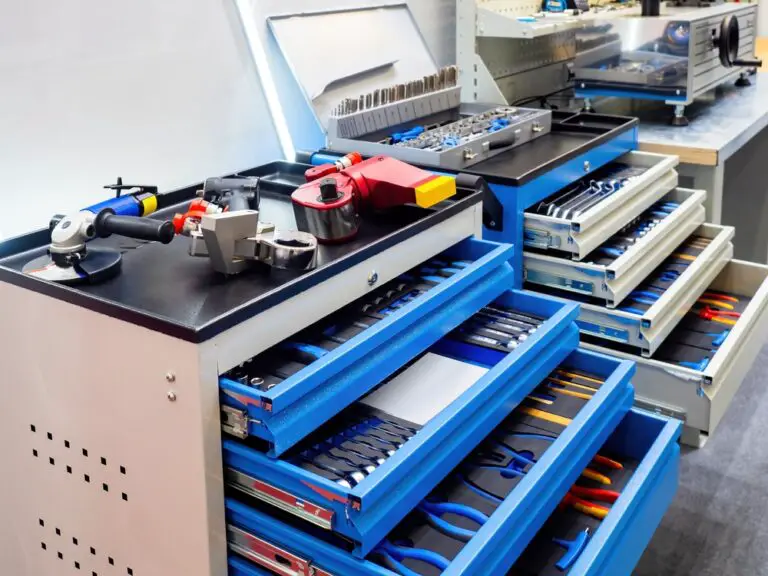
1. Custom-Fitted Storage Solutions
Consider custom-fitted storage solutions to create designated spaces for each tool in your cabinet. This can include compartments, dividers, and racks that are tailored to the specific dimensions of your tools. By having a dedicated spot for each tool, you’ll be able to easily locate and retrieve them when needed.
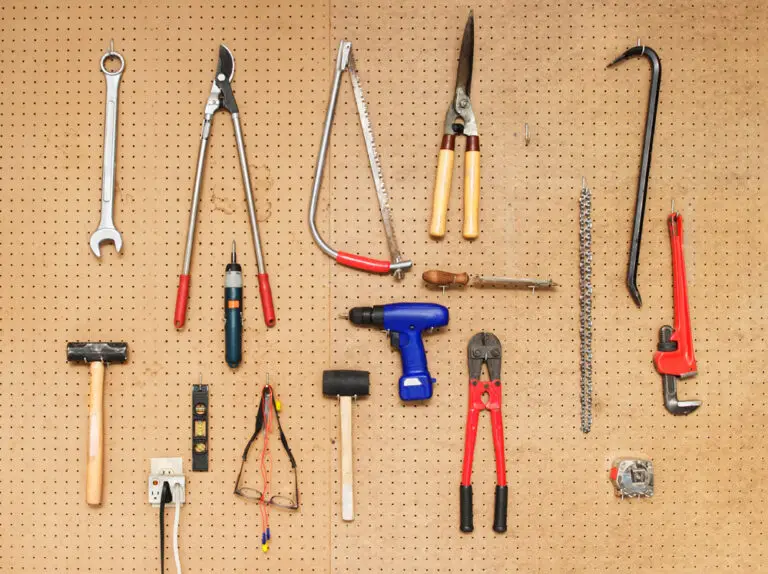
2. Group and Categorise
Grouping similar tools together is another effective way to organise your tool cabinet. Arrange the tools by type or function, such as screwdrivers, wrenches, or power tools. This not only makes it easier to find specific tools but also helps maintain order within the cabinet.
3. Accessibility
Make sure to arrange your tools in a way that makes them easily accessible. Place frequently used tools within reach and less frequently used ones towards the back or higher shelves. Utilise swing-out panels, storage shelves, and hanging features to maximise the interior space of the cabinet and keep your tools within arm’s reach.
Maximising Storage in a Small Space
If you have limited space in your workshop, you may be wondering how to maximise the storage in your custom tool cabinet. Fortunately, there are a few clever design strategies that can help you make the most of every inch of space available.
Increasing Cabinet Depth
One effective way to optimise storage in a small tool cabinet is by increasing its depth. By extending the cabinet’s depth, you’ll be able to accommodate more tools, especially handplanes. This can make a significant difference in maximising storage capacity without taking up extra wall space.
Utilising Shallow Box-Style Doors
Another smart storage solution for small spaces is to use shallow box-style doors with swing-out panels. These doors create additional storage compartments without requiring extra room in your workshop. The swing-out panels can be used to store smaller tools or accessories, further maximising the interior storage of the cabinet.
Creating a Compact and Functional Design
To make the most of a small tool cabinet, it’s essential to prioritise a compact and functional design. Consider incorporating adjustable shelves to accommodate tools of various sizes. You can also utilise hanging features, such as pegboards or magnetic strips, to keep frequently used tools easily accessible and organised.
In summary, when faced with limited workshop space, you can maximise the storage in your custom tool cabinet by increasing depth, using shallow box-style doors with swing-out panels, and creating a compact and functional design. These strategies will help you optimise your storage capacity while keeping your tools organised and readily available for your woodworking projects.
Tips from the Experts
When it comes to building a custom tool cabinet, there are a few expert tips that can help ensure a successful project. As an experienced woodworker, I have gathered valuable insights on tool cabinet construction and assembly. By incorporating these tips into your process, you can create a functional and durable cabinet that will meet your needs for years to come.
Designing Around Your Tools
One of the first steps in building a custom tool cabinet is to consider the tools you use regularly. By designing the cabinet around these tools, you can ensure that they are easily accessible and properly organised. Take the time to measure your tools and plan the size and layout of your cabinet accordingly. This will prevent any unnecessary gaps or wasted space and allow for efficient storage.
Mock-Up and Visualisation
Before starting the construction process, consider making a full-sized mock-up of your cabinet using plywood scraps. This will help you visualise the space and ensure that your design meets your needs. By physically seeing the layout and dimensions, you can make any necessary adjustments before committing to the final build. This step can save you time, materials, and potential frustration down the line.
Paying Attention to Details
When constructing your tool cabinet, it’s important to pay attention to the small details. Selecting high-quality hardware is crucial for the cabinet’s durability and functionality. Make sure to choose hinges that can support the weight of your doors and secure handles that are comfortable to grip. Additionally, take the time to ensure that all joints are properly assembled and glued for a sturdy and long-lasting cabinet.
By incorporating these expert tips into your custom tool cabinet project, you can create a well-designed and efficiently organised storage solution for your tools. Remember to design around your specific tools, visualise your cabinet layout with a mock-up, and pay attention to the small but important details. With proper planning and execution, your custom tool cabinet will be a valuable addition to your workshop.
| Tips from the Experts |
|---|
| Designing Around Your Tools |
| Mock-Up and Visualisation |
| Paying Attention to Details |

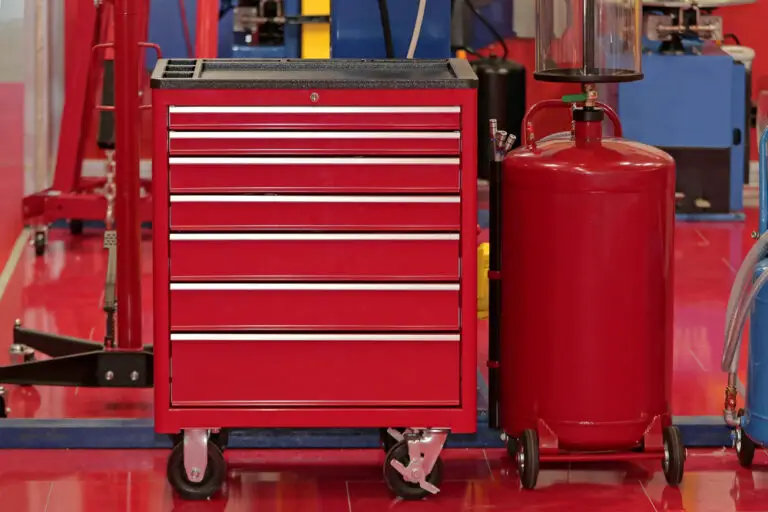
Building a Rolling Tool Cabinet
When it comes to tool storage, a rolling tool cabinet offers both convenience and versatility. With a rolling cabinet, you can easily move your tools around your workspace, making it ideal for those who need additional workspace or frequently work on different projects in different areas. In this section, I will discuss the benefits of building a rolling tool cabinet and provide some tips to help you create a functional and organised storage solution.
Benefits of a Rolling Tool Cabinet
A rolling tool cabinet offers several advantages over a stationary cabinet. Firstly, the ability to move your tools allows for greater flexibility in your workspace layout. You can position your cabinet wherever it is most convenient, whether it’s near a workbench or closer to a specific project area. Secondly, a rolling cabinet provides extra workspace on top, allowing you to have a dedicated surface for tasks such as assembly or layout. Lastly, the mobility of a rolling cabinet makes it easier to clean and reorganise your workshop, as you can easily move it out of the way or access hard-to-reach areas.
Tips for Building a Rolling Tool Cabinet
When building a rolling tool cabinet, there are a few key considerations to keep in mind. Firstly, choose sturdy and durable materials for the construction, as the cabinet will need to withstand movement and potential impacts. Opt for heavy-duty casters with swivel and locking capabilities to ensure smooth mobility and stability when in use. Additionally, think about incorporating vertical storage options, such as pegboards or slotted walls, to maximise the use of space. Finally, consider the size and weight of your tools when planning the layout of the cabinet, ensuring that there is sufficient storage and easy access to each tool.
Table: Pros and Cons of a Rolling Tool Cabinet
| Pros | Cons |
|---|---|
| Enhanced mobility and flexibility | May take up more floor space |
| Additional workspace on top | Require sturdy construction for durability |
| Easier cleaning and reorganisation | Consideration for weight capacity |
| Easy access to tools in different areas | May require additional storage solutions for smaller items |
Conclusion
Building a custom tool cabinet is a rewarding project that can greatly enhance your workshop organisation and efficiency. Whether you’re a DIY enthusiast or a professional woodworker, these tool cabinet-building tips will help you create a functional and personalised cabinet that fits your woodworking needs.
When designing your custom tool cabinet, consider the specific needs of your tools and choose durable materials like solid wood or plywood. The construction process involves various steps, such as building the main case and door boxes, constructing frame-and-panel cabinet doors, and maximising storage space with shelves and swing-out panels.
Proper organisation is key to a functional tool cabinet, so consider using custom-fitted compartments and arranging your tools in a way that makes them easily accessible. If you have limited space, maximise storage by increasing the depth of the cabinet and using shallow box-style doors with swing-out panels.
FAQ
What should I consider when designing a custom tool cabinet?
When designing a custom tool cabinet, it’s important to consider the tools you own and the ones you’d like to own. Assess the sizes and shapes of your tools to determine the storage space required. Additionally, choose durable and high-quality materials for your cabinet construction, such as solid wood or plywood.
What are the steps involved in building a custom tool cabinet?
The construction process of a custom tool cabinet involves various steps. Begin by building the main case and door boxes, using joinery methods like dovetailing or mortise and tenon joints. Glue up the case and door panels to ensure a sturdy and square assembly. Construct frame-and-panel cabinet doors using stub-tenon joinery. Finally, build shelves and swing-out panels to maximise storage space inside the cabinet.
How can I organise my tool cabinet effectively?
Proper organisation is key to a functional tool cabinet. Consider using a custom-fitted plane till or compartments to create designated spaces for each tool. Group similar tools together and arrange them in a way that makes them easily accessible. Utilize swing-out panels, storage shelves, and hanging features to maximise the interior cabinet space.
How can I maximise storage in a small tool cabinet?
If you have limited space in your workshop, there are ways to maximise storage in your custom tool cabinet. Increase the depth of the cabinet to accommodate more tools, especially handplanes. Use shallow box-style doors with swing-out panels to create additional storage space without taking up extra wall space. This allows you to store more tools in a compact cabinet design.
What tips do the experts have for building a custom tool cabinet?
Experts recommend starting the tool cabinet construction process by considering the tools you use regularly and designing the cabinet around them. Make a full-sized mock-up out of plywood scraps to visualize the space and plan the layout effectively. Pay attention to the small details, such as hardware selection and installation, to ensure a high-quality finished product.
How can I build a rolling tool cabinet?
For those in need of additional workspace and mobility, building a rolling tool cabinet can be a great option. This type of cabinet incorporates vertical storage, organisation of tools and parts, and the convenience of mobility. By repurposing an old hand truck or wheel and axle combo, you can create a functional and versatile tool cabinet on wheels.
- Drill Battery Maintenance: Essential Tips for Cordless Drill Battery Care - February 5, 2024
- Troubleshooting Drill Issues - February 5, 2024
- Quick Drilling Techniques - February 2, 2024