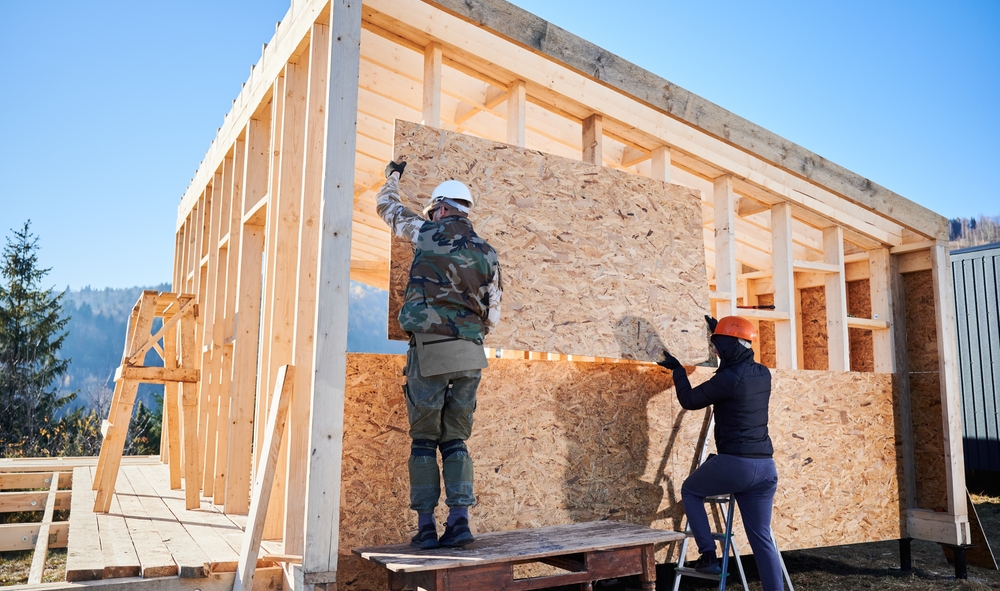
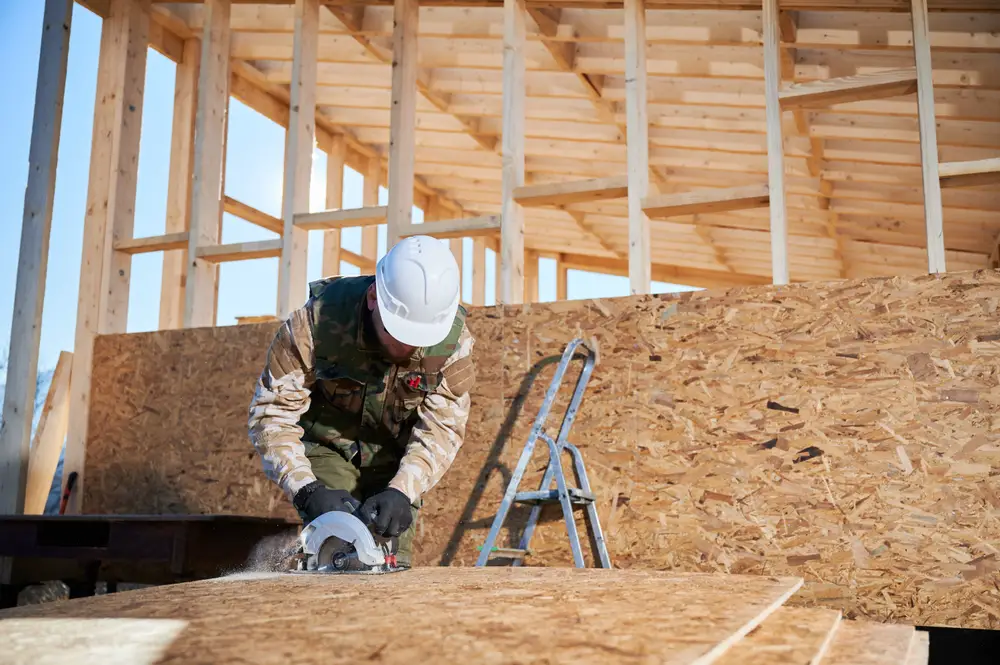
If you need to utilise Oriented Strand Board (OSB) to sheathe your shed’s walls, then you would need to construct those walls like the walls of a house. This means you would need to use a moisture-resistant barrier over the OSB and then cover it with siding. Vinyl siding is recommended because it is inexpensive and DIY-friendly. OSB is an engineered wood product made from compressed layers of wood strands bonded with adhesives. To make OSB more resistant to water, you can add a protective layer and properly waterproof it. Follow these steps to protect OSB from rain:
OSB, or Oriented Strand Board, is a composite wood product made by compressing and binding wood strands with adhesive. While OSB has a certain degree of moisture resistance due to the resin that encapsulates the wood strands, it is still susceptible to warping and swelling when exposed to excessive moisture, such as heavy rain. Properly sealing OSB is crucial to protect it from water damage. Here are some key points about OSB’s vulnerability to water:
Proper preparation and choosing the right waterproofing solution are essential to effectively waterproof OSB boards. Here are the steps you should follow:
Regular maintenance is necessary to maintain the waterproofing effectiveness of OSB boards. Here are some maintenance tips:
Understanding OSB Boards and Their Vulnerability to Water
When it comes to choosing building materials, Oriented Strand Board (OSB) is a popular choice due to its affordability and structural integrity. However, it’s important to understand that OSB boards have inherent vulnerabilities when it comes to water exposure. Moisture resistance is a key consideration when working with OSB, as excessive exposure to water can lead to warping and swelling.
OSB boards are made by compressing and binding wood strands with adhesive, resulting in a composite wood product. While the resin used in the manufacturing process provides a certain level of moisture resistance, it is not enough to fully protect OSB from water damage. Without proper sealing, OSB boards are susceptible to the effects of heavy rain or prolonged exposure to moisture.
To prevent warping and swelling, it is crucial to seal OSB boards properly. This involves applying a protective barrier that prevents water from seeping into the wood strands. By effectively sealing the surface of OSB, you can significantly enhance its moisture resistance and ensure its long-term durability.
The Vulnerability of OSB to Water:
- OSB boards are susceptible to warping and swelling when exposed to excessive moisture.
- While the resin used in manufacturing provides some moisture resistance, it is not enough to fully protect OSB from water damage.
- Without proper sealing, OSB boards can absorb water, compromising their structural integrity.
How to Waterproof OSB Board: Preparation and Techniques
When it comes to waterproofing OSB boards, proper preparation and choosing the right techniques are key to ensuring long-lasting protection. Follow these steps to effectively waterproof your OSB boards:
Preparatory Steps
-
Start by cleaning the surface of the OSB boards thoroughly. Remove any dirt, dust, or debris that could interfere with the waterproofing process.
-
Inspect the boards for any existing damage. Look for signs of warping, swelling, or rot. Repair or replace any damaged sections before proceeding with the waterproofing.
Choosing the Right Waterproofing Solution
There are various waterproofing solutions available for OSB boards, including liquid-applied membranes and brush-on sealants. Consider the following factors when choosing the right solution:
-
Level of waterproofing required: Determine the level of protection you need based on the location of the OSB boards and the potential exposure to moisture.
-
Application method: Evaluate whether a liquid-applied membrane or a brush-on sealant would be more suitable for your specific project.
-
Budget and time constraints: Consider the cost and time required for each waterproofing solution to ensure it aligns with your resources.
Once you have chosen the appropriate waterproofing solution, carefully follow the manufacturer’s instructions for application. Ensure even coverage and proper drying times for optimal results. Remember, a well-executed waterproofing process will provide your OSB boards with enhanced resistance against rain and moisture, prolonging their lifespan and maintaining their structural integrity.
Continue to Section 4 to learn essential maintenance tips for your waterproofed OSB boards and explore the benefits of using house wrap as an added protective measure.
Maintaining Waterproofed OSB Board and Using House Wrap for Added Protection
I understand that once you’ve taken the time to waterproof your OSB board, you want to ensure its longevity and effectiveness. Here are some easy maintenance tips to help you keep your OSB board protected from rain and other potential damage:
Regular Inspections for Damage
Inspect your OSB board regularly for any signs of damage, such as cracks, holes, or peeling. Promptly address any issues to prevent moisture from seeping through and compromising the integrity of the board.
Regular Cleaning
Regularly clean your OSB board to remove any dirt, debris, or mold that may have accumulated. Use a mild detergent and water solution, and gently scrub the surface with a soft brush or sponge. Rinse thoroughly and allow it to dry completely before applying any touch-ups or protective coatings.
Performing Touch-Ups
If you notice any areas that have lost their waterproofing properties or have experienced minor damage, perform touch-ups as soon as possible. Follow the manufacturer’s instructions for applying the appropriate waterproofing solution or sealant to ensure proper protection.
Protecting OSB with House Wrap
For added protection against moisture, consider using a house wrap, such as Tyvek House Wrap, in conjunction with your waterproofed OSB board. House wrap acts as a barrier, preventing water from penetrating the walls while still allowing moisture to escape. Follow the installation guidelines provided by the manufacturer to ensure optimal effectiveness.
By following these maintenance tips and considering the use of house wrap, you can ensure that your waterproofed OSB board remains resilient and continues to protect your shed or structure from rain and other forms of moisture.
FAQ
How can I protect OSB from rain?
To protect OSB from rain, you need to follow these steps: 1) Use a moisture-resistant barrier over the OSB, 2) Cover it with siding, preferably vinyl siding, and 3) Properly waterproof the OSB by adding a protective layer.
What is OSB and why is it vulnerable to water?
OSB, or Oriented Strand Board, is a composite wood product made by compressing and binding wood strands with adhesive. While it has some moisture resistance due to the resin that encapsulates the wood strands, it can still warp and swell when exposed to excessive water.
How do I waterproof OSB boards?
To waterproof OSB boards, follow these steps: 1) Clean the surface of the OSB, 2) Inspect for any damage or loose strands, 3) Choose the right waterproofing solution, such as liquid-applied membranes or brush-on sealants, and 4) Apply the waterproofing solution according to the manufacturer’s instructions.
How do I maintain waterproofed OSB boards?
Regular maintenance is necessary to ensure the effectiveness of waterproofed OSB boards. Here are some tips: 1) Regularly inspect for any signs of damage, 2) Clean the surface of the boards as needed, and 3) Perform touch-ups with additional waterproofing solution when necessary.
Can I use house wrap to further protect OSB?
Yes, using house wrap, such as Tyvek House Wrap, can provide an added layer of protection for OSB. It acts as a moisture barrier and helps prevent water infiltration, enhancing the overall durability of the OSB sheathing.
- Drill Battery Maintenance: Essential Tips for Cordless Drill Battery Care - February 5, 2024
- Troubleshooting Drill Issues - February 5, 2024
- Quick Drilling Techniques - February 2, 2024