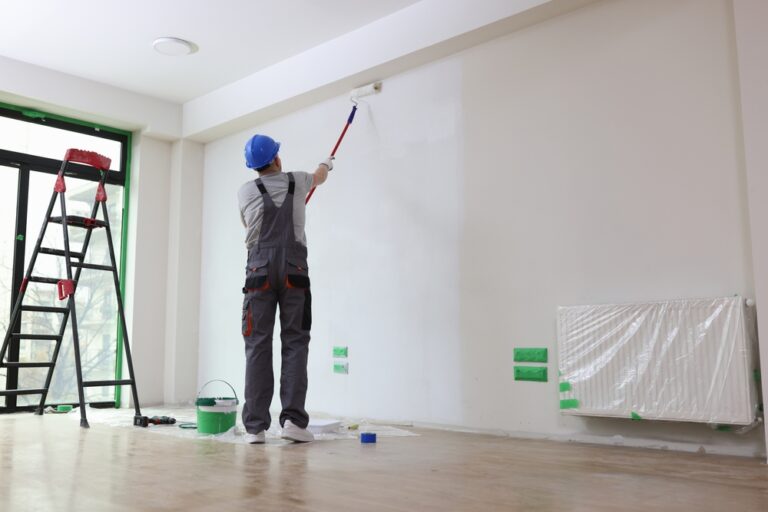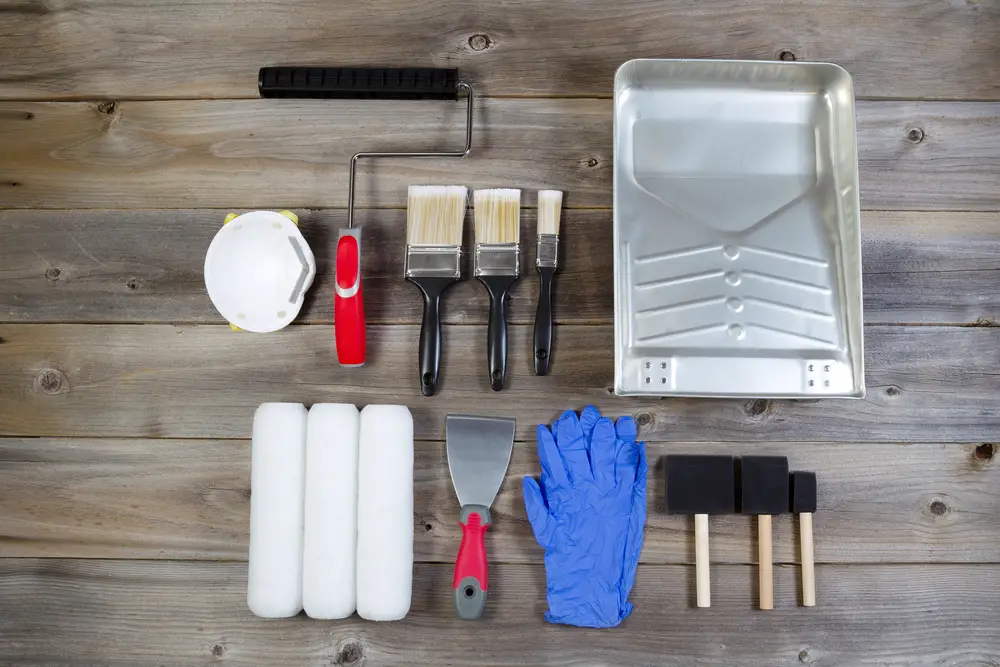
When it comes to achieving a flawless finish on your DIY painting projects, using quality painting tools is essential. Cheap tools and low-quality paint can result in poor results and frustration. To ensure professional-looking results, here are some must-have tools for a smooth painting process.
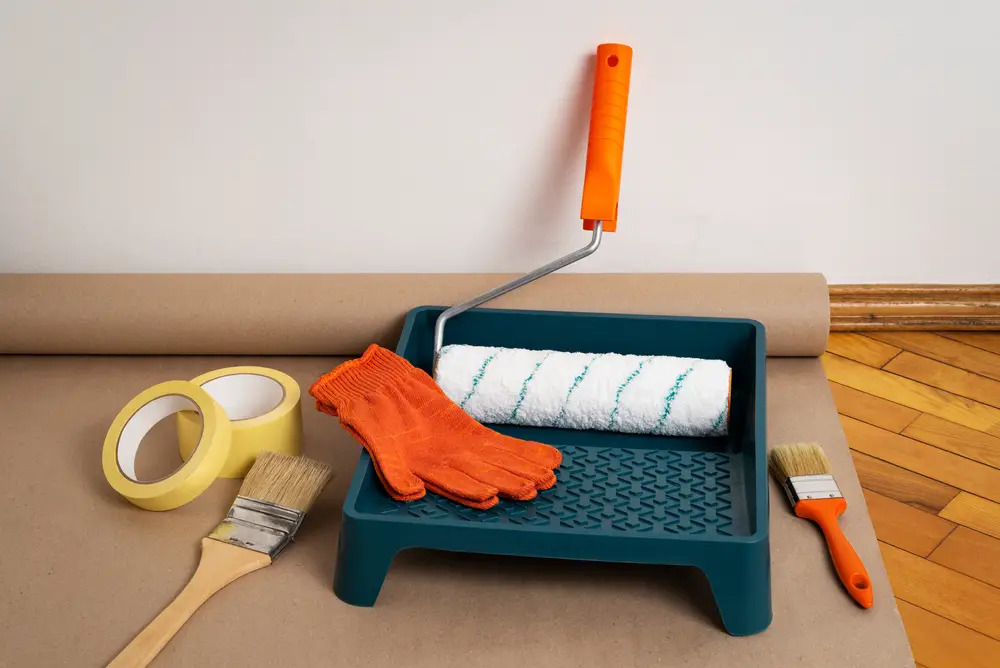
Firstly, a wall cleaner is crucial for surface preparation. It helps remove any dirt, grease, or grime, ensuring a clean and smooth surface for paint adhesion. Additionally, painter’s tape is indispensable for creating clean lines and protecting areas you don’t want to paint.
High-quality brushes and rollers are also a must. Look for brushes from reputable brands like Wooster, Purdy, or Benjamin Moore. A 2 1/2-inch angled brush is perfect for trim and cutting in. For rollers, choose a standard 9-inch roller with a synthetic core and a 3/8-inch nap. Opt for roller covers from trusted brands like Ace or Shur-Line.
Canvas drop cloths provide protection for your floors and furniture, preventing any accidental paint spills. To maintain the quality of your brushes, invest in a paintbrush cleaner for easy cleaning and longer brush life.
Plastic buckets and trays make paint application a breeze, while roller extension poles help you reach high areas without straining. Don’t forget about safety – always have a sturdy ladder on hand for elevated painting tasks.
For quick touch-ups and repairs, keep some touch-up tools, spackling, putty knives, fibre mesh tape, and sanding sponges in your toolkit. These tools will help you achieve professional-looking results.
Key Takeaways:
- Using quality painting tools is crucial for a flawless finish.
- Invest in a wall cleaner, painter’s tape, high-quality brushes, and rollers.
- Canvas drop cloths, paint brush cleaners, plastic buckets, and trays are essential for easy application.
- Don’t forget about safety – have sturdy ladders and roller extension poles.
- Keep touch-up tools, spackling, putty knives, fibre mesh tape, and sanding sponges handy for repairs.
Tips for Using Brushes and Rollers
When it comes to achieving a smooth paint finish, using the right brushes and rollers is essential. Here are some helpful tips:
Choosing the Right Brushes
For brush painting, opt for a high-quality angled brush in a 2 1/2-inch size. Brands like Wooster, Purdy, or Benjamin Moore offer excellent options. This size brush is ideal for painting trim and cutting in. The angled shape allows for precise application and clean lines.
Selecting the Perfect Roller
When it comes to rollers, go for a standard 9-inch roller with a synthetic core and a 3/8-inch nap. To test the roller, press down on each side – it should not close. This ensures that the roller has a proper grip and will distribute paint evenly. Reputable brands like Ace or Shur-Line offer reliable roller covers that provide a smooth finish.
Additional Tools for Convenience
In addition to brushes and rollers, consider using mini paint roller frames for working in small spaces. These frames allow for greater manoeuvrability and precision in tight areas. They are particularly useful for painting corners and edges.
Proper Paint Application Techniques
When applying paint with a brush or roller, it’s important to use smooth, even strokes to avoid streaks or brush marks. Start from the top and work your way down, using consistent pressure. Rollers are more efficient for covering larger areas, while brushes are better suited for detail work and edges. For a professional-looking finish, apply thin coats of paint, allowing each coat to dry before applying the next. This helps to prevent drips and allows for better adhesion.
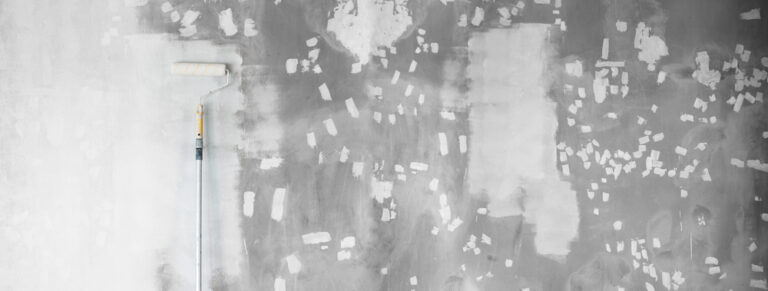
Preparing the Surface for Painting
Before starting your painting project, it is essential to prepare the surface properly. Taking the time to prepare the surface will ensure better paint adhesion and a smooth, professional finish.
Here are some important steps for surface preparation:
- Clean the Surface: Begin by cleaning the walls or other surfaces you plan to paint. Use a classic cleaner like Spic and Span mixed with water and a sponge. This will remove any dirt, dust, or grime that may affect the paint’s adhesion. Clean walls help paint adhere better and prevent issues such as bubbling.
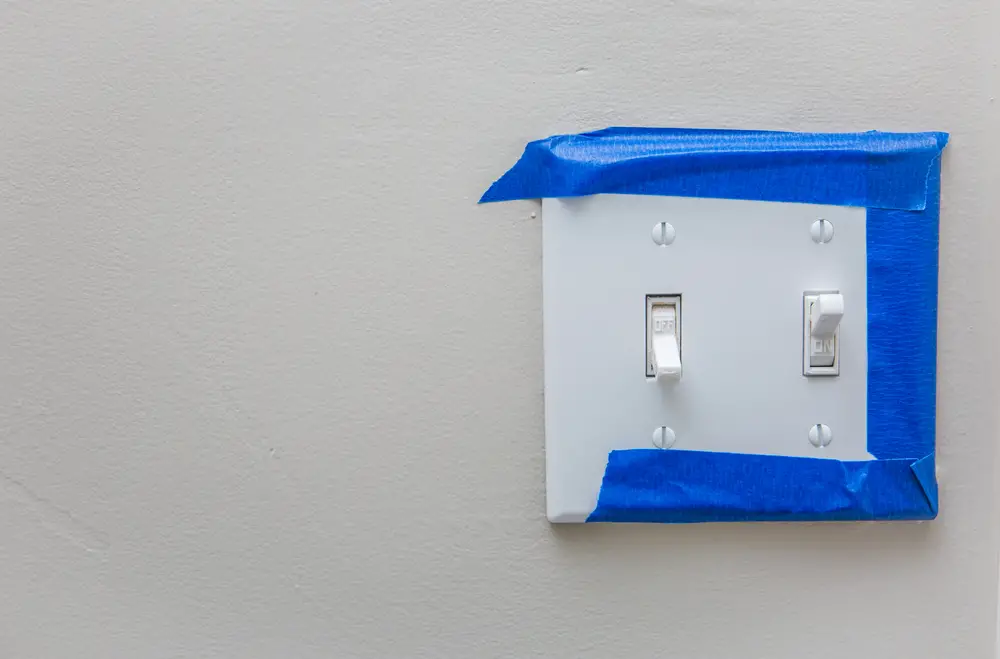
- Protect Areas: Use painter’s tape to protect areas you don’t want to paint, such as trim, windows, or fixtures. Apply the tape carefully, ensuring it adheres firmly. To create a tight seal and prevent paint bleeding, run a damp rag along the edge of the tape. This will create clean lines and crisp edges.
- Sand Rough Surfaces: For surfaces that are rough or have imperfections, it is important to sand them before painting. Use sandpaper or sanding blocks to smooth out any rough spots, bumps, or peeling paint. Sanding will create a smoother surface for paint application and help achieve a professional finish.
- Fill in Holes and Cracks: Inspect the surface for any holes, cracks, or dents. Fill them in using a suitable filler, such as spackling or putty. Use a putty knife to apply the filler, ensuring it is smooth and level with the surrounding surface. This will help create a seamless appearance once the surface is painted.
- Prime the Surface (if necessary): Depending on the type of surface and the paint you are using, priming may be necessary. Primer helps improve paint adhesion, covers imperfections, and creates a smooth base for the paint. Consult the paint manufacturer’s guidelines to determine if priming is required.
Surface Preparation Checklist
| Step | Description |
|---|---|
| 1 | Clean the surface using a classic cleaner mixed with water and a sponge. |
| 2 | Protect areas you don’t want to paint with painter’s tape and create clean lines. |
| 3 | Sand rough surfaces to smooth out imperfections. |
| 4 | Fill in holes and cracks with spackling or putty. |
| 5 | Prime the surface, if necessary, to improve paint adhesion. |
Achieving a Smooth Paint Finish on Furniture
When painting furniture, it’s important to follow proper techniques to achieve a smooth finish. Start by selecting the right materials, such as hardwoods like knotty alder, poplar, or select pine. These woods provide a solid foundation for paint and are easier to achieve a professional finish on.
Before painting, thoroughly sand the piece of furniture using multiple grits of sandpaper, starting with a lower grit and progressing to a finer grit. This will create a smooth surface for paint adhesion. Vacuum and use a tack cloth to remove any dust and debris.
Apply thin coats of paint using a paint sprayer or high-quality paint brush, sanding between coats for a smooth finish. This technique helps to avoid drips and brush marks, resulting in a flawless surface. Take your time and allow each coat to dry thoroughly before moving on to the next.
Finish off your furniture piece with a protective coat of polyacrylic or sealing wax. This not only adds durability but also enhances the appearance of the paint finish. Apply the protective coat evenly and follow the manufacturer’s instructions.
Recommended Materials for Achieving a Smooth Paint Finish on Furniture:
- Hardwood furniture (knotty alder, poplar, or select pine)
- Multiple grits of sandpaper
- Vacuum cleaner
- Tack cloth
- High-quality paint sprayer or paint brush
- Paint in desired colour
- Protective coat (polyacrylic or sealing wax)
Avoiding Common Painting Mistakes
When it comes to achieving a flawless paint finish, it’s crucial to avoid common painting mistakes. By sidestepping these pitfalls, you can ensure professional-quality results on your DIY projects. Here are some of the most common painting mistakes to watch out for:
- Improper surface preparation: Failing to properly prepare the surface before painting can lead to issues such as paint peeling and uneven coverage. Make sure to clean the surface thoroughly and address any repairs or priming that may be necessary.
- Using cheap tools and low-quality paint: Investing in high-quality paint and painting tools is essential for achieving a smooth and durable finish. Cheap brushes, rollers, and paints can result in streaks, brush marks, and premature wear and tear.
- Applying thick coats of paint: Applying thick layers of paint can lead to drips, brush marks, and longer drying times. It’s better to apply multiple thin coats, allowing each one to dry before adding the next.
- Not sanding between coats: Sanding between coats of paint helps to create a smooth surface and improve paint adhesion. This step is particularly important when using glossy or satin finishes.
- Rushing the painting process: Painting requires patience and attention to detail. Rushing through the process can result in uneven coverage, missed spots, and other imperfections. Take your time and follow proper techniques for the best outcome.
Proper Surface Preparation
One of the key factors in avoiding painting mistakes is ensuring proper surface preparation. Here are some essential steps to follow:
- Clean the surface: Use a mild detergent and warm water to remove dirt, grease, and grime from the surface. Rinse thoroughly and let it dry completely.
- Repair any damage: Fill cracks, holes, and imperfections with spackling or putty. Sand the repaired areas smooth once dry.
- Prime the surface: Applying a coat of primer helps to create a smooth and uniform surface for paint adhesion. Choose a primer that is suitable for the type of surface you are painting.
- Use painter’s tape: Protect areas that you don’t want to paint by applying high-quality painter’s tape along the edges. Make sure the tape is well-adhered to prevent bleeding.
By following these steps and avoiding common mistakes, you can achieve a smooth and professional-looking paint finish on your DIY projects. Remember, attention to detail and using high-quality materials are key to success.
Conclusion
Painting can be a rewarding DIY project, and with the right tools and techniques, you can achieve a smooth, professional-looking paint finish. By investing in high-quality painting tools, you ensure that your results will be top-notch. Properly preparing the surface is key to achieving a flawless finish, so take the time to clean and prime the walls before painting. Additionally, following the correct painting techniques, such as using thin, even coats of paint and sanding between coats, will contribute to a seamless result.
Remember, patience is key when it comes to painting. Take your time and avoid rushing through the process. Allow each coat of paint to fully dry before applying the next one. This will help you avoid common painting mistakes and ensures a beautiful, professional finish.
With these tips and techniques, you’ll be able to perfect your painting skills and achieve professional-looking results on all your DIY projects. Whether you’re painting walls, furniture, or any other surface, following these guidelines will guarantee success. Start your painting project with confidence, armed with the knowledge and tools you need for a flawless finish.
FAQ
Why is it important to use quality painting tools?
Using quality painting tools ensures a flawless finish and professional-looking results. Cheap tools and low-quality paint can lead to poor results.
What are some must-have paint products?
Some must-have paint products include wall cleaner for surface preparation, painter’s tape for clean lines, high-quality brushes and rollers, canvas drop cloths for protection, paint brush cleaner for maintaining quality brushes, plastic buckets and trays for easy paint application, roller extension poles for reaching high areas, sturdy ladders for safety, touch-up tools for quick fixes, spackling for patching, putty knives for crack repair, fiber mesh tape for covering larger holes, and sanding sponges for a smooth finish.
What size and brand of brush is ideal for painting?
For painting, opt for a 2 1/2-inch angled brush from quality brands like Wooster, Purdy, or Benjamin Moore. This size brush is ideal for painting trim and cutting in.
What type of roller should I use?
For rollers, choose a standard 9-inch roller with a synthetic core and a 3/8-inch nap. Test the roller by pressing down on each side – it should not close. Use roller covers from reputable brands like Ace or Shur-Line. Mini paint roller frames are also handy for working in small spaces.
How should I apply paint with a brush or roller?
When applying paint with a brush or roller, use smooth, even strokes to avoid streaks or brush marks. Rollers can be more efficient for larger areas, while brushes are best for detail work and edges.
What should I do to prepare the surface before painting?
Before painting, ensure the surface is clean and ready for paint application. Use a classic cleaner like Spic and Span mixed with water and a sponge to remove any dirt or grime from walls. Clean walls ensure better paint adhesion and prevent bubbling. Additionally, use painter’s tape to create clean lines and protect areas you don’t want to paint.
What techniques should I follow to achieve a smooth paint finish on furniture?
To achieve a smooth finish on furniture, start by selecting the right materials such as hardwoods like knotty alder, poplar, or select pine. Thoroughly sand the piece of furniture using multiple grits of sandpaper, starting with a lower grit and progressing to a finer grit. This will create a smooth surface for paint adhesion. Apply thin coats of paint using a paint sprayer or high-quality paint brush, sanding between coats for a smooth finish. Finish with a protective coat of polyacrylic or sealing wax.
What are some common painting mistakes to avoid?
Some common painting mistakes to avoid include not properly preparing the surface before painting, using cheap tools and low-quality paint, applying thick coats of paint, not sanding between coats, and rushing the painting process. Taking the time to properly prepare the surface, using quality tools and paint, applying thin coats, and sanding between coats will help you achieve professional results.
- Drill Battery Maintenance: Essential Tips for Cordless Drill Battery Care - February 5, 2024
- Troubleshooting Drill Issues - February 5, 2024
- Quick Drilling Techniques - February 2, 2024