Achieving a professional-looking paint job doesn’t have to be difficult. With the right tips and techniques, you can elevate your DIY painting skills and create a finish that rivals that of a professional. To help you get started, here are some expert tips gathered from various sources.
Key Takeaways
- Follow a specific order while painting a room: start with the trim, then move to the ceiling and walls.
- To avoid lap marks, maintain a “wet edge” by overlapping each stroke before the paint dries.
- Properly prepare the room by clearing furniture, covering surfaces, and cleaning the walls.
- Invest in high-quality paintbrushes and rollers for a smoother finish.
- Use painter’s tape to protect surfaces and ensure clean, crisp lines.
Paint in the correct order
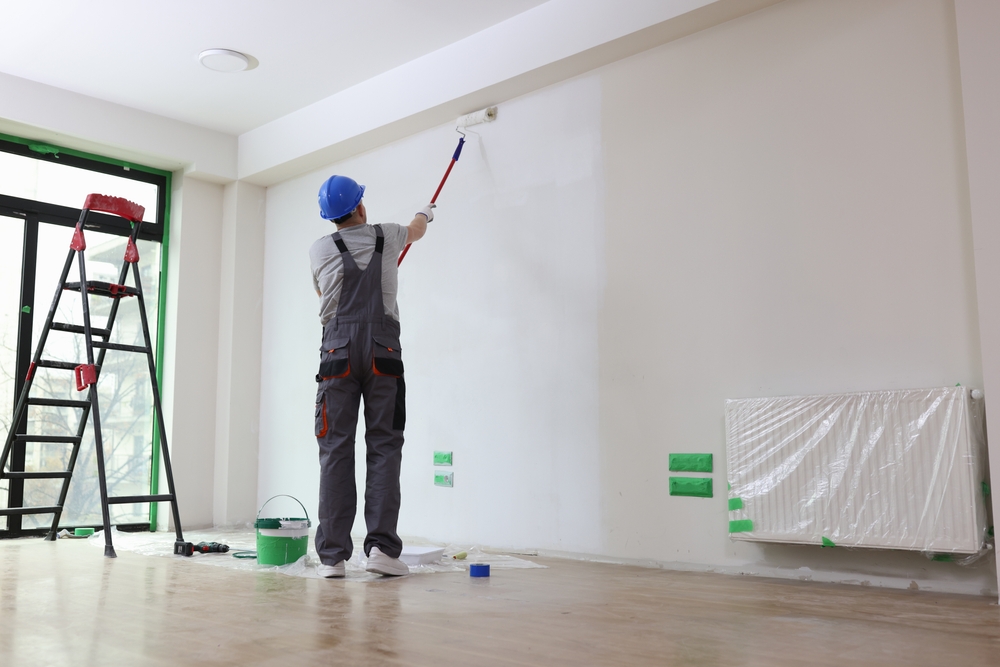
When it comes to painting a room, following the correct order is essential to achieve professional results. Professional painters recommend starting with the trim, then moving on to the ceiling, and finally the walls. This sequence not only makes the painting process smoother but also ensures a neat and polished finish.
By beginning with the trim, you can easily tape off the edges and corners, creating clean lines. This technique also allows you to focus on the more detailed areas before moving on to larger surfaces. Once the trim is complete, you can proceed to paint the ceiling.
Painting the ceiling after the trim ensures that any accidental paint splatters or drips can be easily covered up when painting the walls. It also prevents the paint from dripping onto the freshly painted trim, helping to maintain its pristine appearance.
Finally, painting the walls is the last step in the process. By following this order, you can avoid smudging or accidentally splattering paint on the walls while working on the trim and ceiling.
Remember, painting in the correct order not only saves time and effort but also contributes to a professional-looking result. So, next time you embark on an interior painting project, be sure to follow this recommended sequence.
| Benefits of Painting in the Correct Order | Tips for Success |
|---|---|
| Neat and polished finish | Use painter’s tape to create clean lines |
| Easier taping for trim | Work in a well-ventilated space |
| Efficient use of time and effort | Allow each coat of paint to dry completely before applying the next |
| Prevents smudging or splattering on walls | Invest in high-quality brushes and rollers |
Avoid lap marks with the right technique
Lap marks are unsightly stripes that can appear on walls due to uneven layers of paint buildup. To avoid lap marks, it’s important to maintain a “wet edge” while painting. This means overlapping each stroke of your roller with the previous one before the paint begins to dry. By painting an entire wall at once and reloading your roller frequently, you can achieve a seamless finish without lap marks.
Techniques to Avoid Lap Marks
1. Start with a clean and properly prepared surface.
2. Use high-quality paint and appropriate rollers or brushes.
3. Paint in good lighting to ensure even coverage.
4. Avoid pushing too hard on the roller, as this can create uneven layers.
5. Work in small sections and keep a “wet edge” by overlapping each stroke.
6. Reload your roller frequently to maintain a consistent paint application.
7. Avoid painting in direct sunlight or strong winds, as they can cause the paint to dry too quickly.
8. Practice proper painting techniques, such as using long, smooth strokes and feathering the edges.
9. Allow each coat of paint to dry fully before applying the next one.
| Common Mistakes | Best Practices |
|---|---|
| Poor surface preparation | Thoroughly clean and prime the surface before painting |
| Using low-quality paint | Invest in high-quality paint for a smoother and more durable finish |
| Painting in extreme temperatures | Choose a moderate temperature range for painting |
| Painting in direct sunlight | Paint in shaded areas to prevent premature drying |
| Overloading the roller with paint | Apply an even and controlled amount of paint on the roller |
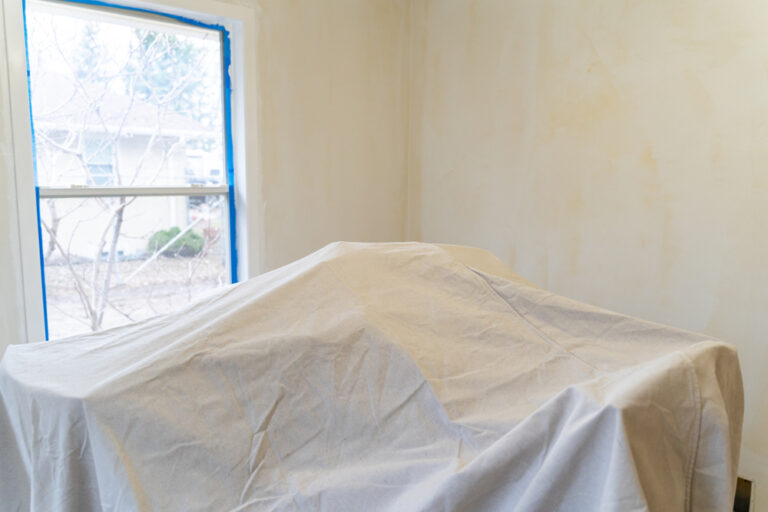
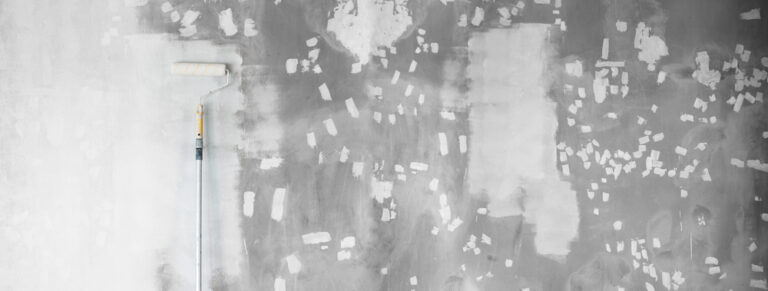
Prepare the room properly
Before starting any painting project, it’s important to prepare the room properly. This step is crucial for achieving a professional-looking paint job. Here are some key steps to keep in mind:
- Clear the entire area: Remove all furniture, decor, and other objects from the room. This will provide you with ample space to work and avoid any accidental splatters or damage to your belongings.
- Protect surfaces: Cover anything that cannot be moved with plastic sheets or drop cloths. This includes floors, countertops, and any fixtures or appliances that are too heavy to remove.
- Clean the surfaces: Thoroughly clean the walls and other surfaces that will be painted. This will help remove dirt, grime, and grease, ensuring proper adhesion of the paint. Use a mild detergent and water solution, and allow the surfaces to dry completely before proceeding.
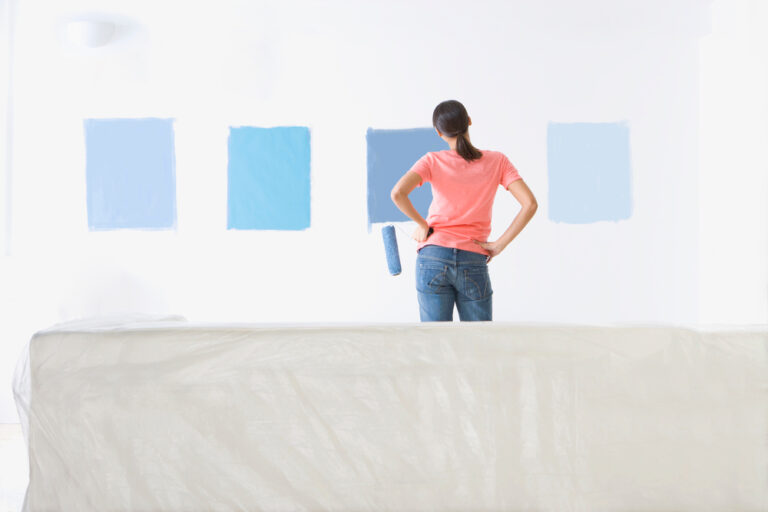
Selecting the right paint colour and finish
The choice of paint colour and finish can greatly impact the overall look and feel of the room. Consider the following tips:
- Think about your desired mood: Different paint colours evoke different emotions and can greatly influence the atmosphere of a room. For example, cool blues and greens create a calming effect, while warm yellows and oranges can bring warmth and energy.
- Consider the lighting: Take into account the natural and artificial lighting in the room. Certain paint colours may appear different under various lighting conditions. Test the paint colours by applying samples on the wall and observing them at different times of the day.
- Explore paint finishes: Paint finishes range from matte to high gloss, each offering a different look and level of durability. Consider the function of the room and the desired aesthetic when selecting a paint finish. For example, a high gloss finish is ideal for doors and trim, as it provides a durable, easy-to-clean surface.
By taking the time to properly prepare the room and selecting the right paint colour and finish, you can ensure a professional-looking paint job that enhances the overall aesthetic of your space.
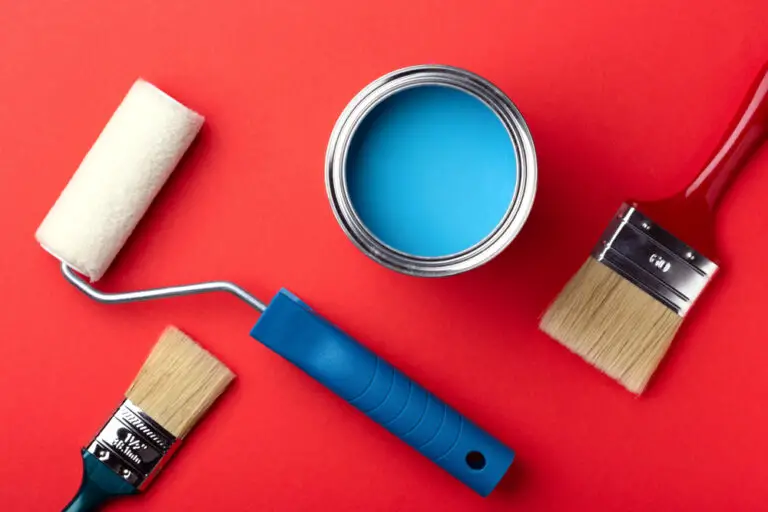
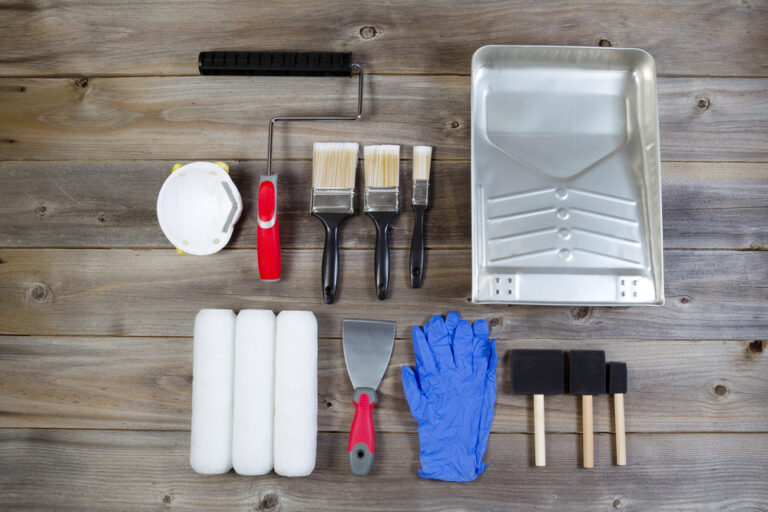
Use the right tools and techniques
One of the keys to achieving a professional-looking paint job is using the right tools and techniques. By investing in high-quality paintbrushes and rollers, you can ensure that they hold more paint and provide a smoother finish. This will help you achieve a more professional-looking result.
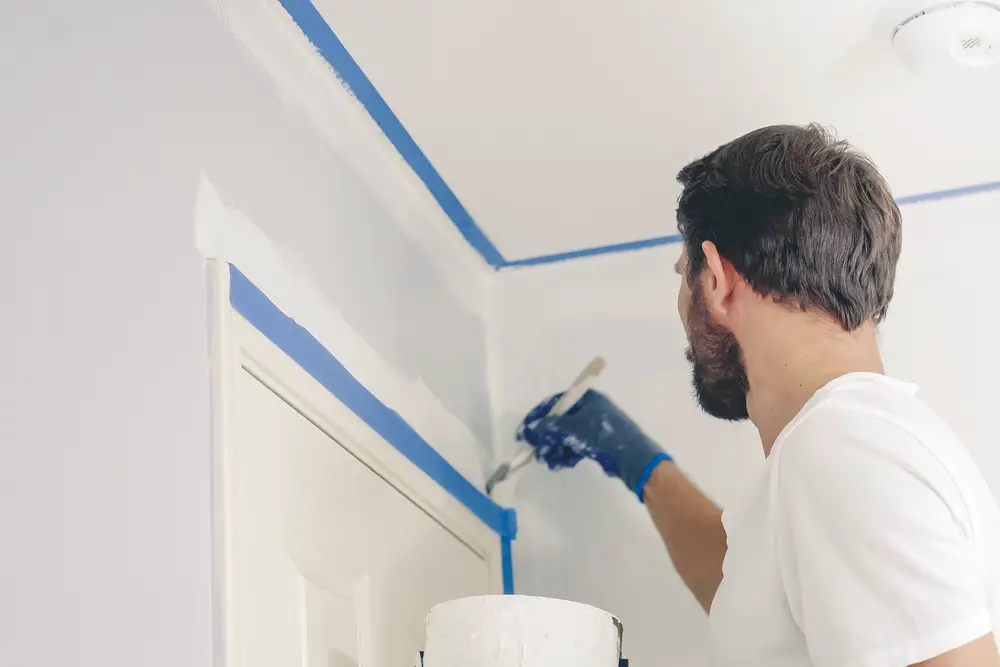
Another essential tool for achieving a clean and crisp paint job is painter’s tape. Using painter’s tape to protect surfaces and create straight lines, you can avoid messy edges and ensure a professional finish.
Sanding between coats is another technique that can greatly improve your paint job. Lightly sanding the surface before applying additional coats of paint helps to create a smooth and even finish. Additionally, using a primer before painting can enhance the adherence and durability of the paint, resulting in a flawless finish.
Benefits of using the right tools and techniques:
- Higher-quality brushes and rollers hold more paint, resulting in fewer trips to the paint tray.
- Painter’s tape ensures clean, crisp lines and prevents paint bleed.
- Sanding between coats creates a smooth surface for a professional finish.
- Using a primer enhances paint adhesion and durability.
Utilizing the right tools and techniques can elevate your painting skills and achieve a professional-looking paint job. Now let’s move on to the final section of our article to wrap up our tips and strategies for achieving a professional finish.
Conclusion
Achieving a professional-looking paint job is within reach for DIY painters like me. By following the paint tips and painting techniques outlined in this article, I can elevate my painting skills and create a finish that rivals that of a professional. From painting in the correct order to avoiding lap marks and properly preparing the room, paying attention to the details and using the right tools can make all the difference.
One of the key takeaways is to paint in the correct order, starting with the trim, and then moving on to the ceiling and walls. This not only ensures a smoother painting process but also provides a neater finish. Another important technique is to avoid lap marks by maintaining a “wet edge” while painting. Overlapping each stroke of the roller with the previous one before the paint dries helps achieve a seamless result.
Properly preparing the room before painting is essential. This includes clearing the area, covering objects that can’t be moved, and cleaning the surfaces to be painted. Additionally, using the right tools and techniques can significantly impact the outcome. Investing in high-quality paintbrushes and rollers, using painter’s tape for clean lines, and considering sanding between coats and using a primer can all contribute to a professional-looking paint job.
With practice and a little patience, I can achieve professional results in my own home. By incorporating these paint tips and painting techniques, I am confident that my DIY projects will have a professional-looking finish that impresses everyone who sees them.
FAQ
What is the correct order to paint a room?
Professional painters recommend starting with the trim, then moving on to the ceiling, and finally the walls. Painting the trim first allows for easier taping and provides a neat finish.
How can I avoid lap marks when painting?
To avoid lap marks, it’s important to maintain a “wet edge” while painting. This means overlapping each stroke of your roller with the previous one before the paint begins to dry. By painting an entire wall at once and reloading your roller frequently, you can achieve a seamless finish without lap marks.
How should I prepare a room before painting?
Before starting any painting project, it’s important to properly prepare the room. This includes clearing the entire area of furniture and other objects, covering anything that can’t be moved with plastic or drop cloths, and thoroughly cleaning the surfaces to be painted. Additionally, selecting the right paint color and finish can greatly impact the overall look of the room.
What tools and techniques should I use for a professional-looking paint job?
One of the keys to achieving a professional-looking paint job is using the right tools and techniques. Invest in high-quality paintbrushes and rollers, as they will hold more paint and provide a smoother finish. Use painter’s tape to protect surfaces and ensure clean, crisp lines. Sanding between coats and using a primer can also help achieve a flawless finish.
How can I achieve a professional-looking paint job as a DIY painter?
Achieving a professional-looking paint job is within reach for DIY painters. By following the tips and techniques outlined in this article, you can elevate your painting skills and create a finish that rivals that of a professional. From painting in the correct order to avoiding lap marks and properly preparing the room, paying attention to the details and using the right tools can make all the difference. With practice and a little patience, you can achieve professional results in your own home.
- Drill Battery Maintenance: Essential Tips for Cordless Drill Battery Care - February 5, 2024
- Troubleshooting Drill Issues - February 5, 2024
- Quick Drilling Techniques - February 2, 2024