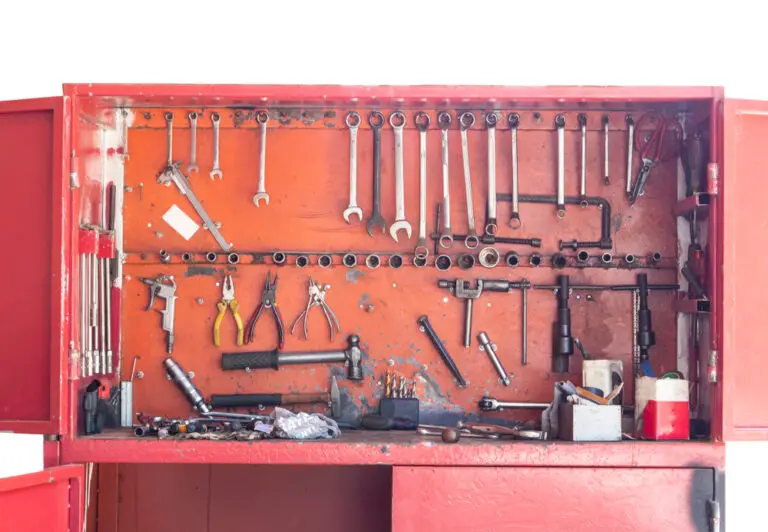
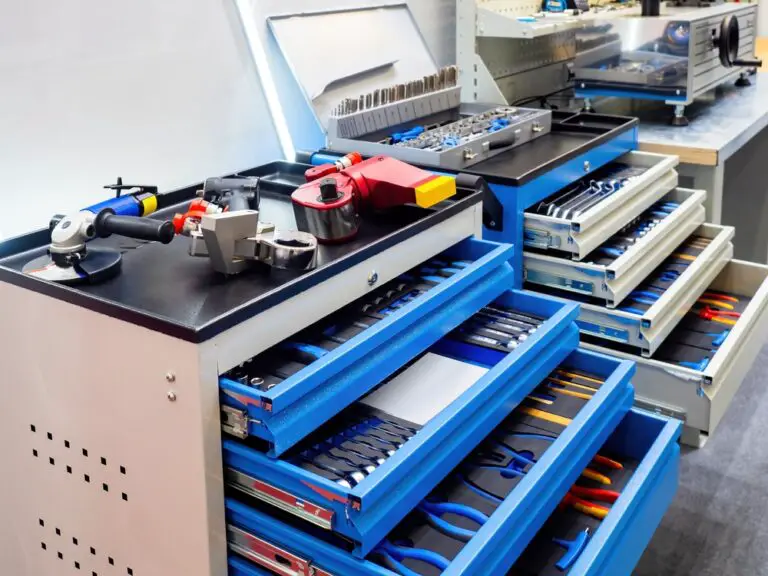
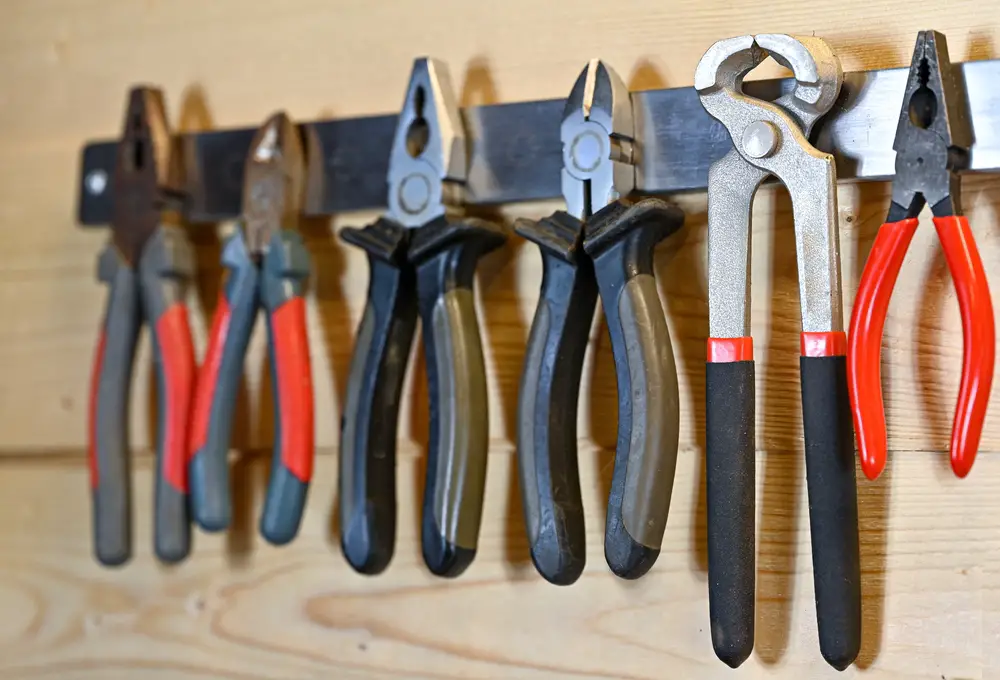
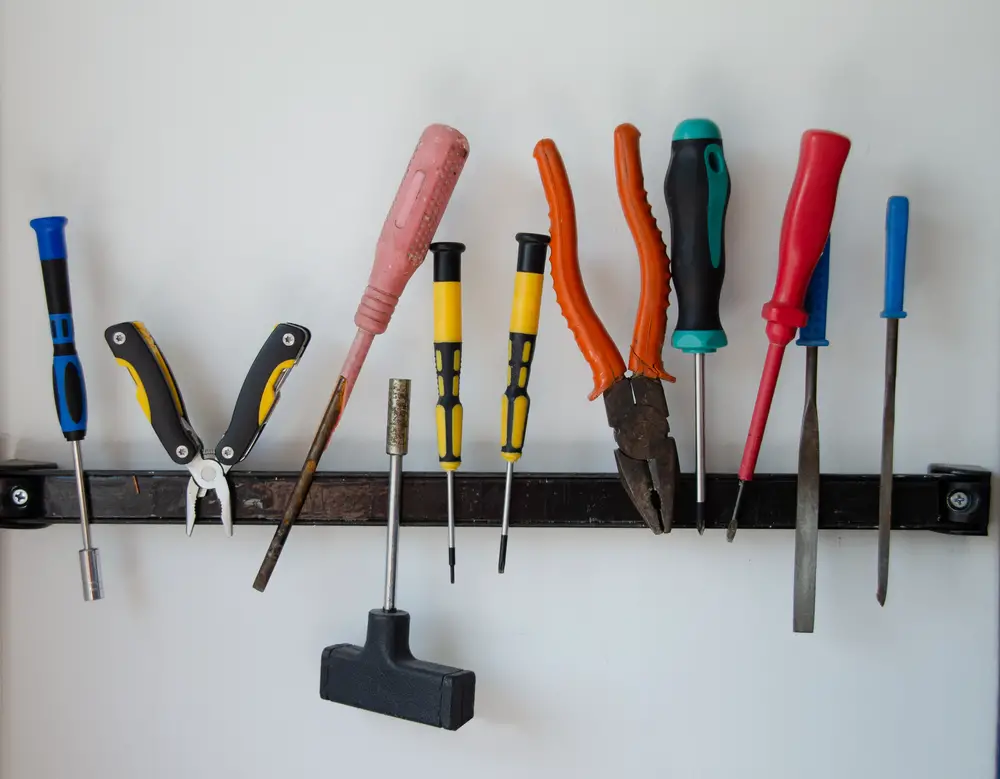
When it comes to organising your tools, a magnetic tool strip can be a game-changer. Not only does it keep your tools easily accessible, but it also adds a touch of style to your workspace.
In this article, I will provide you with some useful tips for installing a magnetic tool strip in your tool shed or garage, whether you prefer using adhesives or screws.
Key Takeaways:
- Choose the location wisely to enhance the overall aesthetic and functionality of your workspace.
- Use a level to ensure the strip is mounted straight.
- Adhesives are a good option for walls you don’t want to drill into, while screws offer a more secure hold.
- Consider different locations for the magnetic strip, such as above the workbench or inside cabinets.
- Be mindful of how you use the magnetic strip to prevent any damage to your tools.
Benefits of a Magnetic Tool Strip:
A magnetic tool strip offers numerous advantages for tool organization:
- Efficient Showcasing: Display your tools in an organised and visually appealing manner.
- Accessibility: Keep your tools easily accessible, enhancing workflow efficiency.
- Stylish Storage: Add a touch of style to your workspace with a sleek and modern storage solution.
- Safety and Hygiene: Safely store your tools and maintain a hygienic workspace.
- Compatibility: Designed to accommodate a variety of tools, making it a versatile storage option.
Installation Process:
Follow these steps for a successful magnetic tool strip installation:
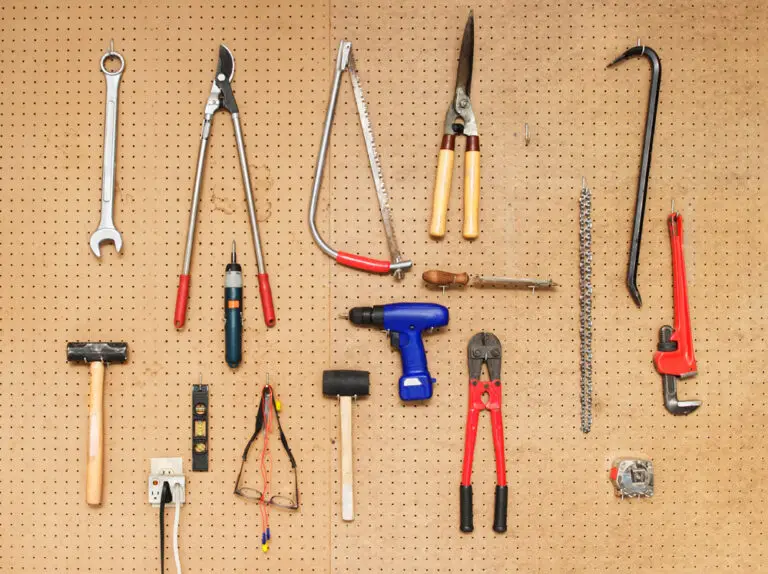
- Choose a Strategic Location:
- Consider the overall functionality and aesthetic of your workspace.
- Optimal locations include above your workbench, inside cabinets, or on the sides of cabinets.
- Ensure Level Mounting:
- Use a level to guarantee the strip is mounted straight, especially if installing horizontally.
- Select Installation Method:
- For walls where drilling is not preferred, use adhesives.
- For a more secure hold, choose screws.
- Adhesive Installation:
- Clean the surface thoroughly.
- Apply adhesive at each end of the strip and one in the middle for extra strength.
- Press the strip onto the wall and wait at least an hour before hanging tools.
- Screw Installation:
- Measure the distance between screw holes on the strip and mark the wall accordingly.
- Secure the magnetic strip using screws, ensuring they are tightened properly for a secure hold.
Utilising Your Magnetic Tool Strip:
- Strategic Placement:
- Consider the size and weight of your tools when placing them on the magnetic strip.
- Arrange tools in a way that maximizes accessibility and efficiency.
- Preventing Damage:
- Be mindful of how tools are placed to avoid direct contact with the strip.
- Hold tools firmly by the handle when removing them to prevent damage.
- Maintenance:
- Regularly wipe down the magnetic strip with a damp cloth to keep it clean.
- Reapply oil as needed to maintain its condition.
- Expanding Storage:
- If your tool collection grows, add additional magnetic strips for expanded storage.
The Same Goes For Your Kitchen Knives!

Benefits of a Knife Magnet:
- Showcases your kitchen knives beautifully
- Keeps your knives easily accessible while cooking
- Stylish and practical storage solution
- Safe and hygienic option
- Compatible with all types of kitchen knives
| Knife Magnet | Installation Method |
|---|---|
| Double-Sided Tape | Apply tape to clean surface, press strip onto it, and attach knife magnet |
| Screws | Secure the magnetic strip to the wall using screws, then attach the knife magnet |
With the right installation method and proper care, your knife magnet will not only showcase your knives but also enhance the overall functionality and aesthetics of your kitchen.
Tips for Effective Magnetic Tool Strip Installation
When it comes to installing a magnetic strip, proper surface preparation is crucial for a successful installation. Before getting started, take a moment to ensure that the surface is clean and free from any dirt or debris. Simply wipe it down with a damp cloth followed by a dry cloth to remove any lingering particles that could weaken the adhesive bond.
If you’re using magnetic tape strips, here’s a helpful tip to maximize their bonding strength. Mount the magnetic side of the tape on a metal surface, like a refrigerator, for a few hours before installation. This will help flatten and uncurl the strip, making it easier to adhere to your desired surface.
Curved magnetic strips can sometimes be a bit stubborn when it comes to adhesion. To improve their bonding strength, take the time to flatten them before installation. Apply gentle pressure along the length of the strip using a roller or any cylindrical object. This will ensure that the strip is properly flattened and securely bonded to the surface.
- Drill Battery Maintenance: Essential Tips for Cordless Drill Battery Care - February 5, 2024
- Troubleshooting Drill Issues - February 5, 2024
- Quick Drilling Techniques - February 2, 2024