Organising your tool bag is essential for keeping your tools tidy and easily accessible. In this section, I will share various DIY tips and ideas to help you organise your tool bag effectively. These ideas are suitable for all types of tool bags and can be implemented by anyone, including contractors and electricians.
Key Takeaways:
- Tool bag organisation is crucial for efficiency and convenience.
- DIY solutions like custom tray organisers and foam inserts can maximise space.
- Choosing the right tool bag and features enhances functionality.
- Regular maintenance and care prolong the lifespan of your tool bag.
- Implement these ideas and tips for a well-organised tool bag.
Assessing and Planning Your Tool Bag Organisation
When it comes to organising your tool bag, the first step is to assess your tools and plan out the layout. Take inventory of your tools and identify the ones you use most frequently. This will help you determine the best arrangement and sort order for your tools, ensuring easy access and efficient organisation.
Consider factors such as tool size and frequency of use. Larger tools or those that you use often should be placed in easily accessible areas of your tool bag. Smaller tools or those that are used less frequently can be stored in secondary compartments or pockets.
Another important aspect to consider is the structure and layout of your tool bag. Some tool bags come with built-in compartments and dividers, while others provide a more open space. Assess the layout of your bag and determine if any modifications are needed. You may need to add dividers or containers to further organise your tools.
Organising Tools by Category
One effective method for organising your tool bag is to group your tools by category. This allows you to easily locate specific tools when you need them. Consider creating sections within your tool bag for different categories such as screwdrivers, wrenches, pliers, and electrical tools.
You can use small zippered pouches or tool rolls to keep each category of tools together. This not only helps with organisation, but it also protects your tools from any potential damage that could occur from them rubbing against each other.
| Category | Tools |
|---|---|
| Screwdrivers | Flathead, Phillips, Torx |
| Wrenches | Combination, Adjustable |
| Pliers | Needle-nose, Slip-joint, Cutting |
| Electrical Tools | Wire Strippers, Multimeter, Crimping Tool |
By organising your tool bag in this way, you’ll be able to quickly locate the tools you need, saving you time and frustration on the job.
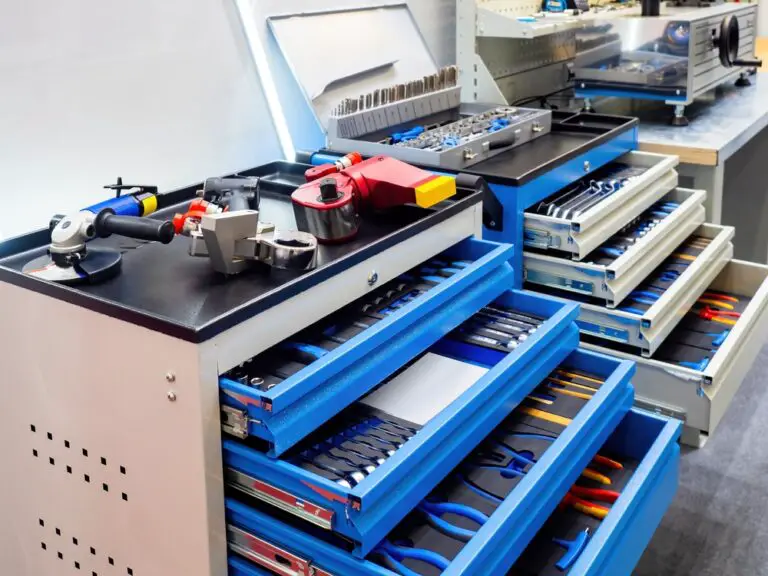
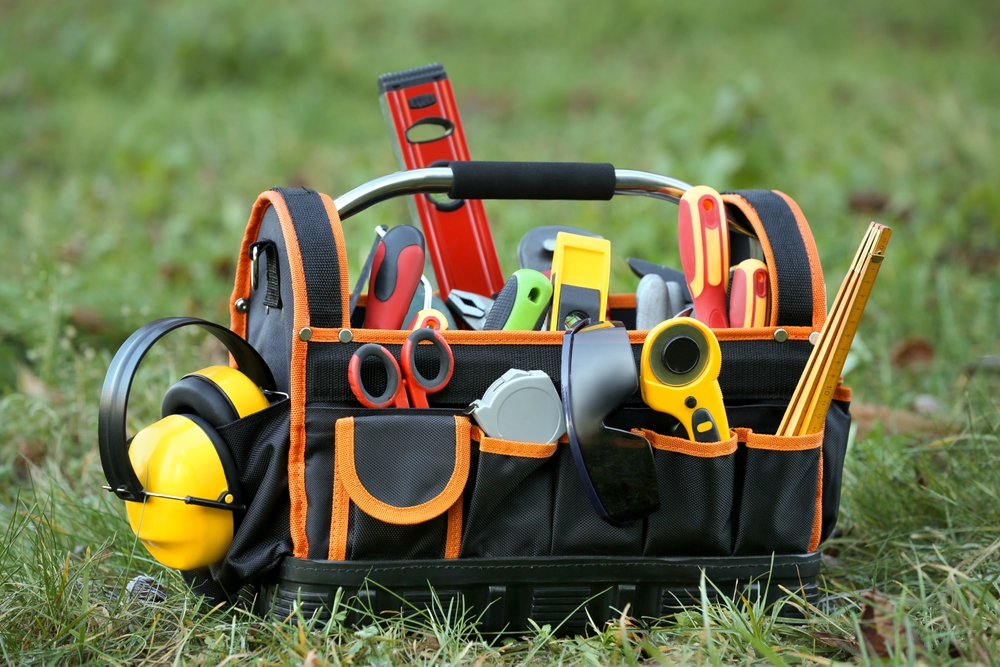
Choosing the Right Tool Bag and Features
When it comes to organising your tools, choosing the right tool bag is essential. Consider the different options available and select one that suits your needs and preferences. Here are some factors to consider when making your decision:
- Size and capacity: Determine how many tools you need to carry and choose a tool bag that provides enough space for all your essentials.
- Portability: If you’re constantly on the move, opt for a tool bag that is lightweight and easy to carry. Backpack-style bags offer excellent portability.
- Durability: Look for a tool bag made from sturdy materials that can withstand regular use and rough environments.
- Accessibility: Consider the design of the tool bag and how easy it is to access your tools. Look for features like vertical pockets or compartments that allow for quick and easy retrieval of specific tools.
- Comfort: If you’ll be carrying your tool bag for extended periods, choose one with padded straps or handles for added comfort.
Additionally, think about the specific features that can enhance the functionality of your tool bag. Bright colours on the inside of the bag can make it easier to locate tools, especially in low-light conditions. Removable lights can provide additional illumination when needed. A sturdy waterproof base will protect your tools from moisture and prevent them from getting damaged.
Consider whether you need space to carry a laptop or tablet, as some tool bags come with dedicated compartments for electronics. Finally, look for clips or loops that can securely hold frequently used items like tape measures or wrenches.
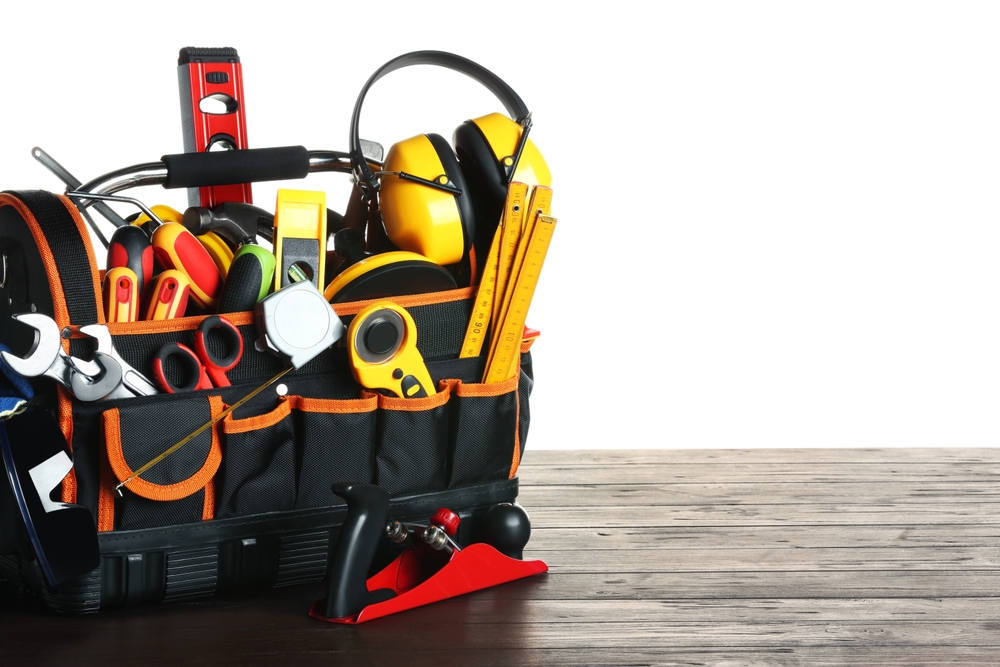
Table: Tool Bag Features Comparison
| Tool Bag | Size | Portability | Durability | Accessibility | Comfort | Additional Features |
|---|---|---|---|---|---|---|
| Handheld Toolbox | Varies | ✓ | ✓ | ✓ | – | – |
| Tool Belt | Varies | ✓ | ✓ | ✓ | ✓ | – |
| Backpack | Varies | ✓ | ✓ | ✓ | ✓ | Space for laptop or tablet |
Consider your specific needs and preferences when choosing a tool bag. Take into account the type and number of tools you’ll be carrying, your work environment, and how frequently you’ll be accessing your tools.
Creating Custom Tool Tray Organisers
When it comes to organising your tool bag, one DIY solution that can make a significant difference is creating custom tool tray organisers. These organisers not only help keep your tools neatly arranged, but they also provide added protection, ensuring that your tools stay in place and are easily accessible.
To create your own custom tool tray organiser, you can start by using materials such as cardboard or wood. Begin by measuring the dimensions of your tool bag, and then create a mock-up design using cardboard to ensure a perfect fit. Once you have the desired design, you can use materials like pine or plywood to construct a sturdy and functional tray with dividers for different tools.
By customising your tool tray, you have the flexibility to create compartments that perfectly fit the size and shape of your tools. This level of personalisation allows for efficient organisation and prevents your tools from shifting or getting damaged during transportation.
DIY Tool Tray Organisers: Ideas and Tips
Here are a few DIY tool tray organiser ideas and tips to get you started:
- Create dividers: Use materials like thin plywood or PVC pipes to create dividers within your tool tray. This will help separate different types of tools and prevent them from rubbing against each other.
- Label compartments: Consider adding labels to each compartment to make it easier to identify and locate specific tools.
- Utilise removable inserts: If you have tools with irregular shapes or sizes, you can create removable inserts using foam or other cushioning materials. These inserts will provide a snug fit and prevent your tools from moving around.
- Consider a sliding tray design: For larger tool bags, you can create a sliding tray design that allows you to access the bottom layer of tools without having to remove the entire tray.
By incorporating these ideas and tips into your DIY tool tray organiser project, you can customise your tool bag to suit your specific needs and enhance the overall organisation of your tools.
| Benefits of Custom Tool Tray Organisers | Benefits of Custom Tool Tray Organisers |
|---|---|
| Efficient tool organisation | Prevents tools from shifting and getting damaged |
| Easier tool identification and access | Reduces rummaging through a cluttered tool bag |
| Customisable compartments for different tool sizes | Enhances overall tool bag functionality |
Foam Tool Organisers: Maximising Space and Keeping Your Tools Secure
If you’re looking for a practical and efficient way to maximise space in your tool bag while keeping your tools secure, foam tool organisers are the perfect solution. Foam is a versatile material that can be easily customised to fit your tool bag drawers and provide a professional appearance.
Create Customised Spaces for Each Tool
With foam tool organisers, you can create customised spaces for each of your tools, ensuring they fit snugly and are easily accessible. Start by laying out your tools on the foam to plan the layout. Then, trace the shapes of your tools and cut out the foam accordingly. By creating individualised spaces for each tool, you can prevent them from shifting around during transportation and avoid the risk of damage.
Elevate Your Tool Bag Organisation
Foam tool organisers elevate your tool bag organisation to a new level. With precise cut-outs, you can quickly identify missing tools and keep an inventory of your equipment. Plus, the foam provides cushioning and protection against impacts, ensuring that your tools stay in optimal condition.
| Benefits of Foam Tool Organisers | Drawbacks of Foam Tool Organisers |
|---|---|
|
|
Despite a few drawbacks, foam tool organisers are an excellent investment for anyone looking to enhance their tool bag organisation. With their customisable features and ability to keep your tools secure, foam tool organisers are a must-have for any professional or DIYer.
Tips for Cutting and Customising Foam Inserts
When it comes to organising your tool bag, foam inserts are a great solution for keeping your tools protected and easily accessible. But how do you go about cutting and customising foam inserts to fit your specific needs? Let me share some tips and techniques to help you achieve the perfect foam inserts for your tool bag.
Firstly, you’ll need the right tools for the job. A straight edge like a ruler or T-square is essential for making precise cuts in the foam. You can use a utility blade to cut through the foam, or for even more precise cuts, consider investing in a foam hot knife. The hot knife melts through the foam, resulting in clean, smooth edges.
When cutting the foam, consider the layout of your tools and how you want them to be arranged in your tool bag. You can create straight lines to separate individual tools, or you can cut semi-circles to make it easier to pick up specific tools. Grouping similar tools together by cutting out strips of foam can also help keep everything organised.
Remember, the goal is to create a snug and secure fit for each tool. Take your time, measure twice, and cut once to ensure that each foam insert fits perfectly in your tool bag.
Table: Foam Cutting Tools
| Tool | Description |
|---|---|
| Utility Blade | A versatile tool for cutting foam with precision. |
| Foam Hot Knife | A specialised tool that melts through the foam for clean, smooth cuts. |
| Straight Edge (Ruler or T-square) | Provides a straight guideline for making precise cuts in the foam. |
Maintenance and Care for Organised Tool Bags
Proper maintenance and care are crucial for keeping your tool bag organised and in optimal condition. By following these simple steps, you can ensure that your tools are protected and your tool bag lasts for a long time.
Clean Regularly
Regular cleaning is essential to remove dirt, debris, and any other unwanted substances from the bottom of your tool bag. Use a damp cloth or a brush to wipe down the interior and exterior surfaces. This will prevent the accumulation of grime and keep your tools clean and ready for use.
Check and Replace Tools
Regularly inspect your tools and remove any broken or unnecessary items from your tool bag. This will help declutter your bag and ensure that you have only the tools you need. Additionally, check for any signs of wear and tear on your tools and replace them as necessary.
Proper Storage
When storing your tools in your tool bag, make sure to keep sharp ends or blades facing downwards. This will prevent accidental injuries and protect your bag from any punctures or tears. It’s also a good idea to avoid overstuffing your tool bag, as this can put unnecessary strain on the bag’s seams and zippers. If you find that your current tool bag is too small for your needs, consider upgrading to a larger bag or using multiple bags for different types of tools.
| Maintenance Tips | Care Tips |
|---|---|
| Regularly clean the bottom of your tool bag | Check and replace broken or unnecessary tools |
| Store tools with sharp ends down | Avoid overstuffing your tool bag |
| Consider upgrading to a larger bag or using multiple bags for different jobs | |
By following these maintenance and care tips, you can ensure that your tool bag remains organised and in excellent condition.
Conclusion
Organising your tool bag is essential for efficiency, convenience, and tool protection. By implementing DIY solutions such as custom tray organisers and foam inserts, you can maximise space and keep your tools secure. Additionally, choosing the right tool bag with features that suit your needs will enhance functionality and ease of use.
To ensure long-term organisation, it is important to regularly maintain and care for your tool bag. This includes cleaning the bottom of the bag to remove dirt and debris, checking and replacing broken or unnecessary tools, and storing tools with sharp ends down to prevent injuries. Avoid overstuffing your bag and consider using multiple bags or upgrading to a larger one for different jobs.
By following these tips and ideas, you can create a well-organised tool bag that meets your specific needs. In conclusion, organising your tool bag not only helps you stay efficient on the job but also prolongs the lifespan of your tools, ensuring they are always ready for use.
FAQ
Why is organising your tool bag important?
Organising your tool bag is important for keeping your tools tidy and easily accessible. It allows you to find the tools you need quickly and prevents damage to your tools.
How should I assess and plan my tool bag organisation?
Take inventory of your tools and identify the ones you use most frequently. Determine the best arrangement and sort order for your tools, considering factors such as easy access and tool size.
What should I consider when choosing a tool bag?
Consider features such as bright colors inside, removable lights, sturdy waterproof base, vertical pockets for easy access, space for a laptop or tablet, and clips for frequently used items.
How can I create custom tool tray organisers?
Mock up a design using cardboard, ensure it fits well inside the tool bag, then use materials like pine and plywood to create a sturdy tray with dividers for different tools.
How can I maximise space with foam tool organisers?
Purchase foam drawer liners or foam sheets, customise them to fit your tool bag drawers, and create spaces for each tool by tracing their shapes and cutting out the foam.
What tools do I need to cut and customise foam inserts?
Use a straight edge like a ruler or T-square for precise cuts and a utility blade or foam hot knife for cutting the foam.
How do I maintain and care for my tool bag?
Regularly clean the bottom of your tool bag, clean and check your tools, store tools with sharp ends down to prevent injuries, avoid overstuffing your tool bag, and consider upgrading to a larger bag if needed.
- Drill Battery Maintenance: Essential Tips for Cordless Drill Battery Care - February 5, 2024
- Troubleshooting Drill Issues - February 5, 2024
- Quick Drilling Techniques - February 2, 2024