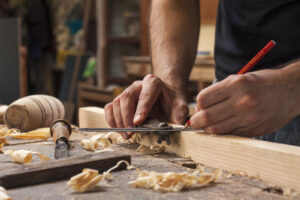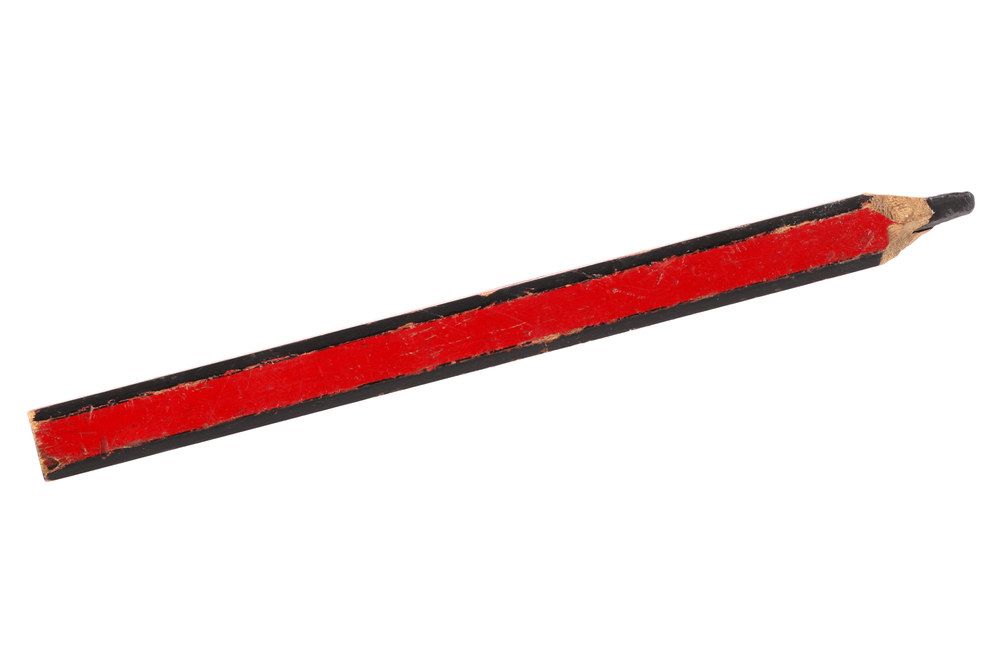
If you’ve ever watched a carpenter at work, you’ll notice that they always carry a flattened pencil, usually behind their ear.
The flat pencil is called a carpenter’s pencil, but it is used by lots of different tradespeople. It’s flat on purpose and not as a result of being squashed.
But what is the point of a flat pencil? Does it really make a difference?
Yes, it does!
In fact, the flattened shape serves quite a few purposes.
1. It Doesn’t Roll
The joke between tradespeople is that carpenters’ pencils are flat so that they fit behind the ear better. This is a happy coincidence but not the true reason.
The truth is carpenters’ pencils are flat so that they don’t roll off sloped surfaces.
Carpenters spend a lot of time working on roofs and other uneven surfaces. The flattened pencil shape means that they can put the pencil down and not lose it.
Imagine how frustrating it would be to watch your pencil roll away from you when you’re 20 feet up, balancing on a roof!
2. Draws Different Lines
Naturally, a flat pencil has a flat lead. This means that even when sharpened, the lead will not have a uniform circular shape.
The oblong lead shape is especially useful to carpenters and other tradespeople because it can make two different marks. This means that you don’t need to carry multiple pencils.
When the pencil is held with the widest side parallel to the surface, it makes a thick line. This line can be up to half an inch wide, depending on the size of the pencil.
These wide lines can be useful for marking less precise marks or cut marks for thick blades. The thicker lines are also better for marking rough materials like concrete or sawn timber.
When you hold the pencil with the thinner end down toward the surface, you get a narrower and more precise line. This is helpful for fine-finish carpentry work where you need a high level of accuracy.
Artists and calligraphers often use carpenters’ pencils because they also love the versatility of the lead shape. They will often put a notch in the middle of the lead to allow them to draw parallel lines with a single pencil.
3. Tougher Core
Carpenters’ pencils are made with stronger cores than your normal drawing pencil. The flattened shape allows for a thicker core and thicker point.
The stronger and thicker core is necessary because carpenters and tradespeople are writing on rougher and uneven surfaces. Without the added strength, the lead would easily break. If you don’t believe us, just try drawing on concrete with a standard HB pencil.
As well as potentially snapping the lead, rougher surfaces wear down the lead quicker. If tradespeople used standard pencils to mark on timber and other rough surfaces, the pencils would constantly need sharpening.
Another benefit to the tougher core is that the lead won’t snap or crack from being knocked or dropped.
With a standard pencil, you can shatter the lead inside the pencil by dropping it off a table or letting it get bashed around in your bag. This means that the lead will break constantly when sharpened.
Carpenters’ pencils are usually thrown inside a toolbox or bag where they are bashed, crushed, and battered by heavy tools. The thicker and tougher core prevents damage in these situations.
It also means that the pencils can withstand a fall from heights without shattering or cracking.
4. Easier to Hold
The other great thing about carpenters’ pencils is that the flat shape makes them larger and therefore easier to hold. This is super important for tradespeople wearing gloves that reduced their dexterity.
In this regard, they are quite similar to jumbo pencils that are useful for children who are just learning to write. The increased size makes it easier for hands with reduced dexterity to get a good grip.

Tips for Using Carpenters’ Pencils
Carpenters’ pencils are incredibly useful for more than just drawing lines! You can make good use of the body as well as the lead when you’re working on a project.
1. Sharpen Both Ends
Keeping both ends of the pencil sharp can be a great way to save time.
If one end snaps or becomes dull, you can just flip the pencil around and continue working without having to reach for your knife or a sharpener.
You can also sharpen each end to a different size. This means that you could have a pencil with a thin lead for precise marking and a thicker end for rough marking.
This saves you from having to carry multiple pencils or stop to adjust the lead in the middle of a job.
2. Use it as a Spacer
When you buy carpenters’ pencils, you’ll notice that they give you the width and thickness of the pencil. This is incredibly useful information because it means that you can use the pencil as a spacer.
If, for example, you’re laying a deck, and you need the board to be spaced half an inch apart, use your half-inch pencil as a spacer.
Of course, this only works for repetitive spacing that needs to be even, but it’s handy to know.
3. Use it for Measuring
In a similar vein to the tip above, you can use a spare pencil as a quick measuring tool.
If you know the width and thickness of your pencil, you’ve got two handy, permanent measurements in your toolbox.
This saves you from messing around with a tape measure to mark half or quarter inches. Just lay a pencil down and mark it with another pencil.
This only works if you know the measurement of your pencil. However, most carpenters’ pencils tend to be around about half an inch wide and a quarter of an inch thick.
Some pencils also come with a ruler printed along the length. This can be handy for doing rough measurements, but it shouldn’t really be used for precise work. This is because the printing can sometimes be off.
The other thing to remember is that the ruler will get shorter the more you use and sharpen the pencil. So, its usefulness is pretty limited.
Final Thoughts
So, there you have it. Carpenters’ pencils are flat so that they don’t roll away. The fact that this makes them easier and more comfortable behind the ear, is purely coincidental!
The flat shape and tougher core make carpenters’ pencils superbly useful on a building site or in a workshop. They are handy for more than just making marks, so make sure you stock up.
- Drill Battery Maintenance: Essential Tips for Cordless Drill Battery Care - February 5, 2024
- Troubleshooting Drill Issues - February 5, 2024
- Quick Drilling Techniques - February 2, 2024
