Are you considering plastering over your artex ceiling? Wondering if it’s possible and how to go about it? In this article, I will provide you with all the information you need about the plastering process for artex surfaces. Whether you’re dealing with textured artex patterns or looking for alternatives, I’ll guide you through the options and help you make an informed decision for your home improvement project.
Key Takeaways:
- Plastering over artex is a common practice in home improvement projects.
- The process requires extra attention due to the textured surface of artex.
- Options include applying a base coat, using a 2-coat skimming process, or a combination of both.
- Ensure trowel marks and bulges are smoothed out before skimming.
- Consider alternatives like removing artex or creating a false ceiling with drylining plasterboard.
How to Plaster Over Artex: Step-by-Step Guide
If you’re looking to give your ceilings a fresh, smooth finish, plastering over artex can be a great solution. Here’s a step-by-step guide to help you achieve the best results:
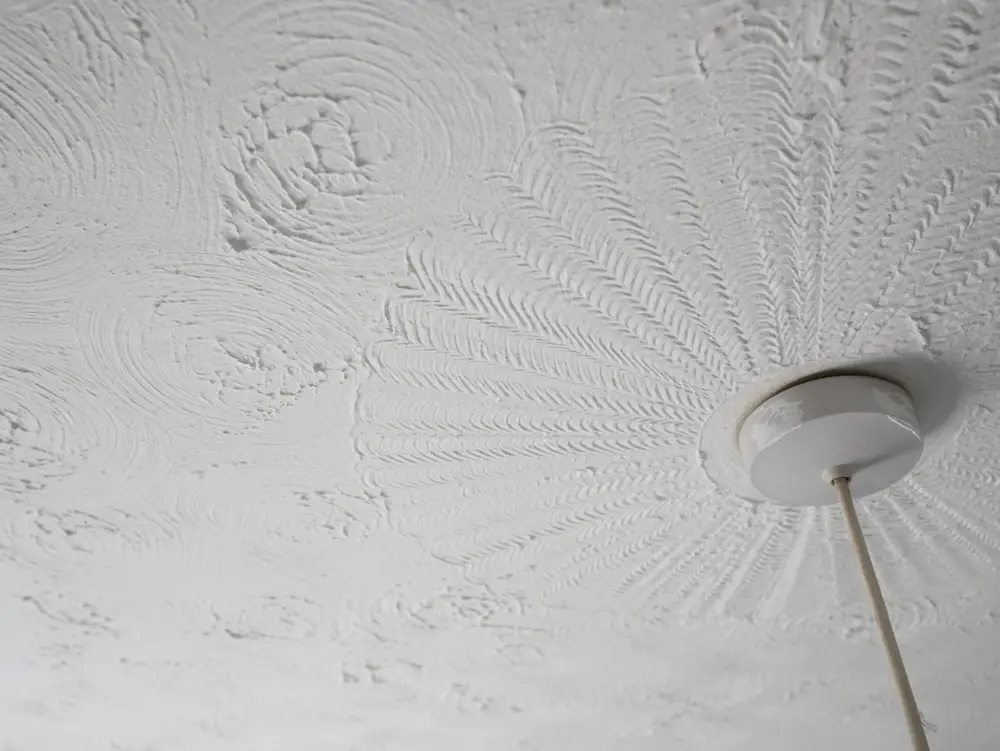
Step 1: Prepare the Artex
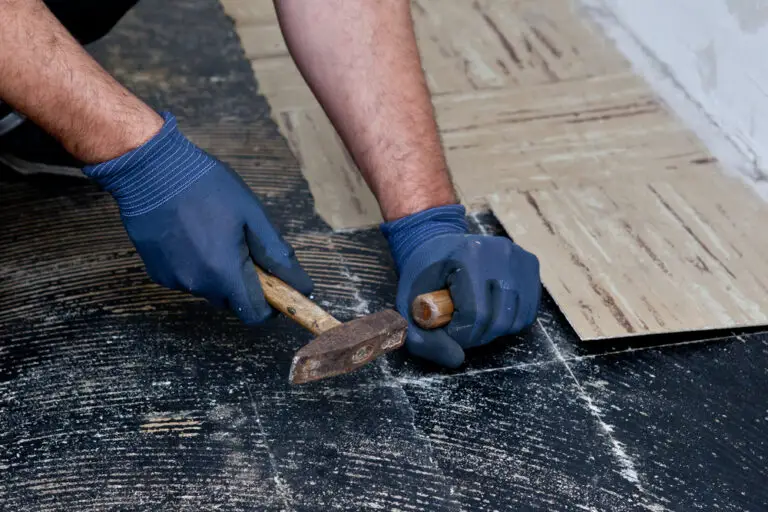
Before you begin, it’s important to prepare the artex surface properly. Start by scraping off any high spots or protruding patterns using a scraper or trowel. This will ensure a more even application of plaster later on.
Step 2: Seal the Surface
Next, apply two coats of PVA (polyvinyl acetate) adhesive to seal the artex and reduce suction. This helps the plaster adhere better to the textured surface. Make sure to allow each coat of PVA to dry completely before moving on to the next step.
Step 3: Add a Key Coat
If the artex has been painted, mix some sand with the second coat of PVA to create a good key on the surface. This will improve adhesion between the existing paint and the plaster. Apply the mixture evenly over the artex, ensuring it covers the entire surface.
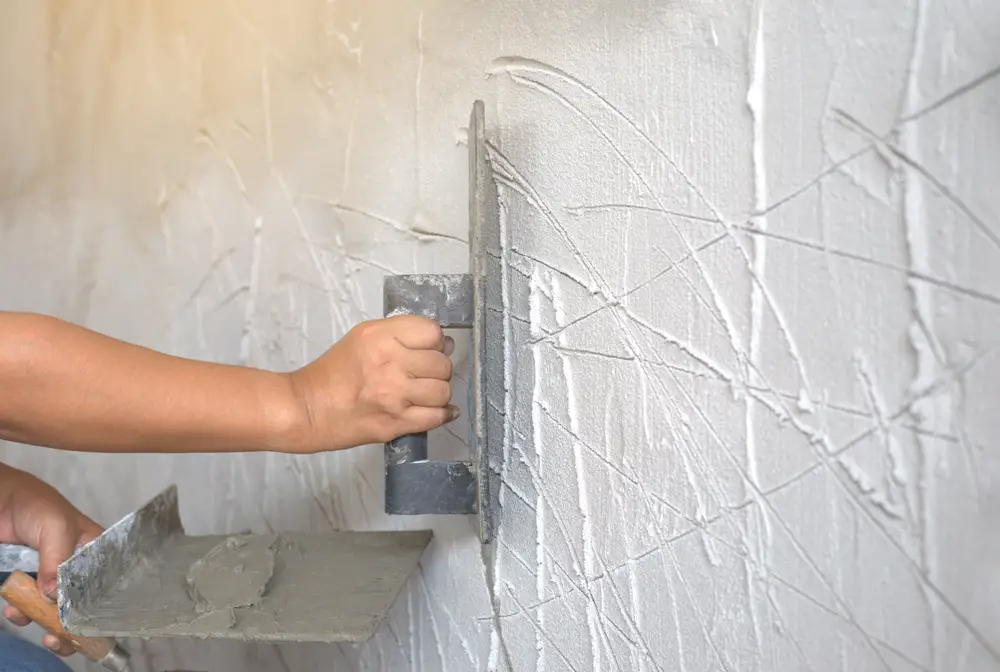
Step 4: Apply the Plaster
Now it’s time to start plastering. Use a multi-finish plaster, which is designed for a smooth finish. Apply two coats of plaster, allowing each coat to dry before applying the next. Aim for an even, consistent thickness to achieve a flat surface. Use a trowel to smooth out any imperfections or trowel marks along the way.
Following these steps will help you plaster over artex effectively and achieve a professional-looking result. Remember to take your time and work carefully to ensure a smooth and flawless finish.
- Step 1: Prepare the Artex
- Step 2: Seal the Surface
- Step 3: Add a Key Coat
- Step 4: Apply the Plaster
Alternatives to Plastering Over Artex
If you’re not keen on plastering over artex, there are a couple of alternative options worth considering. The first alternative is to remove the artex completely, although this can be quite a pricey and time-consuming process. However, if you’re determined to achieve a smooth finish, it might be the right choice for you.
The second alternative involves creating a false ceiling using drylining plasterboard. This method offers a quick and effective solution to hide those pesky artex patterns. By fixing a new ceiling over the existing artex, you’ll achieve a smooth surface that’s ready for further decoration. It’s important to note that this technique may slightly reduce the ceiling height, so keep that in mind when making your decision.
When it comes to dealing with unwanted artex in your home improvement project, these alternatives provide viable options that suit different budgets and preferences. Whether you opt for removing the artex or installing a false ceiling, both methods will help you achieve a fresh and modern look in your space. Consider your specific needs and consult a professional if you’re unsure of the best course of action.
FAQ
Can I plaster over artex?
Yes, plastering over artex is a common practice in home improvement projects. However, it can be more challenging due to the textured surface of artex. There are different methods you can use, such as applying a bonding coat or using a 2-coat skimming process. It’s important to follow a step-by-step guide for best results.
How do I plaster over artex?
To plaster over artex, you first need to scrape off any high spots or protruding patterns on the surface. Then, apply two coats of PVA to seal the artex and reduce suction. Depending on the type of paint on the ceiling, you can mix sand with the second coat of PVA to create a good key. Finally, apply two coats of multi-finish plaster to achieve a smooth, flat surface.
What are the alternatives to plastering over artex?
If you prefer not to plaster over artex, there are two main alternatives to consider. The first option is to remove the artex entirely, but this can be a costly and labor-intensive process. The second option is to create a false ceiling using drylining plasterboard. This involves fixing a new ceiling over the artex, resulting in a smooth surface for further decoration.
How can I test if artex contains asbestos?
To determine if artex contains asbestos, you should seek professional testing. Asbestos is a hazardous material, and it’s important to take the necessary precautions when dealing with it. Hiring a professional asbestos testing company will ensure accurate results and the appropriate safety measures can be taken.
- Drill Battery Maintenance: Essential Tips for Cordless Drill Battery Care - February 5, 2024
- Troubleshooting Drill Issues - February 5, 2024
- Quick Drilling Techniques - February 2, 2024