Need to remove rawl plugs? No problem, I will take you through the step-by-step instructions on how to remove rawl plugs easily and effectively.
Whether you’re preparing for a redecoration or making repairs, this guide will help you tackle the task with confidence.
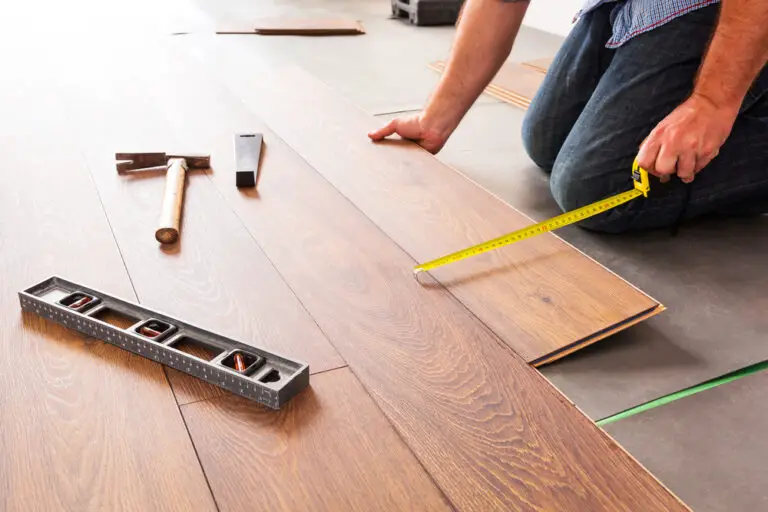
The Tools You’ll Need
To successfully remove rawl plugs, you will need a few essential tools. These tools will make the process easier and more efficient, ensuring that you can remove the plugs without causing any damage to your walls. Here are the tools you’ll need:
- A screw: Choose a screw that is slightly larger than the hole left by the rawl plug. This will allow you to create a firm grip and effectively remove the plug.
- A screwdriver: You’ll need a screwdriver that matches the type of screw you’re using. Make sure it fits securely in the screw head to provide maximum control during the removal process.
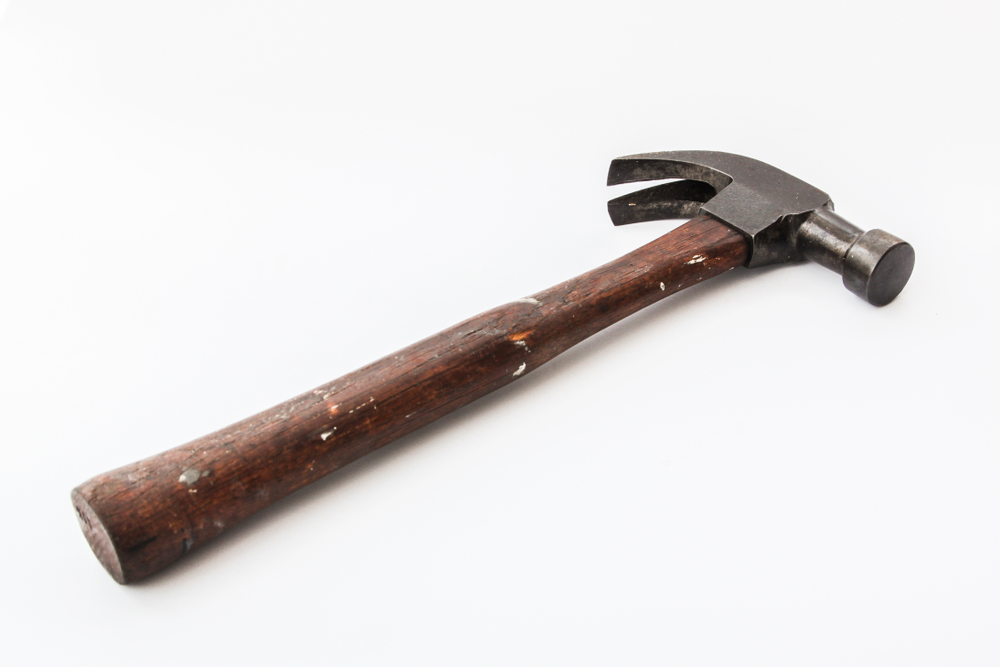
- A claw hammer: The claw hammer will come in handy if the rawl plug is stubborn and difficult to remove. It will provide the necessary leverage to gently pry the plug out of the wall.
With these simple tools in hand, you’ll be well-equipped to tackle the task of removing rawl plugs effectively and with ease.
Why these tools are important:
The screw is the key tool for removing rawl plugs as it allows you to create a tight grip and apply controlled force to remove the plug. The screwdriver is essential for turning the screw, loosening the plug from the wall. Finally, the claw hammer provides additional leverage and flexibility when dealing with stubborn plugs. Together, these tools form a powerful combination that will help you successfully remove rawl plugs from your walls.
Identifying the Type of Rawl Plug
Before proceeding with the removal of a rawl plug, it’s essential to determine its type. Rawl plugs come in two main varieties: plastic and metal. Each type requires a different removal method, so identifying the correct type is crucial to ensure a successful removal process.
To identify whether you’re dealing with a plastic or metal rawl plug, take a close look at the plug itself. Plastic rawl plugs are typically made of durable, lightweight plastic and are commonly used in residential settings. On the other hand, metal rawl plugs are often found in commercial or heavy-duty applications, and they are made from metal alloys, providing extra strength and stability.
Plastic Rawl Plugs
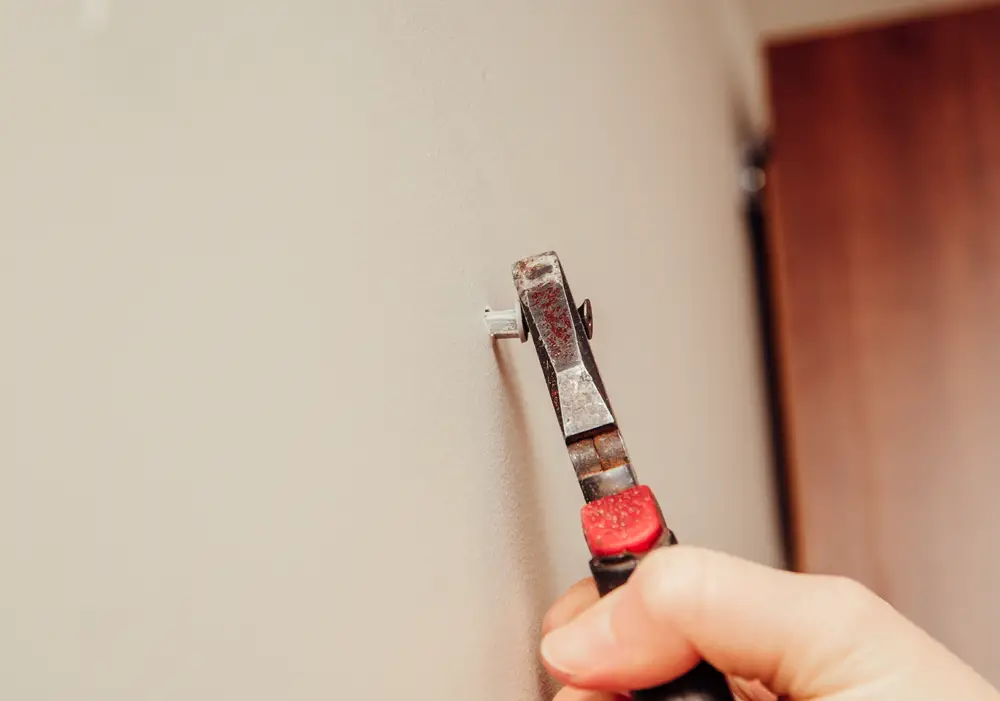
If you’ve determined that you have plastic rawl plugs, you can proceed with the appropriate removal method. Plastic rawl plugs are relatively easy to remove. Here’s what you need to do:
- Using a pair of pliers, grip the plug as close to the wall surface as possible. This will give you a firm hold on the plug for easy removal.
- Gently and steadily pull the plug straight out of the wall. Apply consistent pressure, but be careful not to damage the surrounding area.
- If the plug seems stubborn and won’t come out easily, you can use a screwdriver or drill to back it out. Simply insert the tool into the center hole of the plug and rotate counterclockwise.
By following these steps, you’ll be able to remove plastic rawl plugs efficiently and without causing any damage to your walls.

Metal Rawl Plugs
For metal rawl plugs, the removal process requires a slightly different approach. Here’s what you should do:
- Locate the screw head inside the metal plug. The screw head is where the screw is inserted to secure the plug in place.
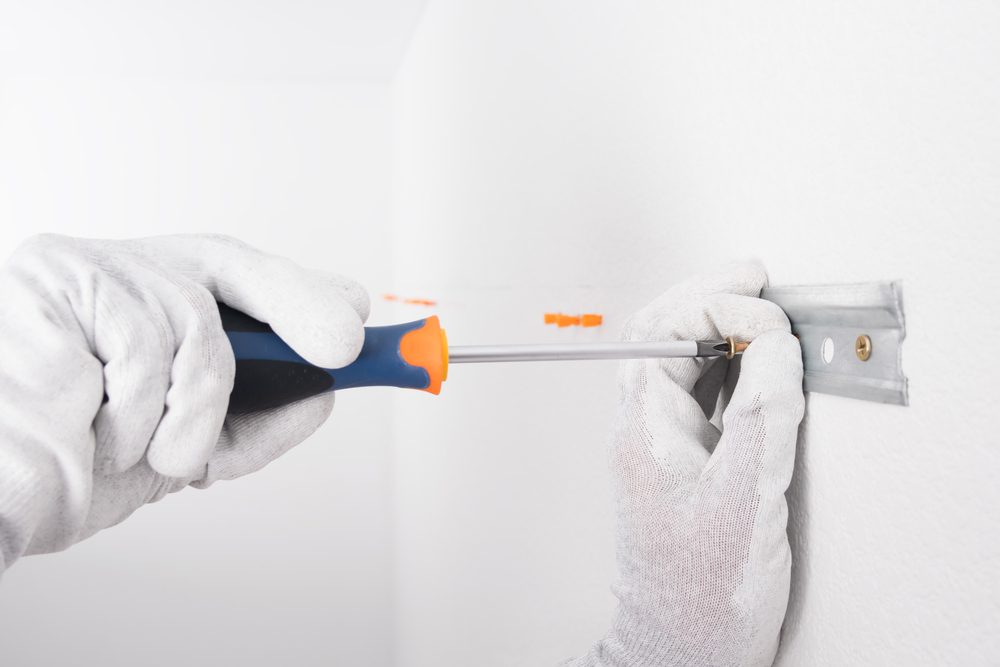
- Insert the appropriate-sized screwdriver or drill bit into the screw head and rotate counterclockwise to unscrew the plug from the wall.
- Once the screw is completely removed, use a pair of pliers to pull the metal rawl plug straight out of the wall.
Removing metal rawl plugs may require a bit more effort, but with the right tools and technique, you’ll be able to remove them efficiently and prepare your walls for any further work or repairs.
Use a Screwdriver to Back It Out
Once you have a good grip on the plug, gently and steadily pull it straight out of the wall. If the plug is stubborn and doesn’t come out easily, you can use a screwdriver or drill to back it out. Insert the tool into the center hole of the plug and rotate counterclockwise until the plug is loose enough to remove.
It’s important to avoid using excessive force when removing the plug to prevent any damage to the wall. With a little patience and careful maneuvering, you’ll be able to successfully remove the plastic rawl plug without any hassle.
Once the plug is removed, you can proceed with patching the hole in the wall, as discussed in the next section of this guide. Remember to always exercise caution and prioritize safety when working with tools and equipment.
Alternative Method: Screwing into the Rawl Plug
In some cases, removing a stubborn or degraded rawl plug using the traditional methods may prove challenging. However, there is an alternative method that can be effective in such situations. Instead of trying to pull out the plug directly, you can opt to screw something substantial into it, providing you with a better grip for removal.
To utilize this alternative method, choose a large hanging hook or a thick screw with a sizable head. Insert it into the center hole of the rawl plug and begin screwing it in halfway. This will create a protruding object that you can easily grasp with a pair of pliers for leverage.
Once you have a firm grip on the protruding object, firmly pull the old rawl plug straight out of the wall. This method can be particularly effective for older or stubborn rawl plugs that may have deteriorated over time. It provides an alternative solution for removal, ensuring that you can proceed with your DIY project without further complications.
Patching and Finishing
Once you have successfully removed the rawl plugs from your walls, you may be left with small holes that need to be patched and finished. This step is crucial to ensure a smooth and seamless wall surface before proceeding with any redecoration or repairs. Here’s a step-by-step guide on how to patch those holes and achieve a professional finish.
Gather Your Materials
Before you begin, make sure you have the necessary materials on hand. You’ll need sandpaper or a sanding block to smooth any rough edges around the holes. Additionally, you’ll need spackle or wall putty, which can be easily obtained from your local hardware store. Lastly, grab a putty knife or scraper to apply the spackle or wall putty.
Patching the Holes
Start by using the sandpaper or sanding block to gently smooth the edges around the holes. This will ensure that the patched area blends seamlessly with the rest of the wall. Next, take the spackle or wall putty and apply it to the putty knife or scraper. Press the putty into the holes, filling them completely and creating a level surface. Be sure to remove any excess spackle or putty from the surrounding wall with the edge of the putty knife or scraper.
Finishing Touches
Allow the patch to dry completely, following the instructions provided on the spackle or wall putty container. Once dry, use the sandpaper or sanding block to lightly sand the patched area, ensuring a smooth finish. Finally, paint the patched area to match the surrounding wall. Take care to choose a paint color that closely matches the existing wall color, or consider repainting the entire wall for a uniform look.
Conclusion
In conclusion, removing rawl plugs is a simple process that can be accomplished with the right tools and techniques. By following the step-by-step guide outlined in this article, you can confidently tackle the task of removing rawl plugs and prepare your walls for redecoration or repairs.
Remember to always identify the type of rawl plug you’re dealing with before attempting its removal. Plastic rawl plugs can be gripped with pliers and pulled straight out, while metal rawl plugs require unscrewing the plug using a screwdriver and then pulling it out with pliers.
If you encounter particularly stubborn or degraded rawl plugs, the alternative method of screwing something substantial into the plug can be effective. By screwing in a large hanging hook or a thick screw, you can then use pliers to pull the old plug straight out.
Once the rawl plugs are removed, don’t forget to patch and finish the wall. Sand any rough edges around the holes and fill them with spackle or wall putty. After allowing the patch to dry, lightly sand it and paint the patched area to match the rest of the wall, ensuring a seamless finish.
FAQ
What tools do I need to remove rawl plugs?
To remove rawl plugs, you will need a screw (slightly larger than the hole), a screwdriver, and a claw hammer.
How do I identify the type of rawl plug I have?
There are two main types of rawl plugs: plastic and metal. Plastic rawl plugs are commonly used in residential settings, while metal rawl plugs are often found in commercial or heavy-duty applications.
How do I remove plastic rawl plugs?
To remove plastic rawl plugs, grip the plug with a pair of pliers as close to the wall surface as possible, then gently and steadily pull the plug straight out of the wall. If the plug is stubborn, you can use a screwdriver or drill to back it out by inserting the tool into the center hole of the plug and rotating counterclockwise.
How do I remove metal rawl plugs?
To remove metal rawl plugs, start by locating the screw head inside the metal plug, then insert the appropriate-sized screwdriver or drill bit into the screw head and rotate counterclockwise to unscrew the plug from the wall. Once the screw is removed, you can easily pull the metal rawl plug out of the wall using pliers.
Is there an alternative method for removing stubborn or degraded rawl plugs?
Yes, if the rawl plug is severely stuck or degraded, you can screw something substantial into the plug, such as a large hanging hook or a thick screw with a large head. By screwing it in halfway, you can then grab the protruding object with pliers and pull the old plug straight out.
What should I do after removing the rawl plugs?
After removing the rawl plugs, you’ll likely be left with small holes in the wall. To patch and finish the wall, use sandpaper or a sanding block to smooth any rough edges around the holes, then apply spackle or wall putty to a putty knife or scraper and press it into the holes, creating a level surface. Allow the patch to dry completely, then sand it lightly and paint the patched area to match the surrounding wall.
- Drill Battery Maintenance: Essential Tips for Cordless Drill Battery Care - February 5, 2024
- Troubleshooting Drill Issues - February 5, 2024
- Quick Drilling Techniques - February 2, 2024