If you’re looking to restore the look of your floor, replacing a damaged tile is a great place to start. From small chips to large cracks, a damaged floor tile can be an eyesore and make your floor look worn out.
But don’t worry – with our step-by-step guide, you’ll be able to replace the damaged tile with ease and have your floor looking like new in no time.
Key Takeaways:
- Replacing a damaged floor tile can be done with ease.
- Assess the damage and gather the necessary tools and materials.
- Remove the damaged tile safely, minimizing the risk of damage to surrounding tiles or subfloor.
- Install the new tile properly to ensure a professional finish.
- With our guide, you’ll be able to replace a damaged tile and have your floor looking like new.
Assessing the Damage and Gathering Materials
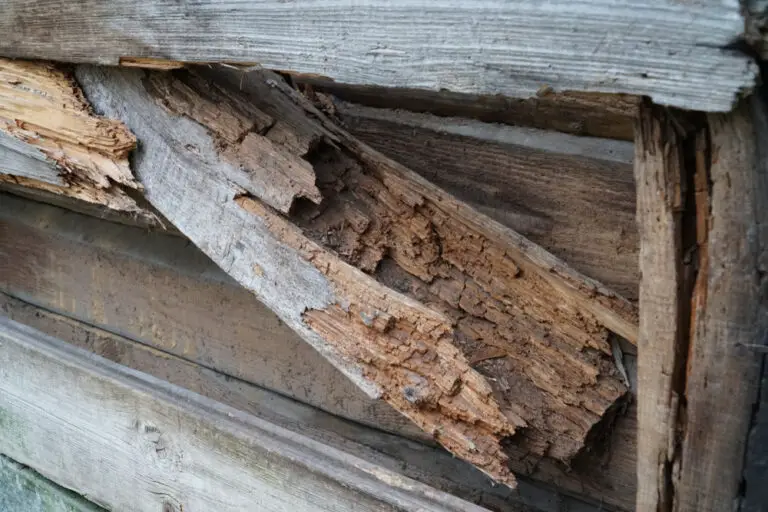
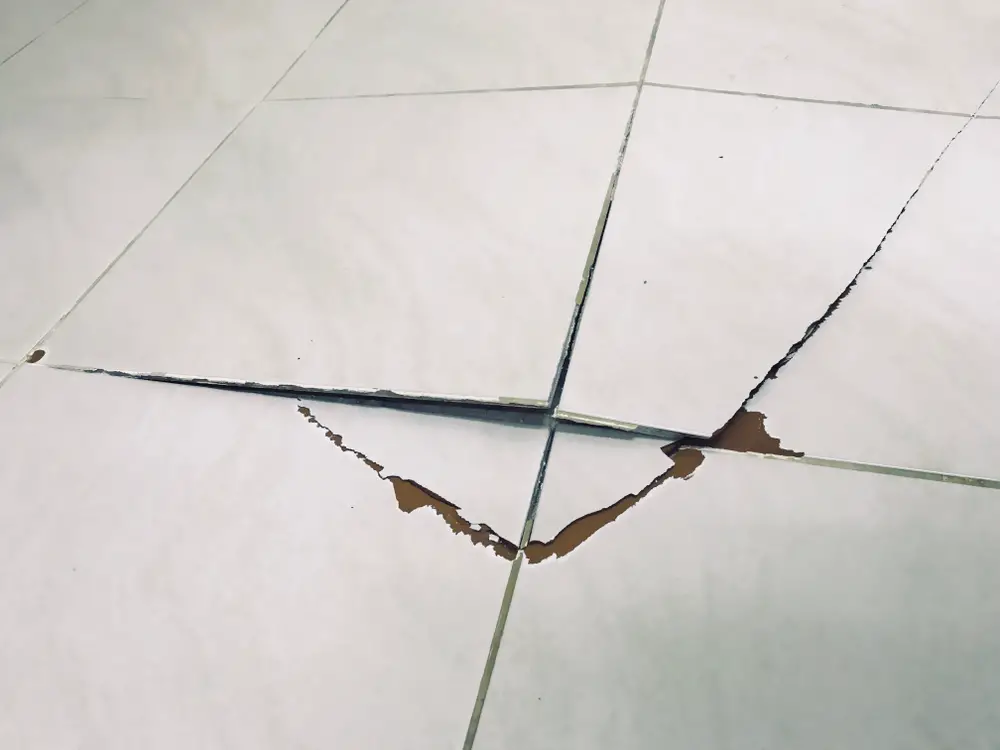
Before I start replacing the damaged floor tile, I need to assess the extent of the damage and gather the necessary materials. Assessing the damage will help me determine if the tile needs to be replaced or if it can be repaired. It’s also important to identify any underlying issues that may have caused the damage to prevent future problems.
Assessing the Damage
To assess the damage, I need to inspect the damaged tile closely. I will look for cracks, chips, or any other signs of damage. If the damage is minimal, I may be able to repair the tile without replacing it. However, if the damage is severe or extensive, I will need to replace the tile.
Gathering Materials
To replace a damaged floor tile, I will need the following materials:
- Safety goggles and gloves
- Chisel
- Hammer
- Heat gun or hairdryer
- Grout saw
- New tile
- Tile adhesive
- Grout
- Sponge
- Grout sealer
It’s important to wear safety goggles and gloves to protect my eyes and hands during the tile removal process. The chisel and hammer are necessary tools to remove the damaged tile, while the heat gun or hairdryer can help loosen the adhesive that holds the tile in place. The grout saw will help remove any grout around the damaged tile.
When purchasing a new tile, I need to ensure that it matches the existing floor tile in terms of size, colour and pattern. I also need to choose the appropriate adhesive and grout for the type of tile and the location where it will be installed.
By assessing the damage and gathering the necessary materials beforehand, I’m fully prepared to replace my damaged floor tile with ease and confidence.
Removing the Damaged Floor Tile
Now that we have assessed the damage and gathered the necessary materials, it’s time to remove the damaged floor tile. Here’s a step-by-step guide:
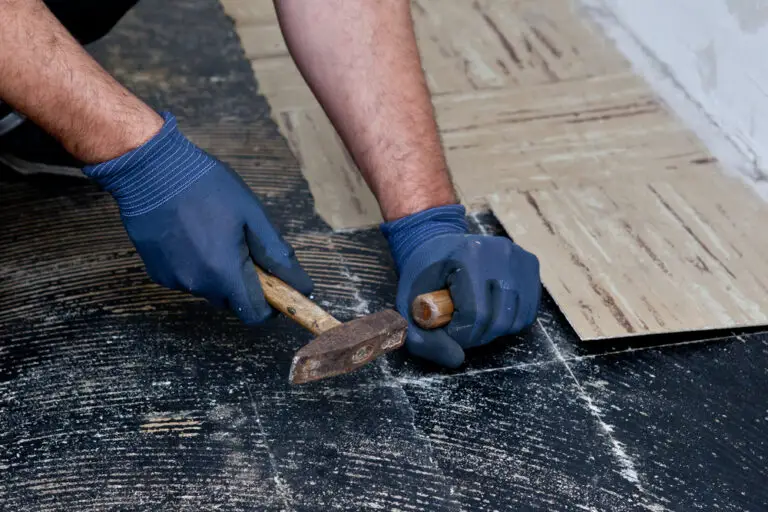
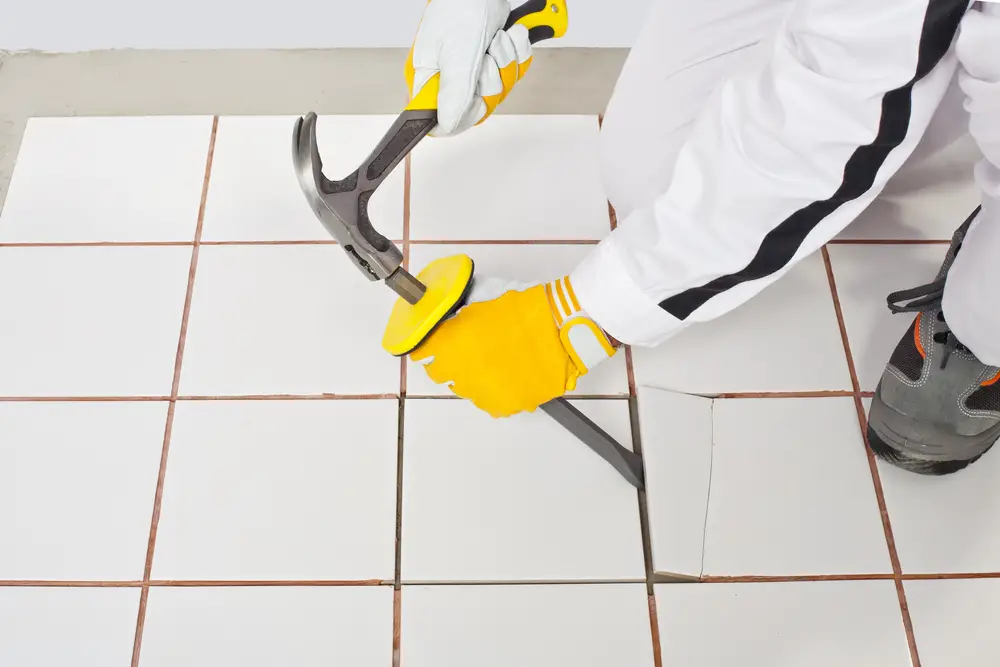
- Start by using a putty knife or chisel to remove any grout around the damaged tile. Be careful not to damage the surrounding tiles.
- Next, use the chisel or flathead screwdriver to loosen the damaged tile by inserting it under the tile and gently prying it up. Work slowly and carefully to avoid damaging the subfloor.
- If the tile is difficult to remove, use a heat gun to soften the adhesive underneath. Hold the heat gun several inches away from the tile and work in a circular motion until the adhesive softens.
- Once the damaged tile is removed, use a scraper to remove any excess adhesive or debris from the subfloor. Make sure the surface is clean and smooth before moving on to the next step.
Remember to wear protective gloves and safety glasses during this process to avoid injury.
Minimizing Damage to Surrounding Tiles
While removing the damaged floor tile, it’s important to minimize the risk of damaging the surrounding tiles. Here are some tips:
- Use a protective cover, such as cardboard or a towel, over nearby tiles to prevent chipping or scratching.
- Work slowly and carefully, avoiding any sudden movements that could disturb the surrounding tiles.
- If necessary, use a grout saw to carefully cut the grout around the damaged tile before removing it.
By following these tips, you can safely and successfully remove the damaged floor tile without causing additional damage.
Installing the New Floor Tile
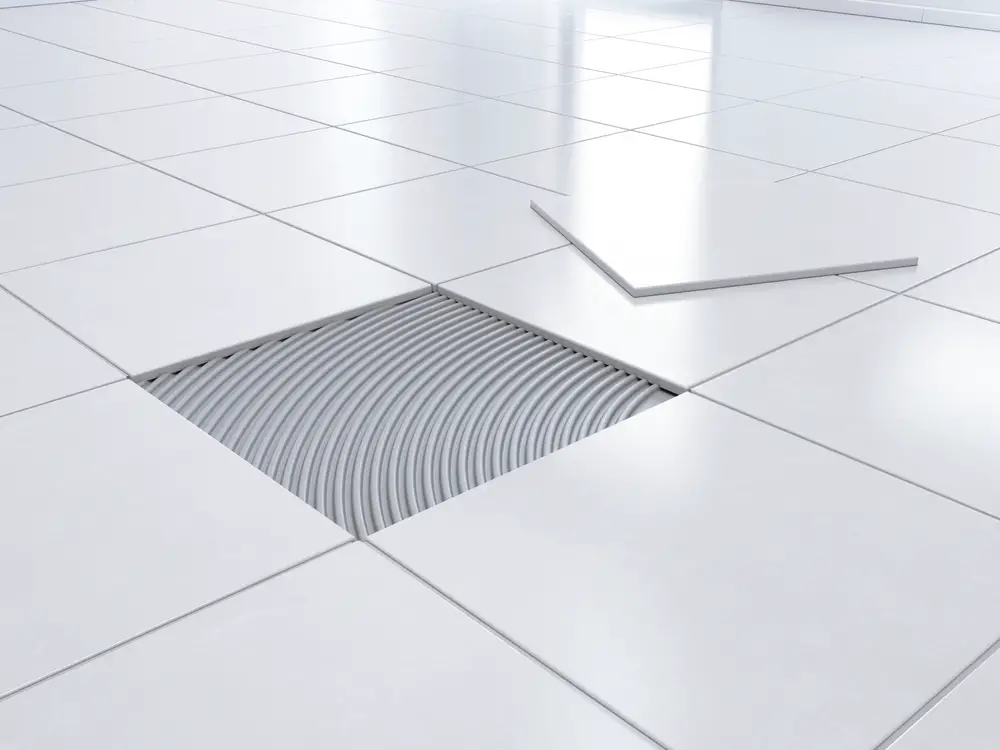
Now that the damaged tile is out, it’s time for the fun part – installing the new one! Before you start, it’s important to ensure that the subfloor is clean, dry, and free from any debris or adhesive left over from the previous tile.
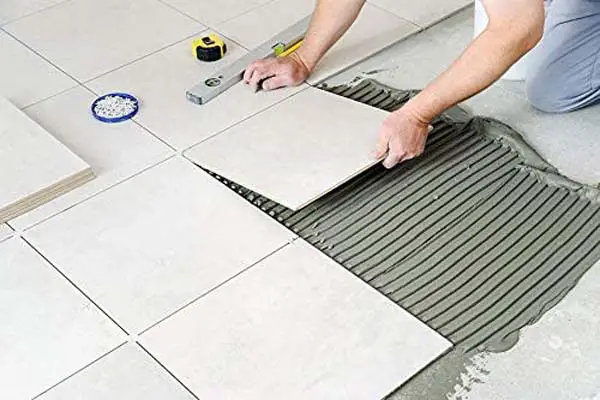
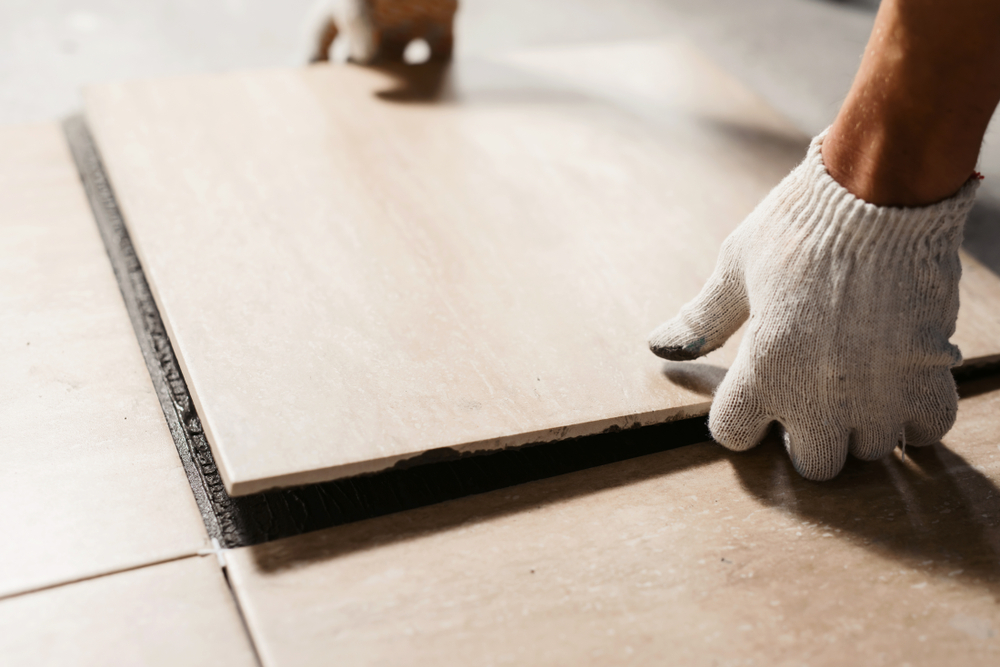
The next step is to apply the adhesive to the back of the new tile, making sure to spread it evenly using a notched trowel. Be sure to use the correct adhesive for your tile and subfloor type, as this will ensure a strong and durable bond.
Once the adhesive is applied, carefully place the new tile onto the subfloor, making sure it is level and flush with the surrounding tiles. It’s a good idea to use tile spacers to maintain a consistent gap between the tiles, as this will help to ensure a professional finish.
Ensuring a Level Installation
An uneven tile can be unattractive and even dangerous, so it’s important to ensure that your new tile is level. One way to do this is to use a spirit level to check that the tile is perfectly horizontal and vertical.
If the tile is not level, you can use a rubber mallet to gently tap it into place, or you can lift it up and adjust the adhesive as necessary. It’s best to make any adjustments while the adhesive is still wet, as this will give you more flexibility to move the tile into the correct position.
Grouting and Sealing the Tile
Once the new tile is firmly in place, it’s time to apply the grout. Mix the grout according to the manufacturer’s instructions, and apply it to the gaps between the tiles using a grout float. Be sure to work the grout into the gaps and remove any excess using a damp sponge.
After the grout has dried, it’s a good idea to seal the tile to prevent any water or stains from penetrating the surface. Apply a sealant according to the manufacturer’s instructions, and allow it to dry completely before walking on the tile or exposing it to any water.
There you have it – a brand new tile that looks just as good as the rest of your floor! With a little bit of patience and attention to detail, you can successfully replace a damaged floor tile and enjoy a refreshed and revitalized floor.
Frequently asked questions:
What should I do before replacing a damaged floor tile?
Before replacing a damaged floor tile, you should assess the extent of the damage and gather the necessary materials.
How do I remove a damaged floor tile?
To remove a damaged floor tile, you can use a heat gun or chisel to loosen it. Be careful not to damage the surrounding tiles or subfloor.
How do I install a new floor tile?
To install a new floor tile, prepare the subfloor, apply adhesive, and place the new tile. Make sure to level the tile and finish by grouting and sealing it.
- Drill Battery Maintenance: Essential Tips for Cordless Drill Battery Care - February 5, 2024
- Troubleshooting Drill Issues - February 5, 2024
- Quick Drilling Techniques - February 2, 2024