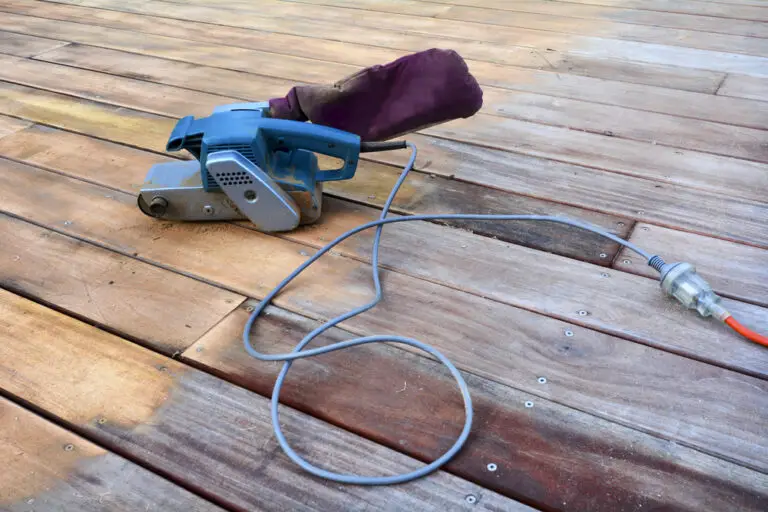
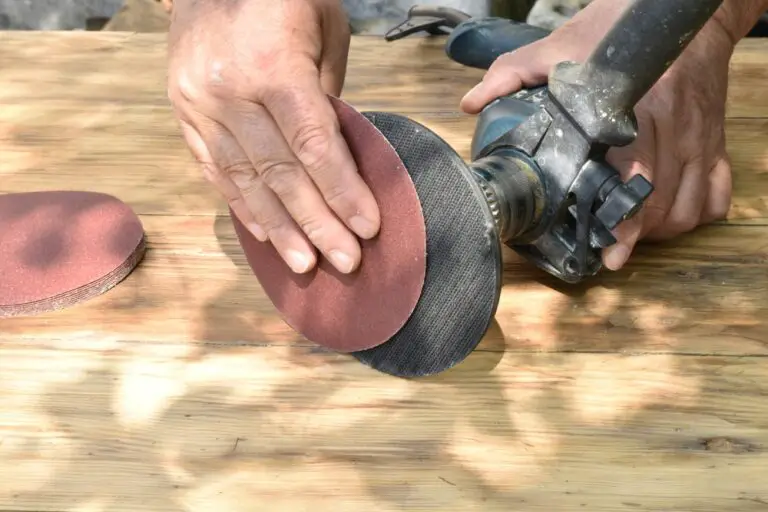
After you have been using your sander for a while, you are likely to start to notice your sandpaper flying off. This does not mean that your sander is broken, but it does mean that some maintenance is due.
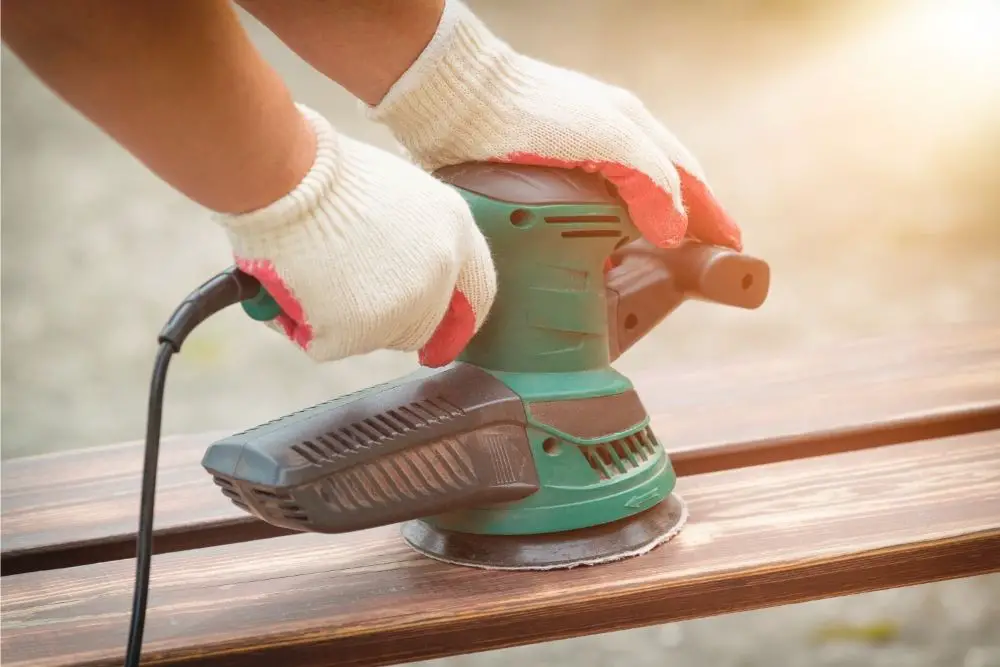
Sandpaper coming off of your sander is generally due to problems with your sander pad. This is a really easy and relatively cheap issue to fix. Through regular maintenance and cleaning you will be able to extend the overall lifespan of your sander and make it perform better.
Why won’t my sandpaper stay on my sander?
Over time and through use, the pad on your sander is likely to begin to wear out. These pads usually use Velcro as an adhesive, which becomes less effective over time. Velcro uses a hook and loop mechanism to attach two objects without an adhesive.
As the two sides of Velcro are pulled apart, some of the loops can snap. This makes the sticking power much less effective.
A more common issue with Velcro on sanders is caused by the heat levels generated while the sander is in operation. The hook and loop system is made of nylon. When the sander heats up, the thin nylon fibres can melt and soften.
This renders the entire system useless and eventually leads to the sanding pad becoming completely ineffective.
Another cause of Velcro wearing out is due to a buildup of dust, dirt, and grime. This is likely to be the cause of your issues with your sander pad. When sawdust enters the Velcro, it begins to fill up the small loops. This prevents the hooks from latching on and means that your sandpaper will fly off quickly.
If you maintain your sander pad well and treat it with care, you may be able to give it a clean to fix the problems. If your sander pad is old or seriously dirty, you may not feel this is worth the effort. In this case, you will need to replace the sander pad completely.
How can you clean the Velcro on the sander pad?
There are a few different methods that you can use to clean Velcro. The first is by going in with a needle and prying out the debris that has collected on the surface. This is similar in premise to cleaning out a hairbrush. Any hard-to-access debris can be pried out using a pair of tweezers.
For a faster alternative to this method, run a fine-toothed comb or clean and dry toothbrush through the Velcro. Some people swear by the use of a comb designed for removing head lice. These can be cheaply purchased from any pharmacy and they are very durable.
Spraying the Velcro with compressed air is also very good at forcing debris out of the hook and loop system. You could also use your vacuum cleaner to do this in a pinch.
How do you know when to replace your sander pad?
If you notice your sanding discs flying off your sander when in operation, this is often a sign that the pad needs replacing completely. Check the appearance of the pad too. If you notice that it seems worn down, or uneven, or if there is any damage to the pad, it will need to be replaced.
The frequency with which you will need to replace the pad depends on how often you use the sander. A general timeframe for replacements tends to fall between 3 months and 1 year. Here are some best sellers on Amazon.
How can you prolong the lifespan of a sander pad?
You should try to connect your sander to a dust extractor or vacuum system wherever possible. This has a wide range of benefits that will all extend the lifespan of your sander pad.
The first is that it reduces the sawdust in the air, therefore making it safer to operate. It also means that sawdust will not collect on your surface making the sanding less effective.
The airflow generated by the suction cools the sanding pad, meaning that the nylon is less likely to melt. This also keeps the surface you are working on cooler, reducing the risk of pilling and clogging.
Using some kind of dust extraction system will also mean your jobs are completed more quickly. This reduces the strain put on your sander and means that the lifespan will be extended.
You can also purchase some things called pad savers. These are very cheap to purchase but incredibly useful. The purpose of these is to minimize the wear that the Velcro on your sander pad experiences. They are installed underneath the sanding disc and on top of the backing pad.
Do not exert too much pressure on the sander while it is in operation. This increases the strain that the sandpaper and sander pad are under. In turn, this generates more heat and causes a premature decline in the quality of the sander pad.
When you notice your sander pad is on its last legs, there is one more way to prolong its life a little more. Grab some super glue and attach sandpaper directly to the sander pad. This will give the sander pad a final lease of life.
We do not recommend doing this any earlier as you will not be able to remove the sandpaper to replace it, and the entire sander pad will need to be disposed of.
Choosing a replacement sander pad
Sanders varies in design and size between manufacturers and even between models. You should always check the details supplied by the manufacturer to ensure you purchase a suitable replacement pad. Generally, sander pads will have a diameter of approximately 5 inches.
Some sander pads have vacuums built into the internal mechanism. This helps to suck in any sawdust that is generated, lowering the health risks to the operator.
If your sander has an internal vacuum, your sander pad will need to have 8 holes punched out. This is to help with the airflow to generate enough suction for the sawdust to be collected.
Different sanders will have different attachment methods. As we mentioned above, some will use a Velcro mechanism, although this can wear out relatively quickly. Others will require the use of screws to attach the sander pad.
Different models will have these screw holes in varying positions. You should take care to check the attachment method before purchasing a replacement sander pad.
How do you replace the sander pad?
To do this you will first need to disconnect the power supply to the sander. You are going to be removing screws from the machine and it is very dangerous to do this with a power supply running through.
Brush off any dust from sanding that is on the screws. Find a screwdriver that fits into the screws on your sander pad. Holding the sander pad, begin to loosen the screws securing it in place. As you remove the screws, place them to one side to ensure you don’t lose them.
You should then grab a soft cloth and wipe off any sawdust and grime that has accumulated inside the sander. This will help to extend the lifespan of your sander and will make it perform better too. If you allow it to build up too much, the dust can clog the vacuum dust collector and damage the motor.
Grab your new sander pad and check that it is the right size and shape for your sander. You can hold it in place and insert the screws one by one to secure it.
Alternatively, thread the screws through the holes in the sander pad and position them over your sander. Work your way around the screws, tightening them to secure the sander pad.
You are now ready to use your sander.
- Drill Battery Maintenance: Essential Tips for Cordless Drill Battery Care - February 5, 2024
- Troubleshooting Drill Issues - February 5, 2024
- Quick Drilling Techniques - February 2, 2024