Welcome to my comprehensive guide on how to effectively use a floor sander to rejuvenate your hardwood floors.
If you’re looking to restore your floors to their original beauty, then you’re in the right place. In this section, I will take you through the step-by-step process of using a floor sander on hardwood floors, ensuring stunning results.
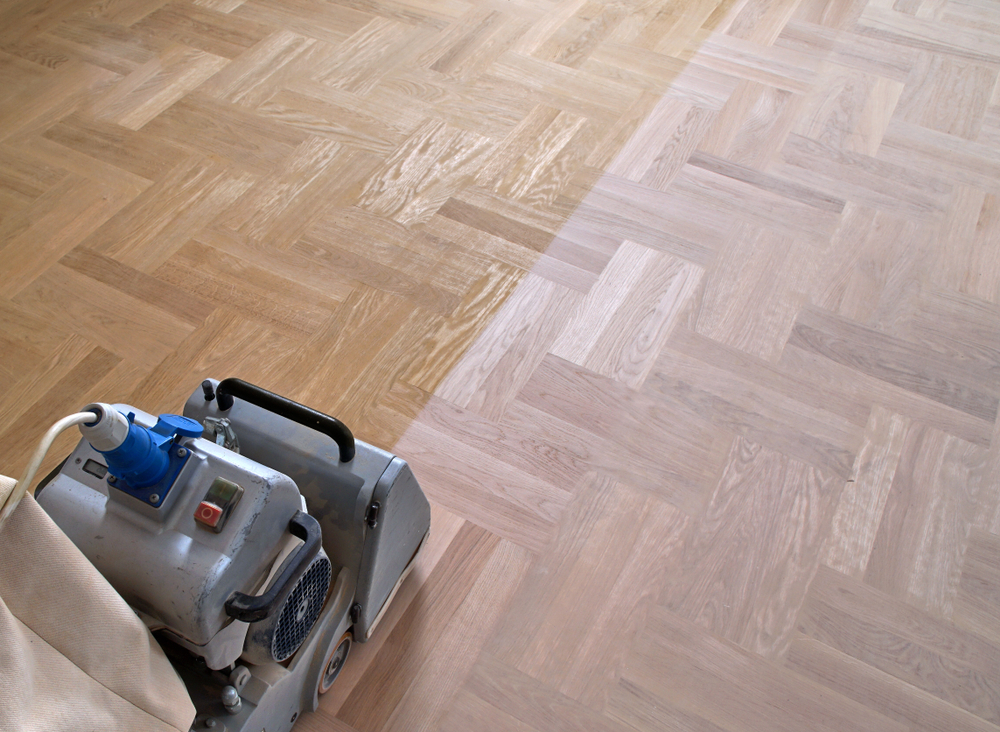
Hardwood floors are an excellent addition to any home, providing a classic, timeless look that never goes out of style. However, over time, these floors can become scratched, dull, and tired-looking. That’s where a floor sander comes in. By sanding your hardwood floors, you can bring them back to their former glory, removing any scratches, stains, or imperfections.
Using a floor sander may seem daunting, but with the right guidance, anyone can do it. In the following sections, I will cover everything you need to know about preparing your floors, using a floor sander, and finishing and cleaning your newly sanded hardwood floors. So, let’s get started!
Preparing Your Hardwood Floors for Sanding
In this section, I’m going to walk you through the essential steps to prepare your hardwood floors for sanding. Proper preparation is crucial for achieving the desired results and avoiding damage to your floors during the sanding process.
Clear the Room and Remove Obstacles
Before starting, clear the room of all furniture, rugs, and debris. This will give you space to move the floor sander around comfortably and avoid any obstacles that could damage the machine or your floors.
Inspect Your Floors for Damage
Check the condition of your hardwood floors for any loose or damaged boards. It’s important to repair any issues before sanding to prevent further damage or weakening of your floors.
Protect Your Furniture
If you can’t remove furniture from the room, cover every piece with a plastic sheet to prevent dust and debris from settling on your belongings. This will also protect your furniture from any accidental scratches or dents.
Cover Vents and Electrical Outlets
Use plastic sheets or duct tape to cover any vents or electrical outlets in the room. This will prevent dust and debris from getting inside and causing damage.
Final Clean-Up
Once you’ve cleared the room and covered your furniture and vents, give your floors a final clean to remove any remaining debris. This will ensure a smooth sanding process and help you achieve the best results possible.
- Sweep or vacuum the room thoroughly
- Mop or damp mop the floors to pick up any remaining dust or dirt
- Allow your floors to dry completely before starting the sanding process
By properly preparing your hardwood floors for sanding, you’ll avoid damage and achieve beautiful results. With your floors now ready, it’s time to start sanding!
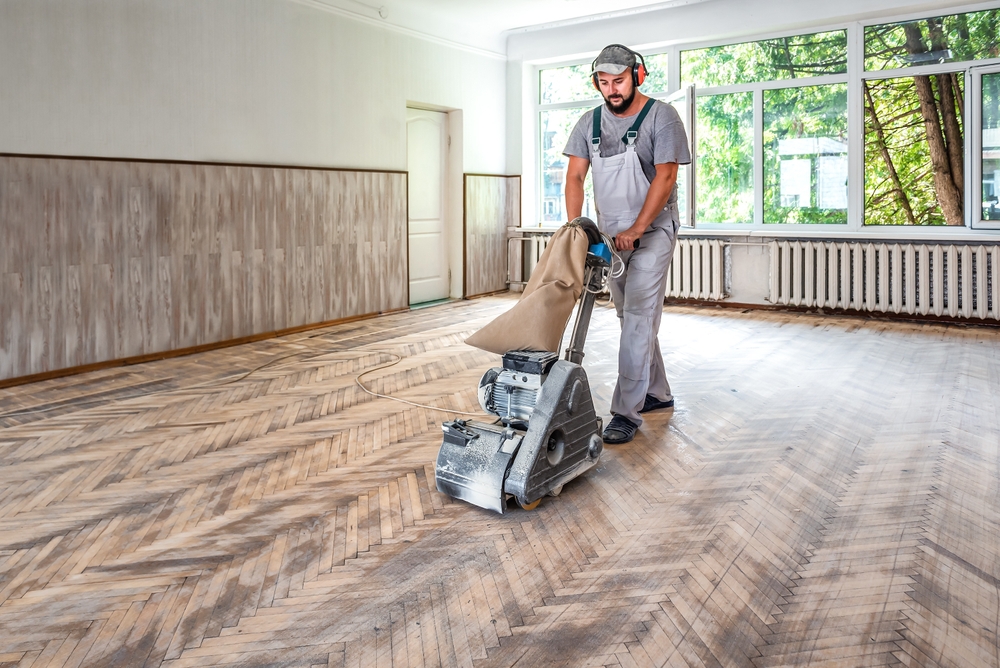
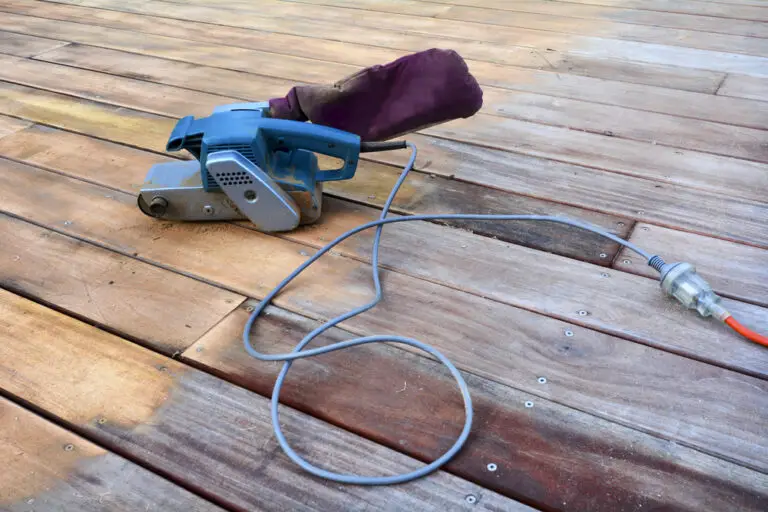
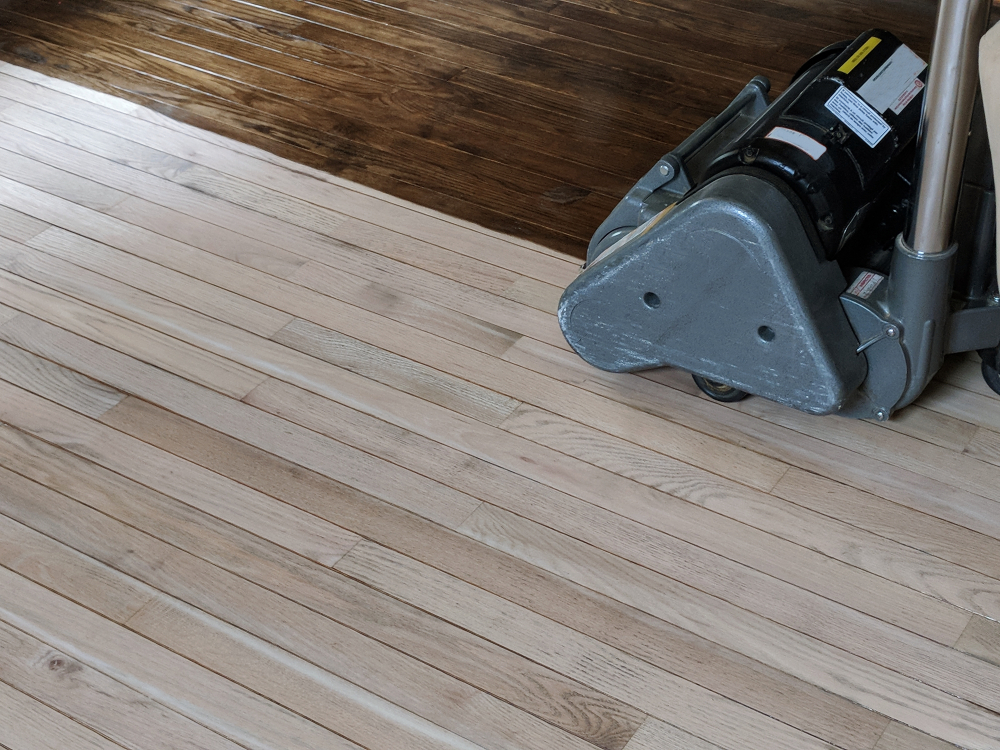
Using a Floor Sander on Your Hardwood Floors
Now that your hardwood floors are prepped, it’s time to start using the floor sander. Using a floor sander isn’t rocket science, but it’s essential to understand the process to avoid any mishaps. Here’s how to go about it:
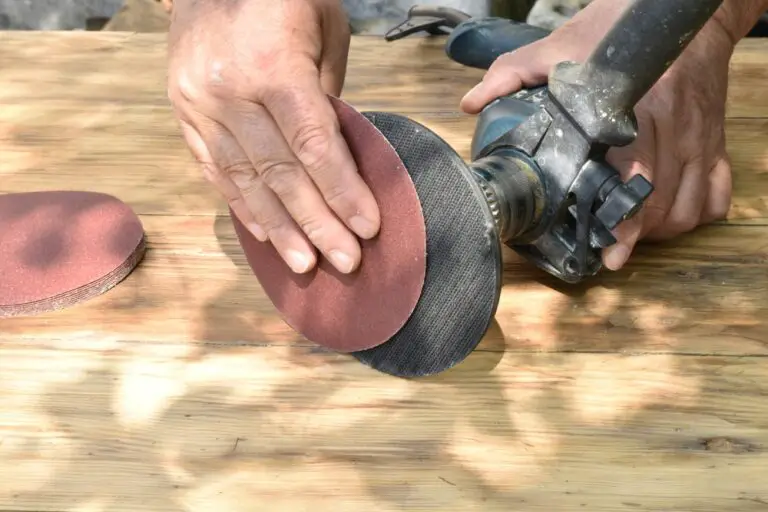
Choose the Right Sandpaper Grit
The first step in using a floor sander is to choose the right sandpaper grit. The grit size determines the level of abrasiveness, and you should choose a higher grit number for smoother finishes. However, if your floor has deep scratches or gouges, start with a lower grit sandpaper. Remember to change the grit size gradually to achieve a smooth finish.
Adjust the Sander’s Settings
Before using the floor sander, make sure you adjust the settings to suit your needs. Most sanders come with adjustable speed settings, and you should choose a speed that works best for your floors. Additionally, make sure you attach the sandpaper securely to the sander and that the dust bag is correctly placed to avoid dust and debris from escaping into the air.
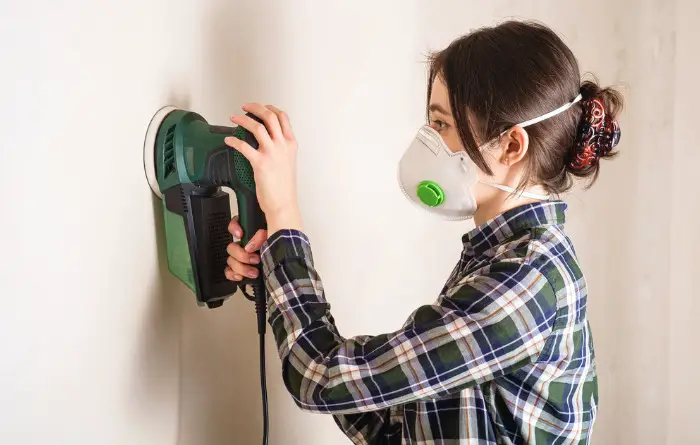
Operate the Machine Safely
Operating a floor sander can be dangerous, and it’s crucial to take safety precautions seriously. Always wear protective gear such as goggles, gloves, and a dust mask to avoid inhaling dust and debris. Additionally, make sure you hold the sander firmly and move it in a straight line, working in the direction of the wood grain. Do not turn off the machine while it’s still on the floor, and be sure to disconnect it from the power source before changing the sandpaper.
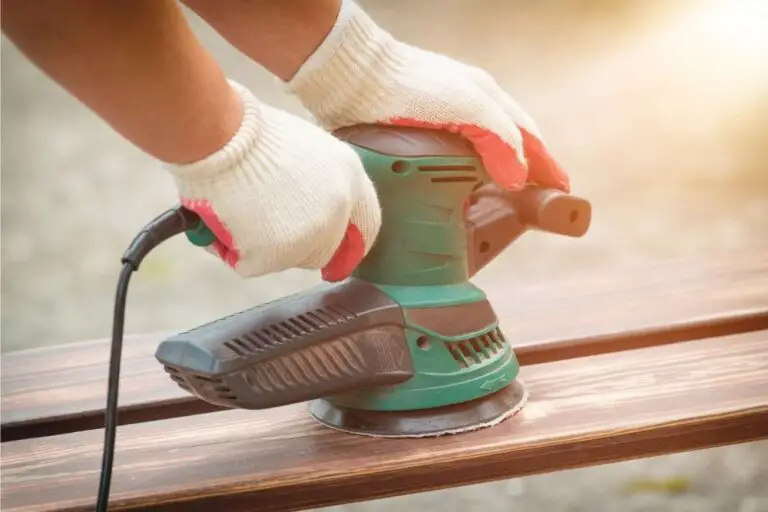
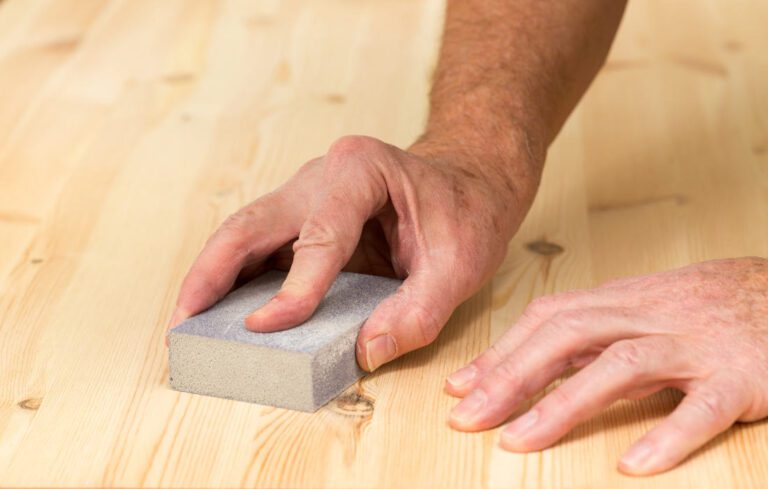
Sand Different Areas of Your Floor
Sanding different areas of your floor requires different techniques. For instance, sanding corners and edges requires a smaller sander or hand-sanding tool. However, be cautious not to sand too much, as you could damage your floors. Always inspect each section after sanding to ensure you achieve an even finish.
Overall, using a floor sander on hardwood floors can be a rewarding experience if done correctly. Take your time and follow each step carefully, and you’ll have beautifully restored hardwood floors in no time!
Finishing and Cleaning Your Newly Sanded Hardwood Floors
Now that you’ve completed the sanding process, it’s essential to finish and clean your hardwood floors properly.
Finishing Your Hardwood Floors
There are various options for finishing your floors, including staining, sealing, or applying a protective coating. When choosing a finish, consider factors such as durability, shine level, and ease of maintenance.
If you prefer a natural look, you can apply a clear finish that enhances the natural beauty of your hardwood floors. Alternatively, staining your floors can add colour and depth, transforming their appearance completely. Whatever finish you choose, be sure to follow the manufacturer’s instructions carefully and allow sufficient time for the finish to dry completely before moving furniture back into the room.
Cleaning Your Hardwood Floors
After sanding and finishing your hardwood floors, it’s time to clean up the dust and debris left behind. To avoid scratching the newly sanded floors, use a soft-bristled broom or a vacuum cleaner with a soft brush attachment.
Then, dampen a clean mop or cloth with water and a small amount of hardwood floor cleaner, and gently clean the floor. Be sure not to saturate the floors with water, as this can cause damage. Instead, use a barely damp cloth or mop to clean the surface.
For stubborn stains or dirt buildup, you can use a slightly more concentrated cleaner or a specialised hardwood floor cleaning solution. Always ensure that the cleaner you use is safe for use on hardwood floors.
By following these cleaning and finishing tips, your newly sanded hardwood floors will look stunning and be ready to enjoy for years to come.
FAQ
How often should I sand my hardwood floors?
The frequency of sanding your hardwood floors depends on factors such as the amount of foot traffic and the condition of the floors. As a general guideline, it is recommended to sand the floors every 7-10 years or when they show signs of wear and dullness.
Can I rent a floor sander or should I hire a professional?
It is possible to rent a floor sander and tackle the job yourself, but it requires careful preparation and skill. If you’re comfortable with DIY projects and have the necessary equipment, you can save money by renting a floor sander. However, if you’re unsure or have extensive damage to your floors, it’s best to hire a professional to ensure the best results.
What safety precautions should I take when using a floor sander?
When using a floor sander, it’s essential to wear protective gear such as safety goggles, a dust mask, and ear protection. Keep children and pets away from the work area and make sure the room is well-ventilated. Additionally, always follow the manufacturer’s instructions and guidelines for operating the sander safely.
How long does it take for the sanded floors to dry?
The drying time for sanded floors varies depending on factors such as humidity and temperature. In general, it can take anywhere from 24 to 48 hours for the floors to fully dry. It’s important to avoid walking on the floors or placing furniture back until they are completely dry to prevent any damage to the finish.
Can I sand engineered hardwood floors?
It is possible to sand engineered hardwood floors, but it should be done with caution. Engineered hardwood floors have a thin layer of real wood on top, so sanding too aggressively can damage the veneer. It is best to consult with a flooring professional to determine if sanding is suitable for your specific engineered hardwood floors.
Video: How To Use A Belt or Drum Floor Sander
- Drill Battery Maintenance: Essential Tips for Cordless Drill Battery Care - February 5, 2024
- Troubleshooting Drill Issues - February 5, 2024
- Quick Drilling Techniques - February 2, 2024