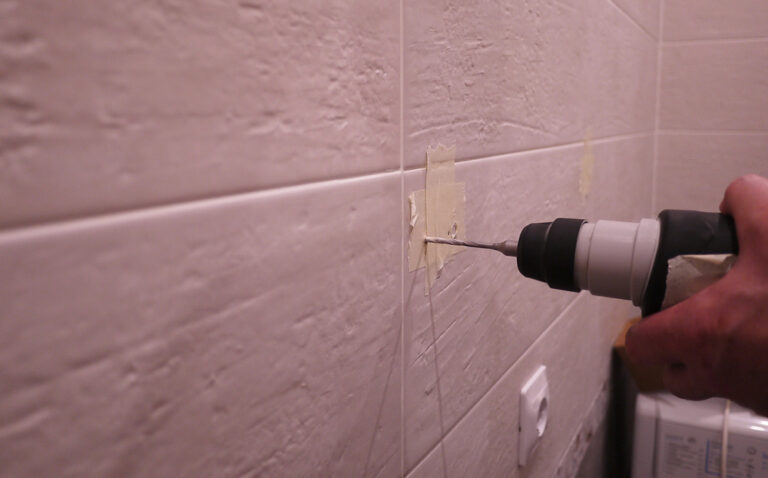
Sanding plaster walls before painting them is a vital step that cannot be overlooked or done half-heartedly. An uneven layer of plaster will never allow your paint to look smooth and the room will always appear unfinished.
Many people are concerned about the process of sanding plaster walls due to the highly textured finish. This can make sanding a lot harder, but it is by no means impossible.
How do you check the smoothness of your plaster?
There are many ways to do this. The most simple is running your hands along the wall and feeling out for any peaks and troughs in the existing plaster. This will give you a rough estimate of where you should be looking to do cosmetic fixes.
Once you have ascertained the areas of concern, grab a torch or lamp and hold it up against the wall. Shine it along the surface and watch the shape of the shadow that is created. Lumps and bumps will become easily visible and you will be able to pinpoint wall areas that need work.
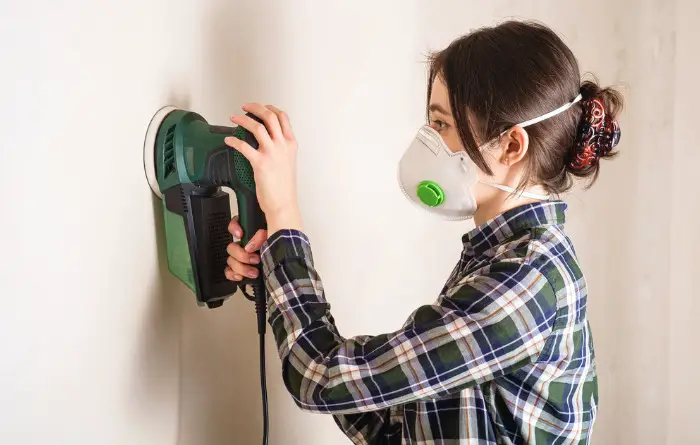
Safety precautions for sanding plaster
Sanding plaster may seem easy, but it is deceptively dangerous. Sanding plaster is going to release a large amount of dust into the air. When this is breathed in, it can irritate the mucous membranes in your eyes, nose, and mouth. This can cause serious harm if it happens for a significant amount of time and is best avoided.
You should always wear a protective mask such as an N95 to prevent the inhalation of dust particles. Additionally, you should wear suitable eye protection in the form of safety goggles.
We advise wearing gloves and long-sleeved clothing to protect your skin from the plaster particles. Some people opt to wear a plastic hair net or hat to prevent the dust from collecting in their hair.
The dust particles can easily spread throughout your entire home, so we recommend closing the door to the room you are working in.
For optimal protection, you should remove all furniture from the room and cover any vents that are present. As well as this, use plastic drop cloths to protect the flooring of your room and to cover doorways.
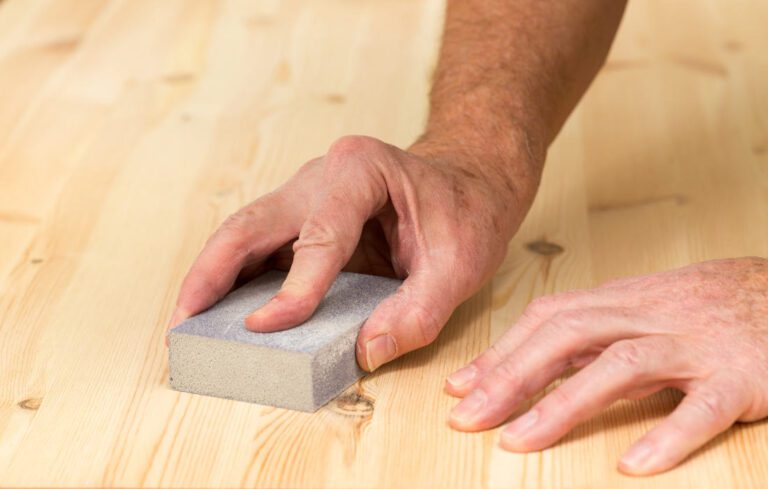
How to dry sand
When sanding, it is wise to have a range of sandpaper, all with different grit measurements. The lower the grit, the rougher the sandpaper is. We recommend starting with 60-grit sandpaper to remove the largest areas of inconsistency.
Once you have done this and feel as though the sandpaper is no longer effective, move up to a higher grit. We recommend finishing by using 100 or 120-grit sandpaper.
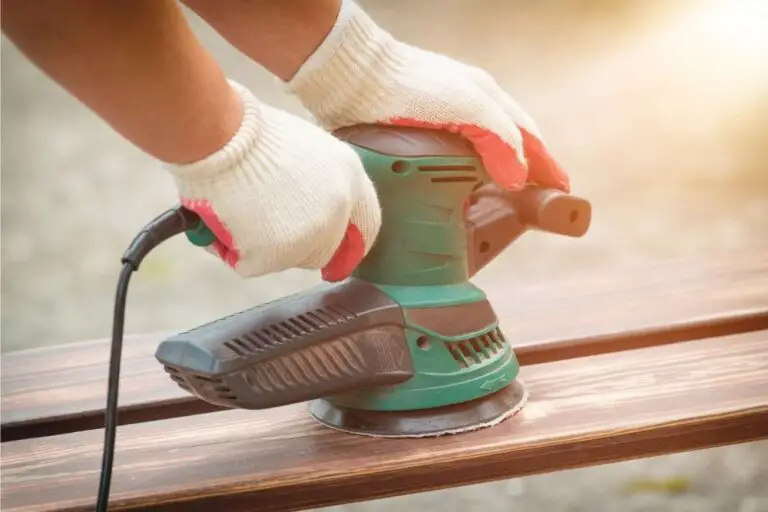
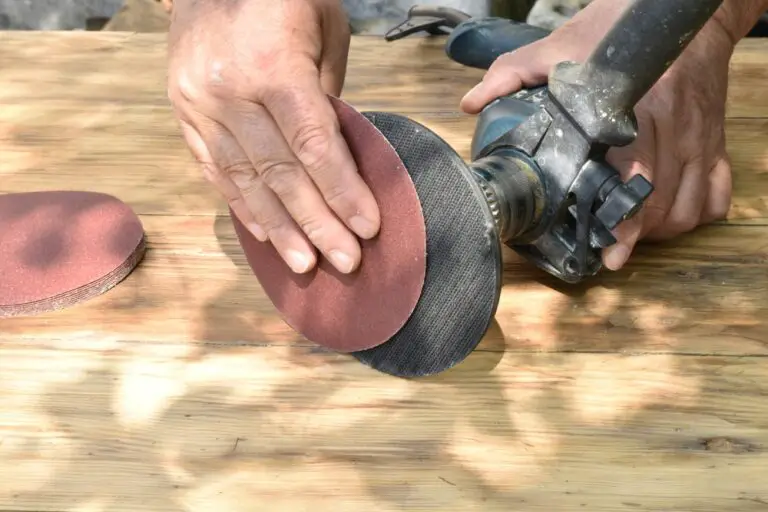
There are many different ways to sand your walls. You can use a hand block sander for a smaller area, or individual sheets of sandpaper for targeting specific spots.
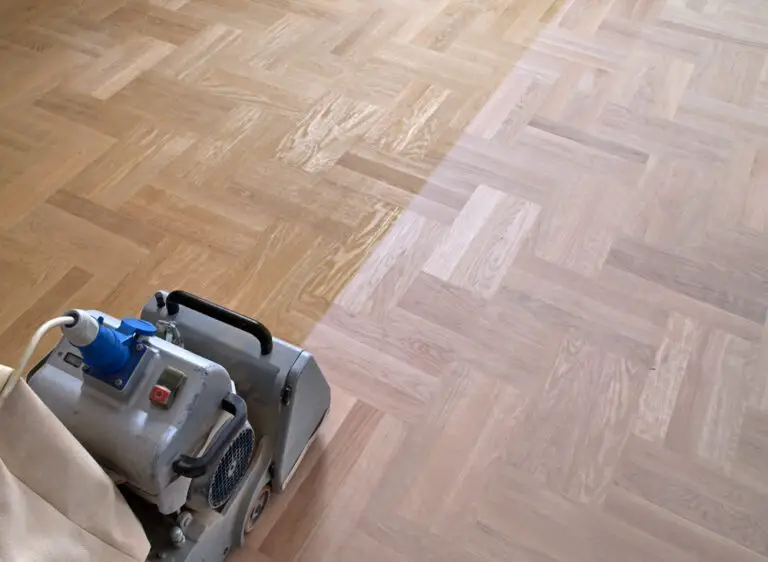
If you are sanding the entire wall, we would recommend an electric sander, such as this one from Amazon. These are much faster and put much less strain on the operator than using sandpaper alone.
You should always use a brush or slightly damp cloth to wipe down the surface of the plaster after sanding. This is because small dust particles can become very visible when painted over and this can lead to your walls looking messy.
How to wet sand
This is a much less messy way to sand down your plaster walls. It is useful when you need a delicate touch as wet sanding is much more gentle and less abrasive than dry sanding. This can only be done on fresh plaster that has not been fully set.
Grab a bucket of water and a non-abrasive sponge. Immerse the sponge and then wring out most, but not all, of the water. Run the sponge over the slightly damp plaster with long and smooth strokes. Do not apply too much pressure, you want to just be skimming the surface.
After every couple of strokes, rinse the plaster residue off the sponge and wring it out again. Continue this process until you are satisfied with the smoothness of your plaster wall.
Skim coat
A skim coat is a very popular way to smooth out the surface of a plastered wall. In essence, it is adding another, thin layer of plaster on top of the already existing plaster. This is ideal for walls that have a few dents or scrapes, as it effectively gives you a new blank canvas to work from.
You will need to coat the walls in a layer of PVA bonding before you begin to apply the skim coat. This helps to stabilize the plaster and assists with the adhesion of the skim coating layer.
Generally speaking, you should call in a professional plasterer to apply a skim coat. Getting the application smooth and even requires a certain level of skill that can only be achieved through repeated practice.
Filler
This is an ideal solution if you have noticed a lot of cracks, indents, or holes in the layer of plaster on your walls. At any hardware store, you will be able to pick up a building filler, such as Polyfilla.
This is a thick paste that you apply to your plaster to fill in cracks and crevices. You can also purchase water-soluble powders which allow you to mix up the filler at home.
To apply filler, open the container and scoop out a small quantity of the paste. Many are safe to use with your hands and will not be toxic if they come into contact with exposed skin, but it is always worth reading over the instructions on the container to double-check.
Apply the filler to the intended area and press it into the plaster on the wall. We recommend using a builders spatula knife to scrape off any excess filler and ensure that it is fully in contact with the space.
Do not worry too much about making the finish perfect at this point. The filler will shrink a little as it dries, so do not over-scrape the excess away.
You should then allow the filler to dry completely. This could take anywhere between 1 and 24 hours, depending on the brand and the area covered.
Once you are satisfied that the filler has dried completely, you can get some sandpaper or an electric sander. Run this over the area you have used the filler on until the filler is flush with the plaster surface.
Gaps between the architrave and plaster
If there are gaps that you notice, this is not too bad and can be fixed relatively easily. You will need to use 2 layers of plaster to fill these holes, instead of doing it all in one go.
Mix up a dilution of 1 part PVA with 5 parts of water. Apply this mixture to the edges of the old plaster layer using a soft paintbrush. Wait for this solution to dry out a little and go tacky, this should take approximately 20 minutes. Once it has turned tacky then you can apply a fresh layer of plaster. Smooth it off with a plasterers spatula to make it flush with the original plaster layer.
The PVA glue layer is important when applying fresh plaster to existing plaster. This is because the old plaster coating will draw moisture out of the new plaster layer and cause it to crack prematurely. The PVA glue layer will cause this process to slow down.
If you notice any cracks forming on the plaster as it is drying, brush on a little extra water using a paintbrush. Continue to apply water until the cracks have blended into the rest of the plaster. Check on it at 10-minute intervals for at least an hour.
New plaster
When dealing with a freshly plastered wall, there is no single right answer. If your plasterer has finished the walls to a high standard and there are no imperfections visible, you can just apply a mist coat. If your plasterer is a true professional, this is all that should be needed.
If the finish is slightly less than perfect, we recommend using medium-grit sandpaper to even out the surface a bit. This should be around 120 grit or higher. Sandpaper with a lower grit rating is more likely to scratch the plaster on the walls and leave marks.
What is a mist coat?
A mist coat is in essence a diluted coat of paint, specifically emulsion paint. Mist coats are used on freshly plastered surfaces as regular emulsion paint is too thick to adhere to the plaster.
If you do not apply a mist coat to your walls then the paint will begin to peel off and crack over time. This may not be too big of an issue for you, but your walls will need to be repainted far more frequently.
How do you do a mist coat?
Before applying your mist coat, it is a good idea to wipe down the plaster on your walls. Use a damp cloth to do this. This will help to remove any fine dust particles from the surface of the walls which could negatively affect the mist coat and any subsequent coats of paint.
There are many different pieces of information out there about the ratio of emulsion to water for your mist coat. Generally speaking, a 70:30 ratio of paint: to water will be sufficient. In some cases, you may need to dilute it further, to a ratio of about 50:50.
You should use light or neutral-coloured emulsion paint for the mist coat. Take care to ensure that the paint you are using is non-vinyl. Vinyl emulsion paints have had a resin added to them to give the dried paint a smooth and shiny appearance.
When used as a mist coat, this can result in the skin forming and the paint peeling off from the walls. Alternatively, there are many products known as new plaster sealants which can be applied in place of this paint dilution.
When applying the mist coat, be aware that the paint will be much less viscous than regular emulsion paint. Take care to protect the flooring and any soft furnishings as the paint is likely to drip a lot.
- Drill Battery Maintenance: Essential Tips for Cordless Drill Battery Care - February 5, 2024
- Troubleshooting Drill Issues - February 5, 2024
- Quick Drilling Techniques - February 2, 2024