Need your wooden floors sanded but all you have is a drywall sander?
Revitalizing your wooden floors may seem like a daunting task, especially if a drywall sander is your primary tool. In this guide, we’ll address the common question:
Can you use a drywall sander on wooden floors? The short answer is yes, and we’ll provide you with all the insights and tips you need for a successful floor refinishing project.
The Process:
Sanding your wooden floors with a drywall sander can be a cost-effective solution, saving you money on professional services. However, it’s important to note that the process is time-consuming, requiring patience and attention to detail.
Determining Your Floor Type:
Before diving into the sanding process, it’s crucial to identify your floor type. Solid hardwood floors are generally suitable for sanding, but for engineered floors, it’s essential to check if they lack a sufficient laminate layer. Testing a small, hidden area can help you determine the feasibility of sanding.
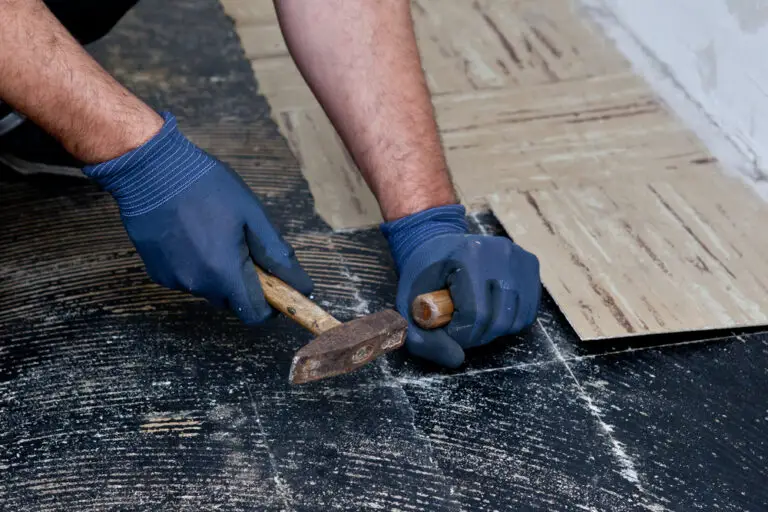
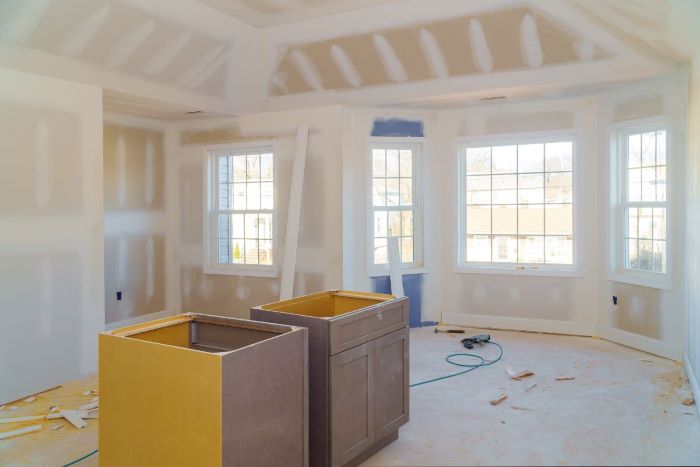
Preparation Steps:
Once you’ve confirmed that your wooden floors are suitable for sanding, clear the room of furniture and thoroughly clean the floor. Sweeping, vacuuming, and mopping with a slightly moist cloth are essential steps. After the floor is dry, carefully inspect for protruding nail heads or debris between joints before proceeding.
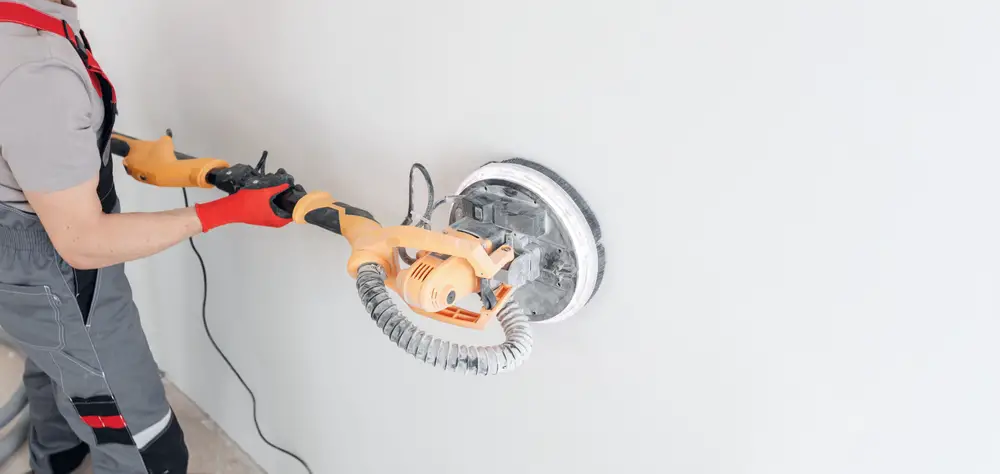
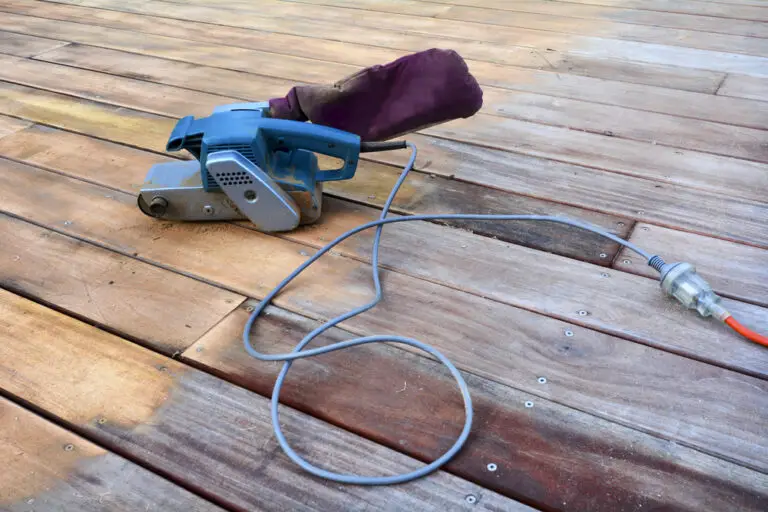
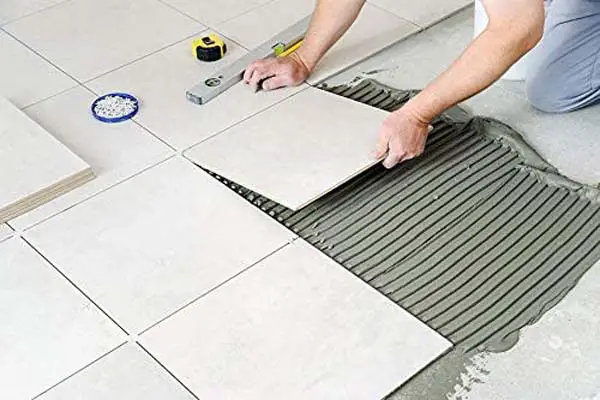
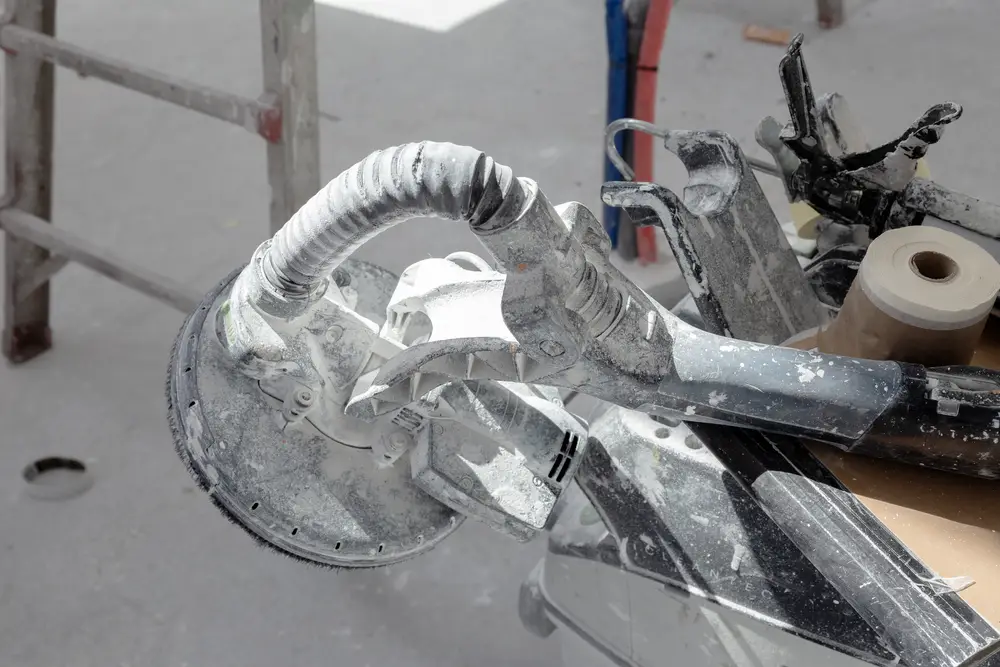
Choosing the Right Sander:
There are several types of sanders to choose from, each with its characteristics. Buffer sanders, square vibrating sanders, and drum sanders are common choices. The selection depends on your experience level and the finish you desire.
- Buffer Sanders: Ideal for experienced users due to their sensitivity and balance. Requires ample sanding paper and cushioning pads.
- Square Vibrating Sanders: Beginner-friendly and hard to misuse. Follow a sequence of grit papers for optimal results.
- Drum Sanders: Provide a quick finish but require expertise to avoid creating a mess. Start with the paper off the floor to prevent pulling.
Sanding Techniques:
Always sand with the grain, and after each stage, inspect for scratches before progressing. Wetting the surface before a 120-grit pass helps raise fibers. If you notice marks or swirls, continue with finer grits until satisfied. Skipping steps can result in inefficient sanding and clogging issues.
Safety Precautions:
Protect yourself from dust and noise with respiratory and auditory gear. Gloves, eye protection, and a facemask are essential. Consider disposable coveralls and booties to avoid dragging dirt onto the prepared floor.
Conclusion:
Refinishing wooden floors with a drywall sander is a feasible DIY project with the right tools and knowledge. By following these guidelines and taking necessary safety precautions, you can achieve a stunning finish and breathe new life into your wooden floors.
Check out these related posts:
How to Use a Floor Sander on Hardwood Floors
How Do You Get Sandpaper To Stay On A Sander
- Drill Battery Maintenance: Essential Tips for Cordless Drill Battery Care - February 5, 2024
- Troubleshooting Drill Issues - February 5, 2024
- Quick Drilling Techniques - February 2, 2024